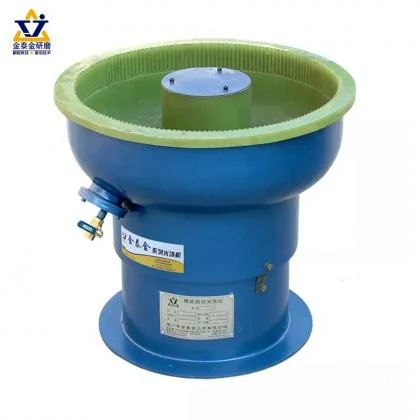
• Advanced Industrial Polishing Technology | Jintaijin OBD-CJG480
    Advanced Industrial Polishing Technology | Jintaijin OBD-CJG480 Dec 13, 2023
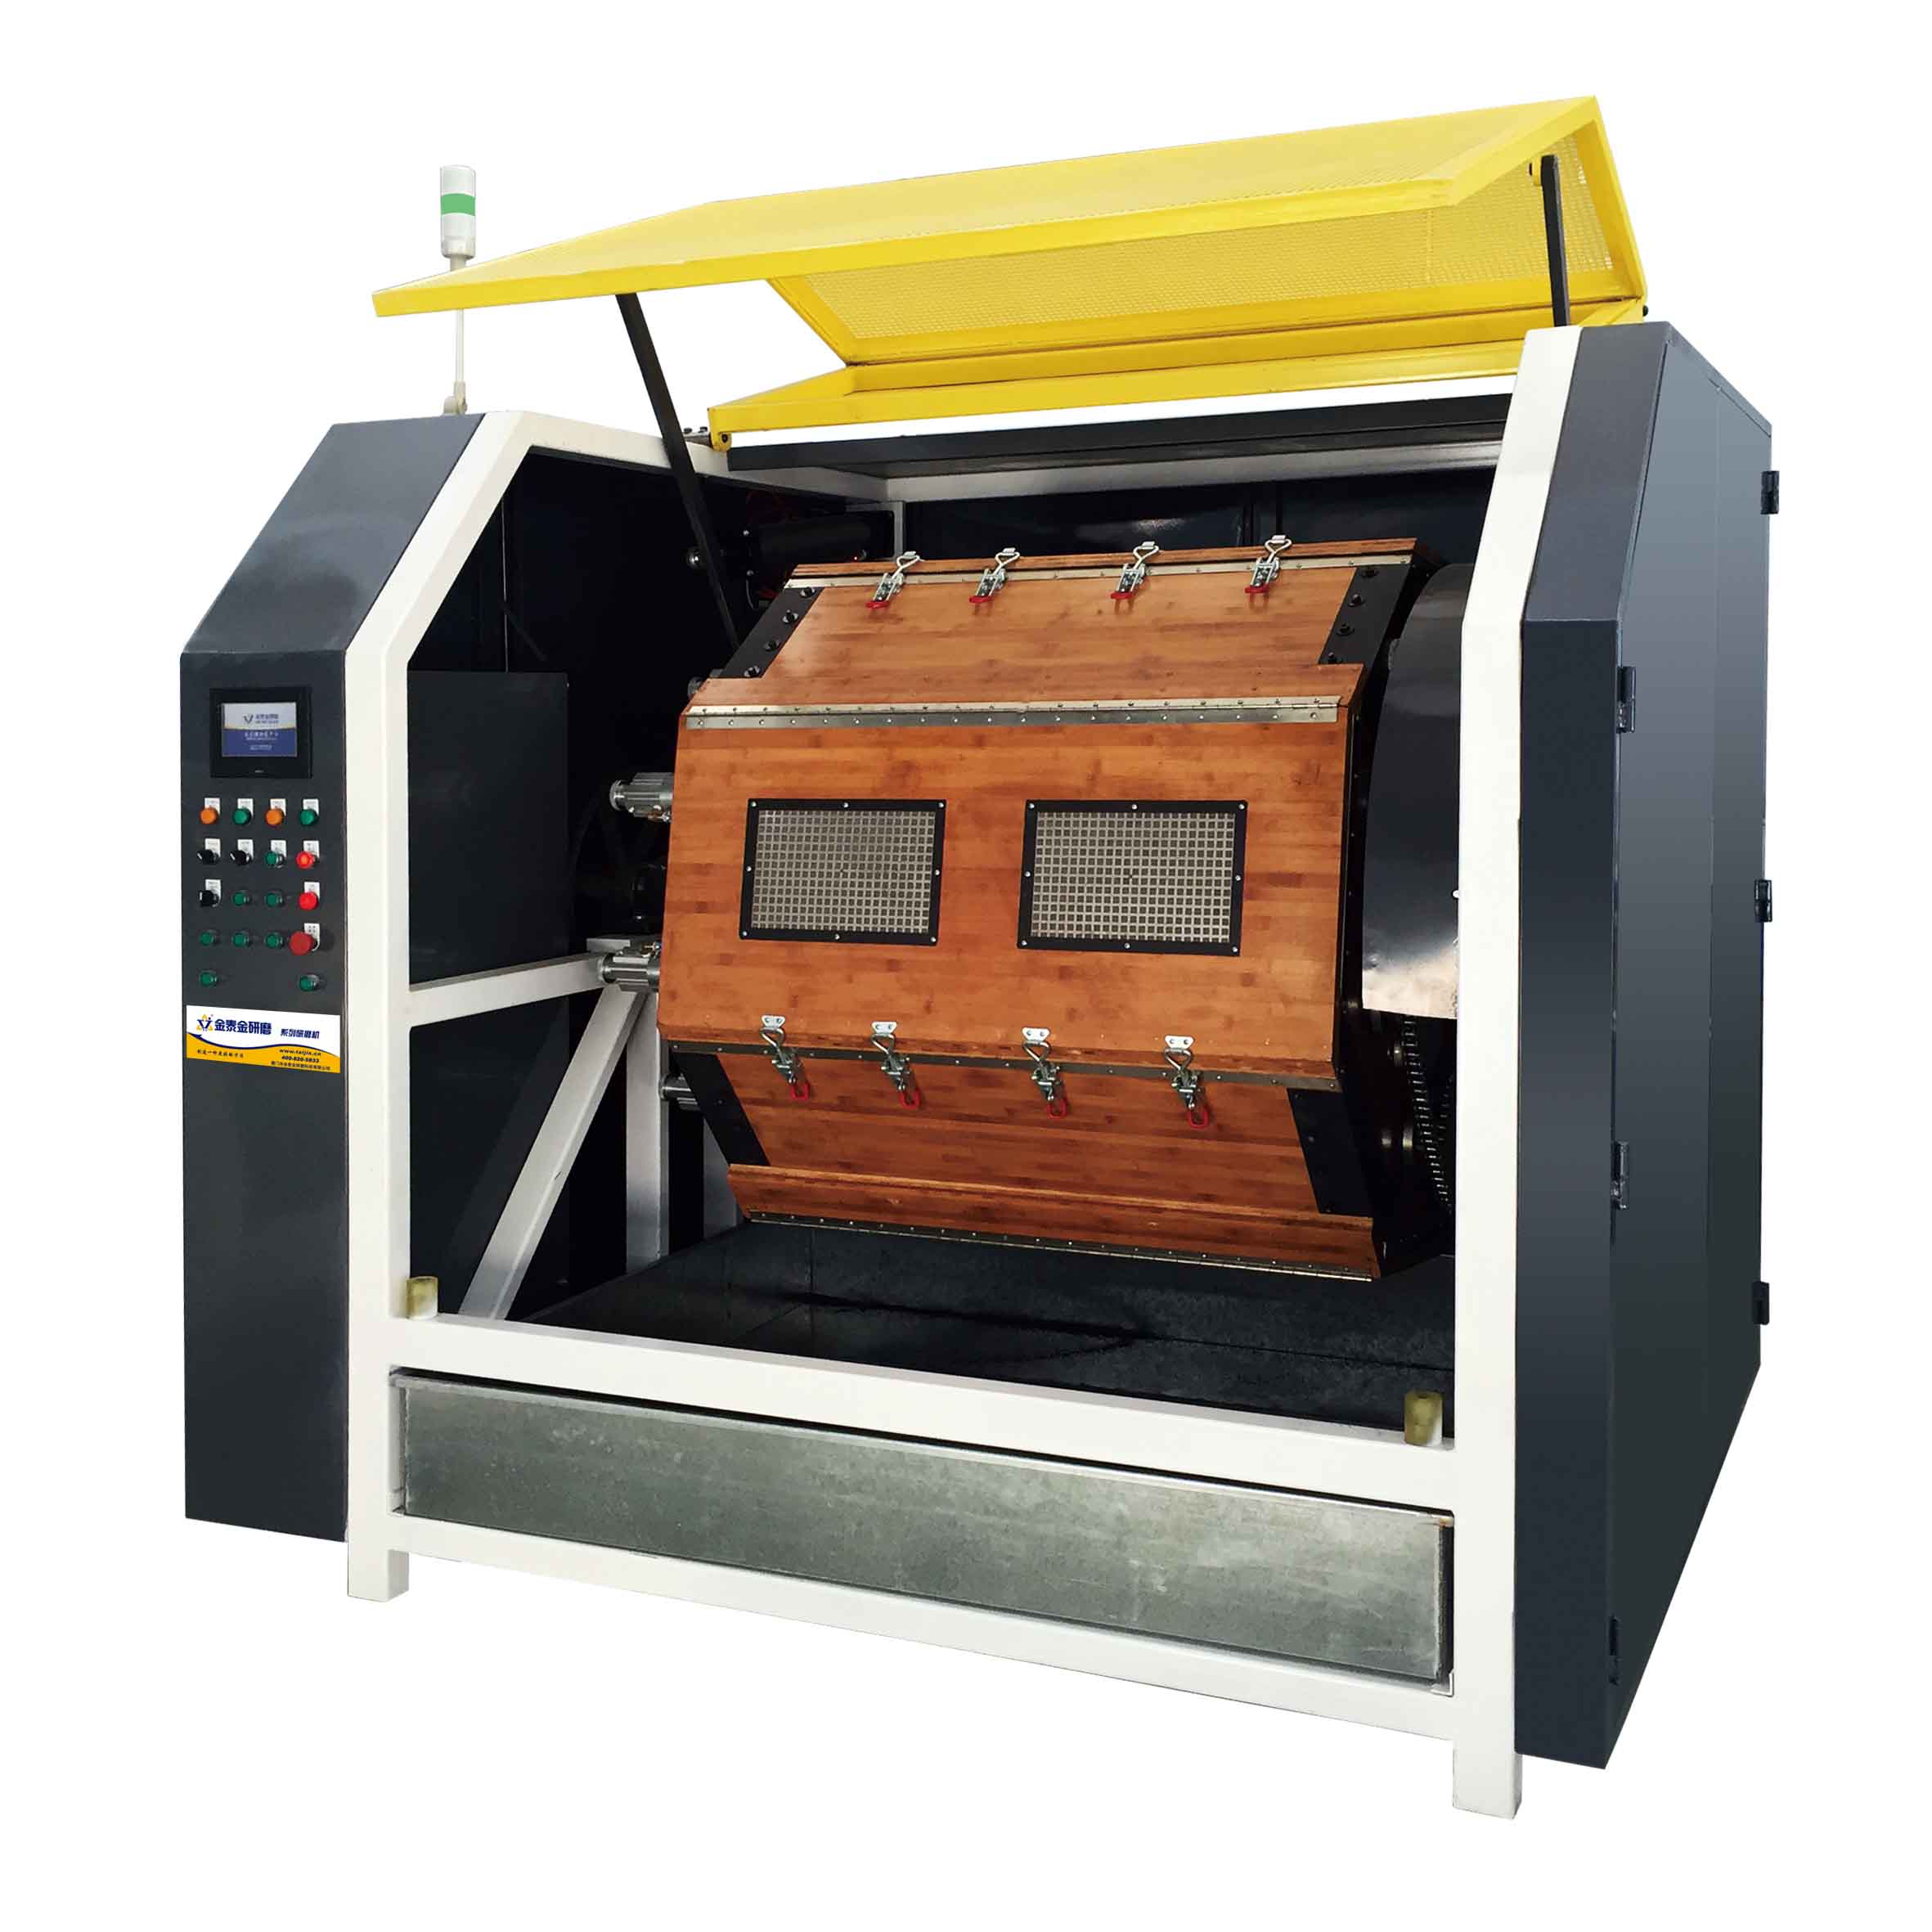
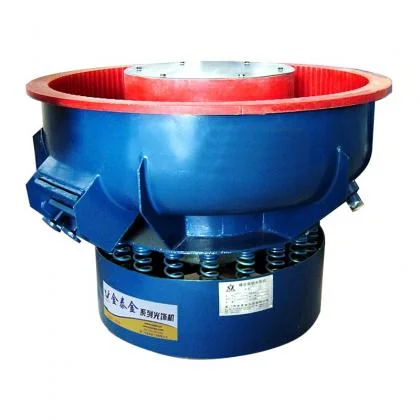
    Unveiling Jintaijin's OBD-CJG480: The pinnacle of industrial polishing. Engineered for efficiency,safety,and tailored solutions in automotive,aerospace,and more. Ensure your products' premium finish with our cutting-edge technology.
    View More
  • Jintaijin Surface Finishing & Polishing Solutions – Comprehensive Guide
    Jintaijin Surface Finishing & Polishing Solutions – Comprehensive Guide Apr 18, 2023
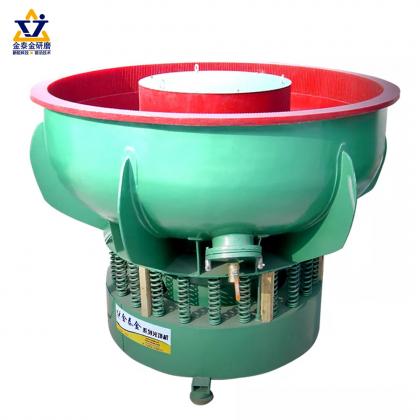
    Discover the comprehensive guide to Jintaijin's innovative surface finishing and polishing solutions. Explore our product line,application techniques,eco-friendly options,and learn how Jintaijin can transform surfaces across various industries.
    View More
  • Polishing Process for Alloy Folding Knives: Achieving a Mirror Finish
    Polishing Process for Alloy Folding Knives: Achieving a Mirror Finish November 27, 2024
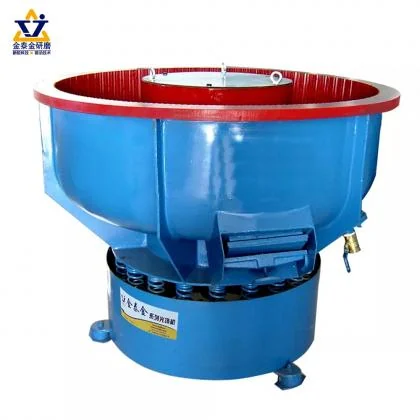
    In this article, we share the polishing process for alloy folding knives, highlighting how our advanced equipment transformed a rough, unpolished knife into a sleek, mirror-finished product. Learn how our approach makes these knives not only beautiful but also practical for everyday use. Folding knives are popular for their versatility and portability, and when it comes to alloy knives, they offer even greater durability and strength. In this article, we’re excited to share a recent polishing project involving alloy folding knives. The knife in question started off with a rough, unpolished surface, and by the end of our multi-step polishing process, it became a shining, mirror-finished masterpiece. 1. The Initial State: Preparing the Alloy Folding Knife The folding knife initially had a dull and uneven surface, typical of untreated alloy materials. The blade and handle had visible scratches and machining marks, which needed to be removed to reveal the true quality of the material underneath. To achieve a polished look, we started by preparing the knife with coarse polishing to eliminate these imperfections. 2. The Polishing Process: Step by Step To transform the rough alloy knife into a sleek, finished product, we followed a multi-step polishing process: Coarse Polishing: In this stage, we used coarse polishing to remove the major scratches and surface defects from the blade and handle. This step helps create a smoother base, making it easier for the next steps to achieve a refined finish. Intermediate Polishing: After the coarse polishing, we moved to an intermediate polish to further refine the surface. At this stage, we focused on reducing any minor scratches that were left over from the initial step. This helped prepare the knife for the final touch. Fine Polishing: Finally, we used a fine polishing compound to achieve the desired mirror finish. This step was crucial to give the knife its sleek, reflective surface that not only looks impressive but also adds a protective layer to the alloy. 3. The Result: A Stunning Mirror Finish The final result was a folding knife that had a flawless, mirror-like surface. The blade and handle were transformed from a rough, unfinished state to a beautiful, polished product that looked both elegant and professional. The polished alloy not only improved the appearance of the knife but also enhanced its durability by reducing the likelihood of corrosion and wear over time. 4. Benefits of Polishing Alloy Folding Knives Polishing alloy folding knives provides multiple benefits beyond just aesthetics: Improved Durability: The polished surface helps to protect the alloy from corrosion and wear, making the knife more resilient for long-term use. Enhanced User Experience: The smooth handle and blade provide a comfortable grip and a cleaner cut, making the knife more efficient and pleasant to use. Visual Appeal: A mirror finish adds a premium look to the knife, making it not only a functional tool but also a collector...
    View More
  • Polishing Process for Motorcycle Hand Levers: Achieving Precision and Shine
    Polishing Process for Motorcycle Hand Levers: Achieving Precision and Shine November 14, 2024
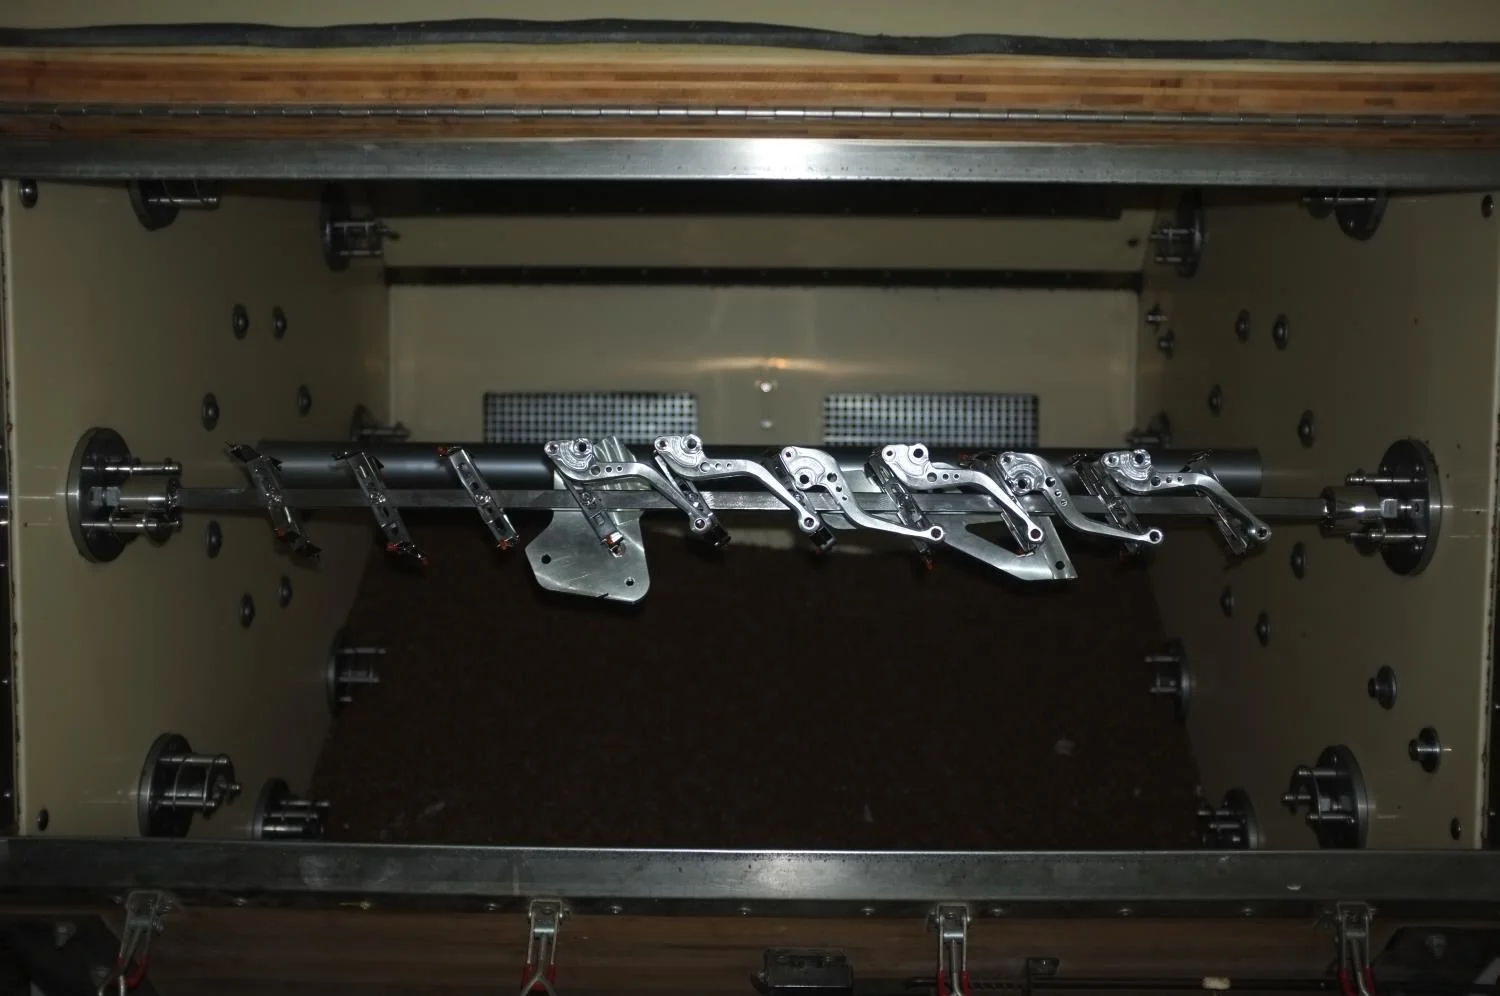
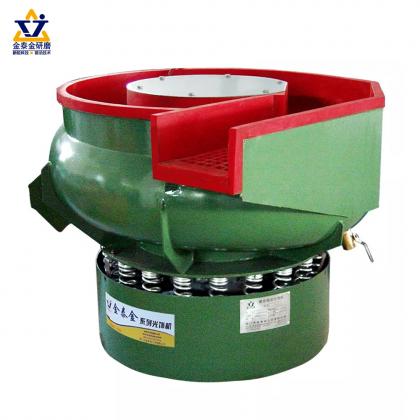
    Article Content: Motorcycle components, such as hand levers, are not just functional parts but also contribute significantly to the overall aesthetics of the bike. Achieving a polished, high-quality finish on these components can dramatically enhance both the appearance and the comfort of the rider. In this case study, we delve into the complete polishing process of motorcycle hand levers, illustrating the stages involved and the techniques employed to achieve an exceptional mirror finish. 1. Initial State: Preparing the Hand Levers for Polishing The process began with raw, rough hand levers that required extensive work to reach the desired quality. The initial state of the hand levers is characterized by an uneven surface with visible machining marks. These rough edges and imperfections need to be removed before we proceed to finer polishing. 2. Equipment Used in the Polishing Process To achieve the desired finish, we used multiple stages of polishing with specialized equipment. We utilized our rotary tumbling polishing machine, which allows for precise control over polishing parameters, ensuring that the entire surface of the hand lever is uniformly treated. The polishing process involved three main stages: Coarse Polishing: This step is focused on removing machining marks and surface irregularities, creating a smooth base for the next steps. Secondary Polishing: In this stage, we further refined the surface of the hand levers, eliminating any remaining minor scratches and preparing the levers for the final polish. Fine Polishing: Finally, a fine polishing step was carried out to achieve a mirror-like shine. This stage required the use of finer polishing compounds to bring out the high-gloss finish that distinguishes premium motorcycle components. 3. Achieving the Final High-Gloss Finish The fine polishing stage is where the true transformation occurs. By using high-quality polishing media and adjusting the machine settings to achieve optimal contact between the polishing media and the hand lever surface, we were able to bring out a deep, mirror-like finish that met the aesthetic standards required for motorcycle components. 4. Benefits of the Polishing Process The benefits of our polishing process extend beyond just aesthetics. By refining the surface of the hand levers, we also enhance their functionality: Improved Comfort: A smooth and polished hand lever ensures a comfortable grip for the rider, enhancing the overall riding experience. Increased Durability: Polishing helps to remove surface defects that could potentially develop into weak points over time, thus increasing the durability and lifespan of the component. Corrosion Resistance: By achieving a high-gloss finish, the hand levers are more resistant to corrosion, which is crucial for motorcycle components exposed to various environmental conditions. 5. Conclusion This polishing case study demonstrates the level of precision and expertise required to transform raw motorcycle hand leve...
    View More
  • How to Measure Burr Height, Edge Change and Ra After Deburring
    How to Measure Burr Height, Edge Change and Ra After Deburring July 31, 2026
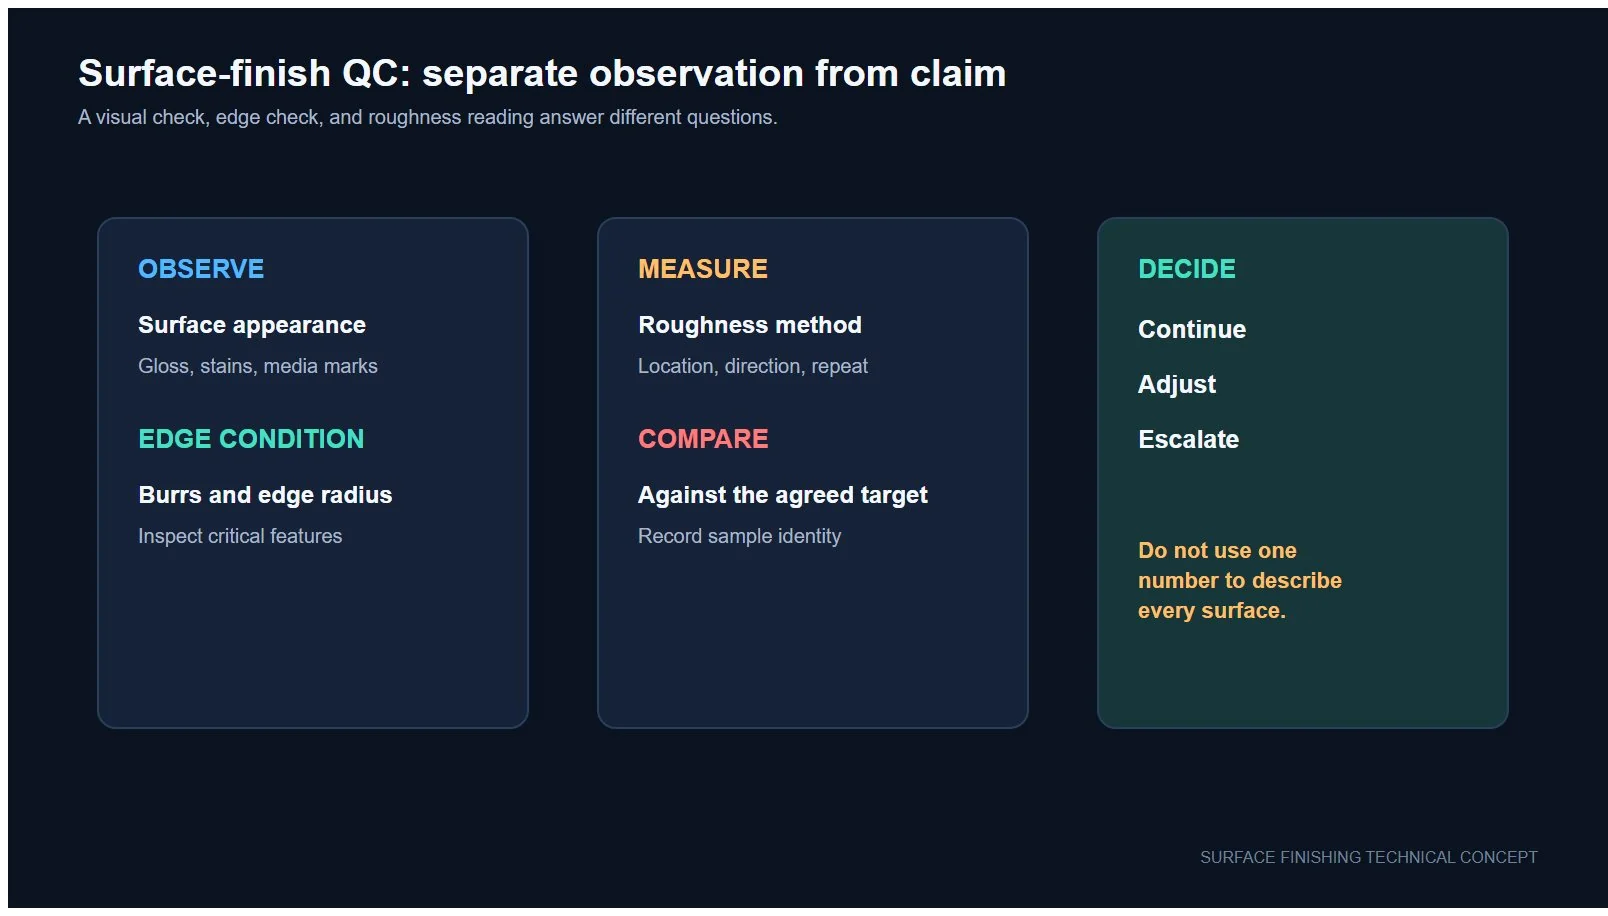
    How to Measure Burr Height, Edge Change and Ra After Deburring A finishing trial is difficult to approve when “looks smoother” is the only result. Burr removal, edge preservation and surface texture are different questions, so they need separate checks. This practical measurement plan helps buyers and suppliers compare incoming parts with trial samples without inventing a universal acceptance limit. Conceptual measurement workflow. The drawing does not represent a measured customer result. Start with the drawing and the functional risk Mark the features that affect fit, sealing, coating, assembly or handling. A burr at a cross-hole may need a height check; a functional edge may need radius or profile comparison; a sealing face may need a specified surface-texture parameter. Do not replace the drawing requirement with a generic “polished” target. Keep three questions separate 1. Is the burr still present? Use a defined viewing direction and a repeatable optical or profile method. Record the feature location, magnification or instrument, lighting, fixture and whether the result is a maximum reading, a profile value or a pass/fail visual rule. Photograph the same feature before and after the trial when practical. 2. Has the edge changed? Measure the edge where function requires control. Depending on the drawing and access, this may be an edge radius, chamfer dimension or profile comparison. Record the datum, section or inspection plane so the next sample is measured in the same place. Surface roughness cannot substitute for this geometry check. 3. Has the surface texture changed? Report the specified parameter, such as Ra or another drawing-defined profile parameter, together with the instrument and method settings. NIST documentation shows that stylus geometry, filtering, sampling and calibration affect a surface-profile measurement. Keep the method and measurement direction consistent between the incoming and processed samples. Record the method with the number; do not compare isolated readings from unknown settings. Build a measurement card before the trial Field What to record Why it matters Part and feature Part ID, drawing revision, feature ID and inspection location Prevents measurements from drifting to an easier area Incoming condition Burr direction, visible damage and baseline readings Separates process change from incoming variation Burr method Optical/profile method, fixture, direction and reporting rule Makes the residual-burr decision repeatable Edge method Radius, chamfer or profile method and datum Checks whether functional geometry was preserved Texture method Parameter, instrument, tip or optical method, filter/cutoff, evaluation length and direction Lets before-and-after texture readings be compared Sampling Number of parts, locations per part and handling rule Avoids approving a batch from one convenient point Decision Drawing limit or agreed trial criterion, result and disposition Creates an auditable release record Do not mix ...
    View More
  • Vibratory Finishing Water and Compound Control: A Practical Trial Method
    Vibratory Finishing Water and Compound Control: A Practical Trial Method July 30, 2026
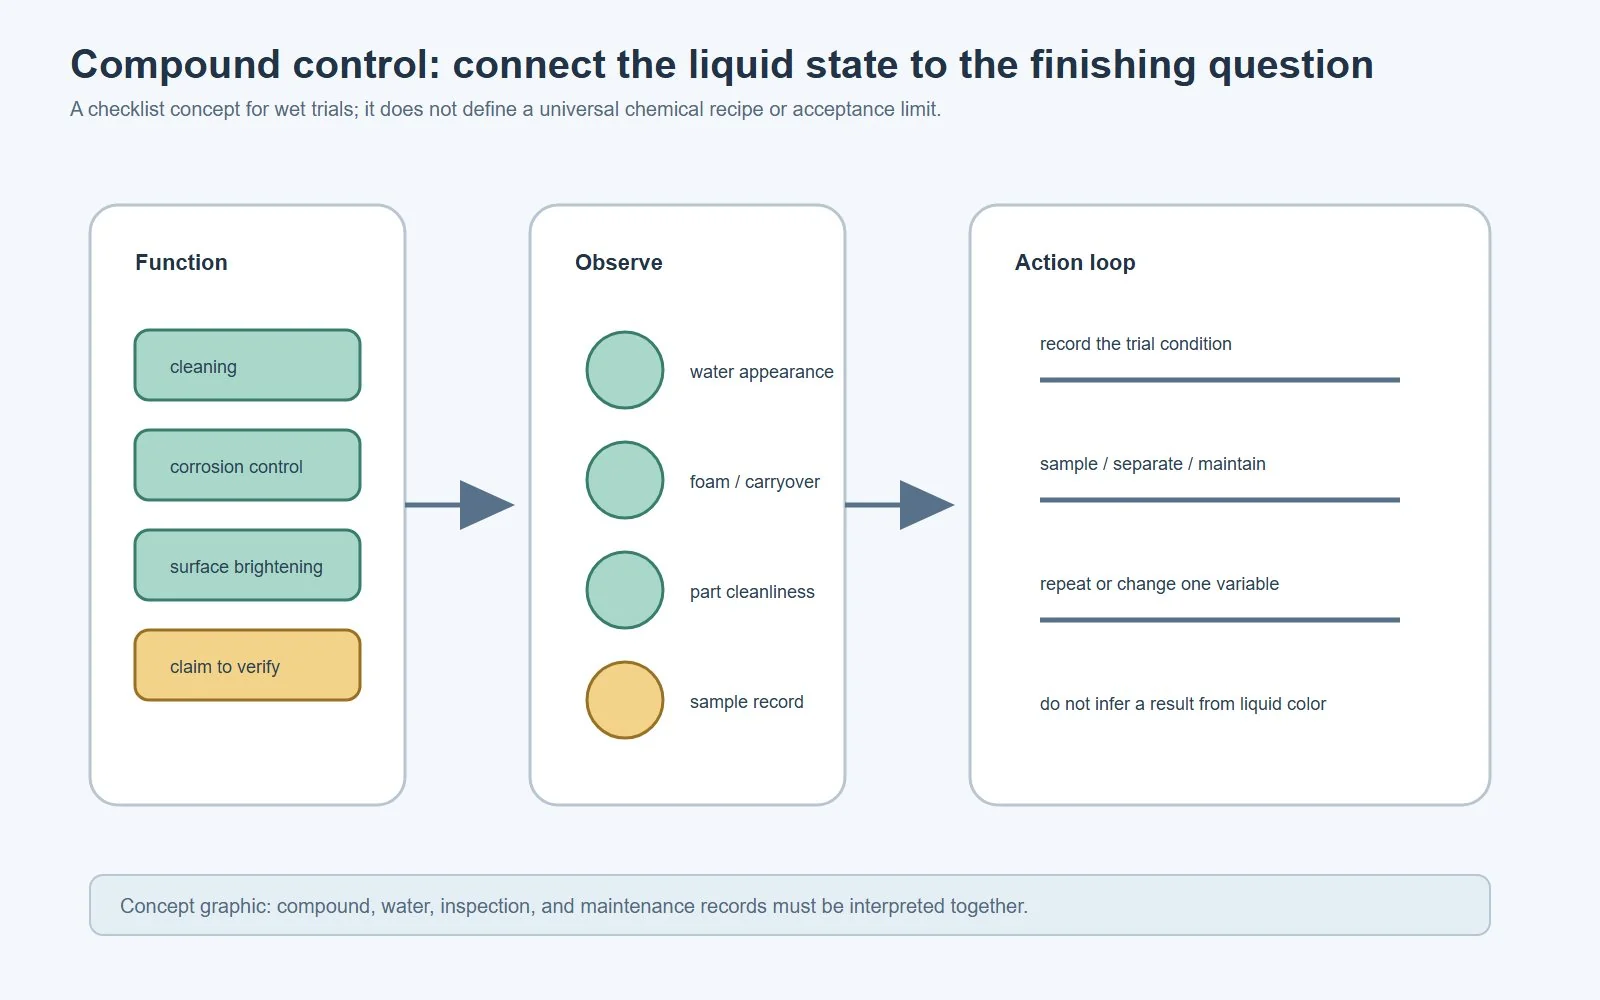
    Vibratory Finishing Water and Compound Control: A Practical Trial Method Water and compound are process variables, not background supplies. In wet vibratory finishing they help carry away media and workpiece fines, keep surfaces cleaner, and support the selected finishing objective. The correct combination depends on the machine, media, workpiece material, incoming contamination, and whether the liquid is used once or recirculated. Control water and compound with recorded observations; no universal chemical recipe or acceptance limit applies to every process. Define what the liquid system must do Start with the job rather than a dosing number. The liquid system may need to remove loose fines, transport oil or soil, keep media open, reduce staining risk, protect a sensitive metal, or prepare parts for rinsing and drying. A compound selected for one objective should not be assumed suitable for another material or downstream process. Record a reproducible baseline Document the machine and bowl or tub, media type and condition, workpiece material, incoming oil or soil, load arrangement, water source, compound identity, dosing method, flow condition, process time, rinse, and drying method. For recirculated water, also record the cleaning equipment, make-up additions, and the condition of the return liquid. Use the supplier’s technical data and safety documentation for handling and concentration guidance. Do not copy a concentration or flow rate from an unrelated machine or material. A recirculating loop adds cleaning, separation, make-up, and maintenance variables that do not exist in a once-through trial. Change one variable and inspect the response Keep the part, media, load, and machine setting stable while changing one liquid-system variable. Inspect representative parts and media at planned intervals. Record cleanliness, foam, staining, residue, media loading, odor or appearance changes, corrosion signs, and the condition after rinsing and drying. More water is not automatically better: it can change the contact environment and flushing behavior. More compound is not automatically better either: the result depends on its function, compatibility, and the contamination entering the process. Confirm any adjustment with a repeated sample trial. Separate once-through and recirculated-water decisions Once-through operation sends fresh liquid through the process and creates an effluent stream that must be handled correctly. Recirculation introduces solids separation, returned compound, oil or fines accumulation, make-up water, and maintenance checks. A compound intended for single-use operation may not be appropriate for a recycling loop. Do not discharge process water based on appearance alone. Follow the compound safety data, local wastewater requirements, and the actual contaminants carried from the workpieces and media. Keep the finishing trial, liquid treatment, and release decision connected in one process record. Use a release checklist Do the pa...
    View More
#+86-592-2381506

Email : info@surface-polish.com

Headquarters address : No. 31, Xinchang Road, Xinyang Industrial Zone, Haicang District, Xiamen

click here to leave a message

Leave A Message
If you are interested in our products and want to know more details,please leave a message here,we will reply you as soon as we can.

Home

Products

whatsapp

contact