Vibratory Finishing Defect Triage Checklist
Use this checklist to start a vibratory finishing defect investigation from what the part actually shows. It reproduces the published troubleshooting guidance: the possible causes listed for each visible symptom and what the source says to check first. It does not diagnose a defect, choose a cycle, or approve a process, and it states no cycle time, concentration, amplitude, load ratio or removal rate.
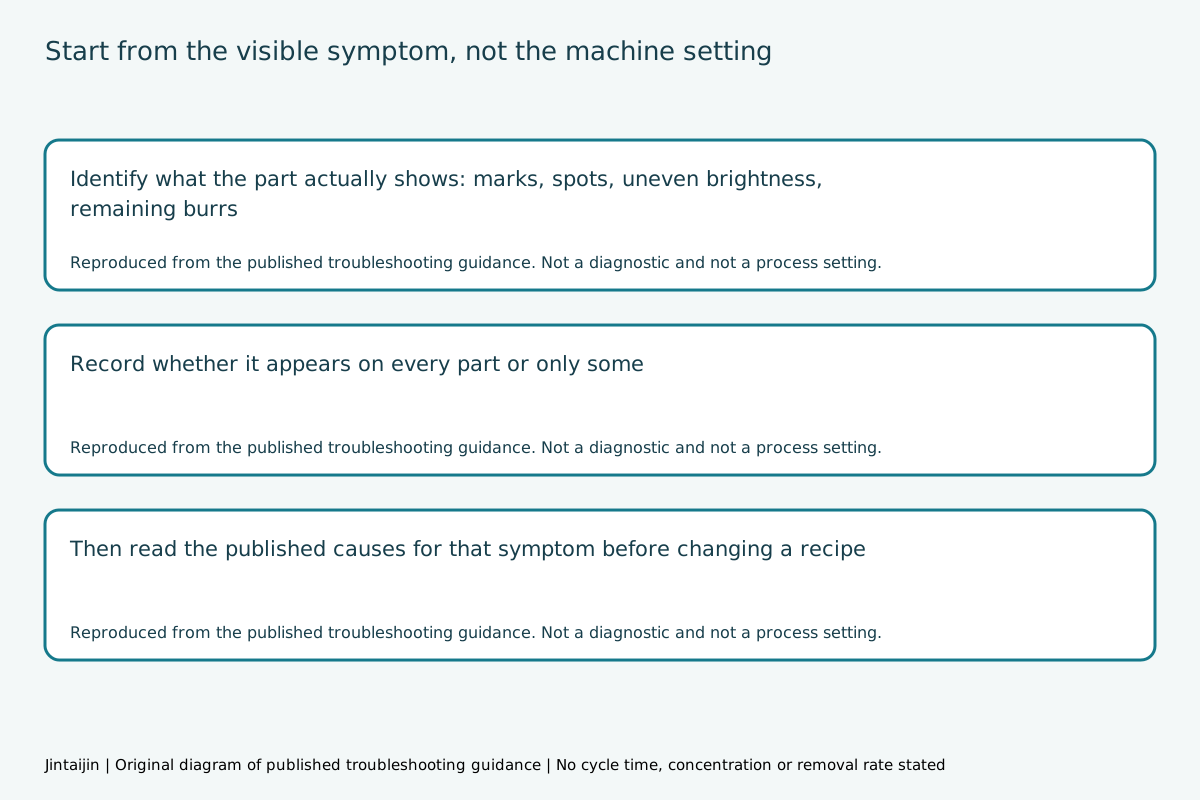
Check what the source says to inspect first
Select the visible symptom and where you observe it, then read the published guidance.
Published guidance rows
| Visible symptom | Possible causes (as published) | First check | Also check |
|---|---|---|---|
| random marks | Contaminated media, trapped metal chips, mixed media, or an overly aggressive media shape | Clean the machine and run a small batch with known clean media | Reduce the part count and increase cushioning media while holding other settings constant |
| part-on-part contact marks | Poor load circulation, overloaded chamber, mixed incoming surfaces, or uneven compound distribution | Run a smaller, sorted batch and verify that all parts circulate freely | Prepare a fresh solution at the supplier's recommended concentration and add a clean rinse |
| water spots, white film or cloudiness | Hard water, slow drying, contaminated rinse water, retained liquid, or material oxidation | Inspect after rinsing and drying; confirm the rinse route and drying time are as intended. | Prepare a fresh solution at the supplier's recommended concentration and add a clean rinse |
| uneven results or dull patches | Excessive cycle time, high cutting rate, media too large, or excessive amplitude | Run a smaller, sorted batch and verify that all parts circulate freely | Remove marked samples from different load positions and compare after equal exposure time. |
| burrs remaining after a long cycle | Worn media, poor media contact, unsuitable media shape, low machine energy, or burrs beyond process capability | Confirm that media can reach the edge or internal feature without lodging. | Record height, thickness, location, and orientation instead of using only a visual description. |
Possible-cause lists are reproduced verbatim from the published article. Two check lines are composed from the source text rather than quoted, and are marked.
Source and its limits
Published troubleshooting article; captured 5 October 2026. SHA256: 00da8cd2ae6c2fe4187f305b98d5f1046d1e02409bc616e3a7b363d8e22251e7.
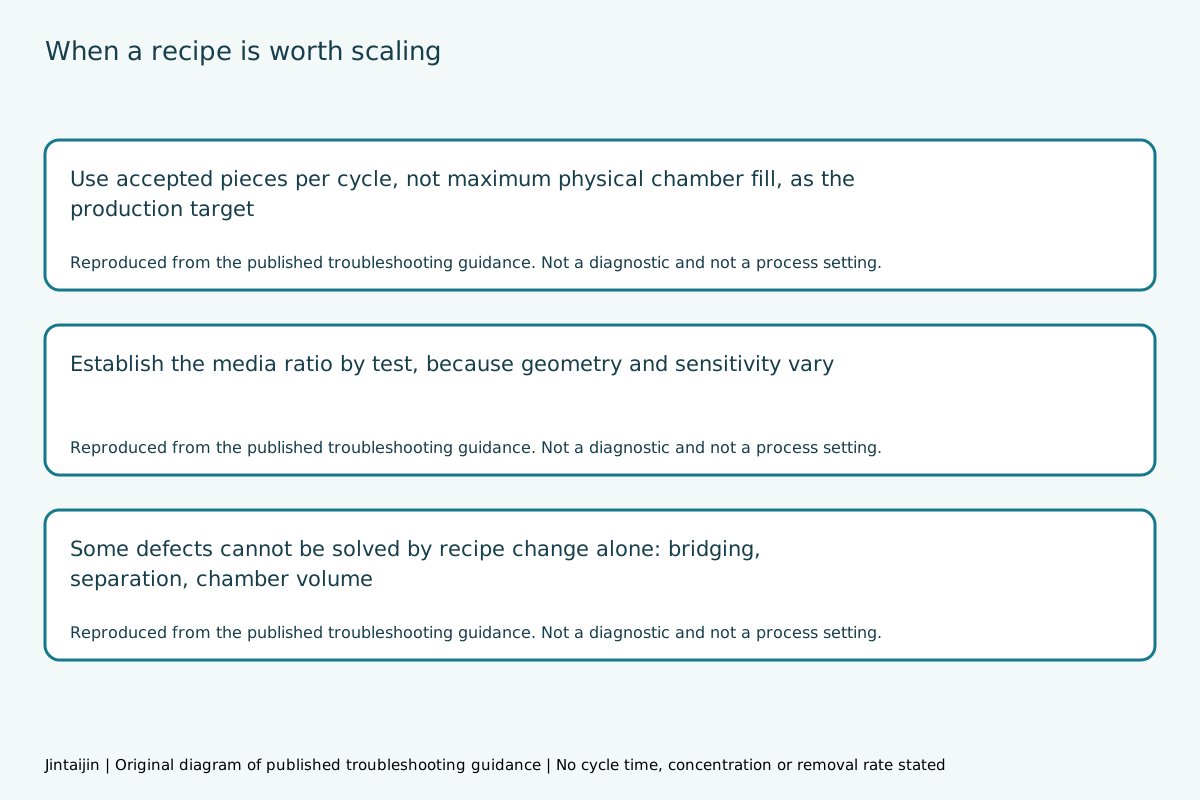
As published: “Use this table as a starting point, not as a substitute for a controlled process test. The same visual symptom can have more than one cause.”
- A source table is a starting point, not a substitute for a controlled process test. The same visible symptom can have more than one cause.
- No cycle time, concentration, amplitude, load ratio or removal rate is stated or implied.
- No defect is diagnosed. The tool reports what the source says to check first.
The article itself notes that not every defect visible after tumbling was created inside the machine, and that the same visible symptom can have more than one cause. This page reproduces that guidance and does not go beyond it.
Frequently asked questions
Does this page diagnose my defect?
No. It reproduces the published troubleshooting guidance and reports what that source says to check first. A published table is a starting point, not a substitute for a controlled process test, and the same visible symptom can have more than one cause.
Does it tell me what cycle time or compound concentration to use?
No. No cycle time, concentration, amplitude, load ratio or removal rate is stated or implied anywhere on this page or in its download.
Are the possible causes quoted from your article?
Yes. The possible-cause lists are reproduced verbatim. Two of the check lines are composed from the source wording rather than quoted, and those lines are marked on the page and in the download.
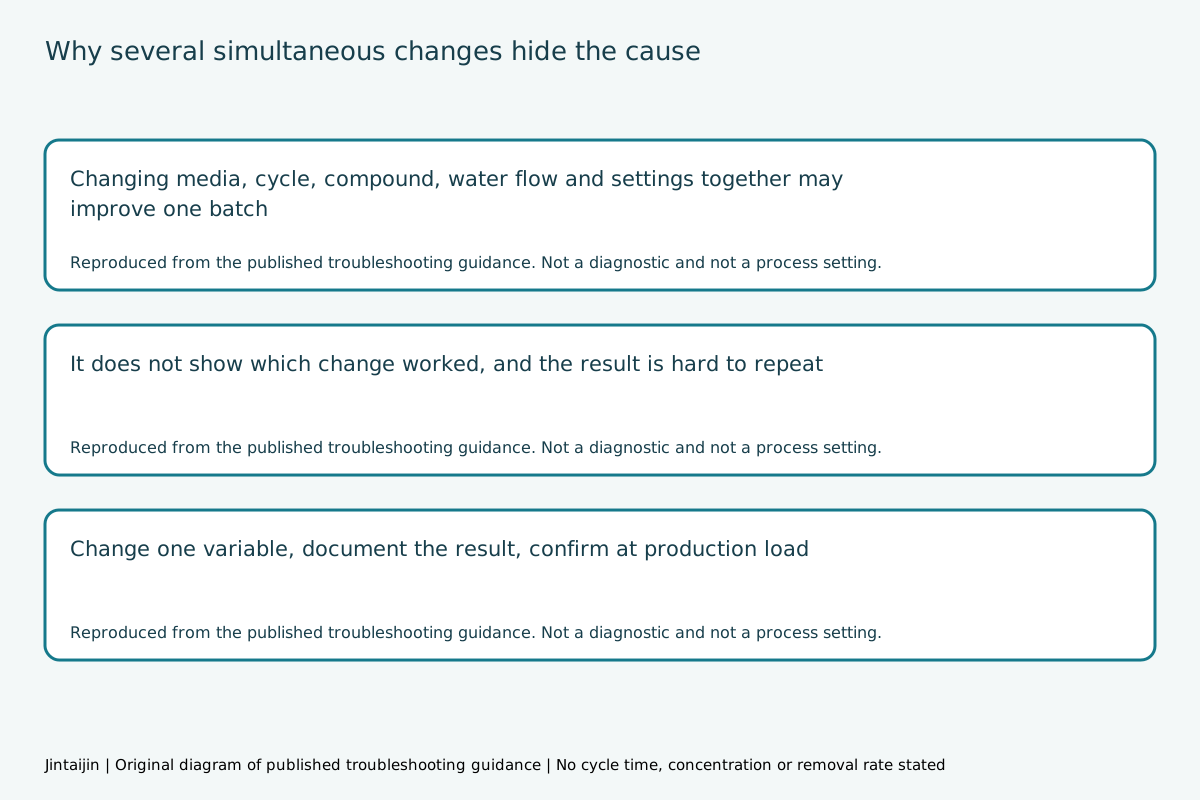
Why change only one variable?
The published guidance is explicit: changing media, cycle time, compound, water flow and machine settings together may produce a better batch, but it does not show which change solved the problem, and the result is difficult to repeat.
What should I send for a technical review?
Part photographs, the process recipe you have actually used, the current defect and the target finish. Without the real recipe the cause cannot be separated from the incoming part condition.
 +86-592-2381506


 IPv6 network supported