
Plastic Polishing Techniques for Controlled Barrel Tumbling starts with the workpiece problem. For plastic components, moulded parts and cosmetic surfaces, the correct finishing route depends on geometry, material, feature protection and the inspection result required by the part owner.
Define the problem before choosing a machine
A short description such as 鈥渕ake the surface better鈥?is not enough to screen a useful process. Explain where the burr, scale, residue, mould mark, dull area or uneven texture appears. Include a drawing, clear photographs or representative samples when available. Note the areas that must remain unchanged, such as a sealing face, bore, thread, cutting edge, spring section, hinge, grain direction or cosmetic face. This lets the process discussion follow the actual part rather than a generic machine category.
Workpiece details to collect
Record material and hardness when known, outside dimensions, openings, recesses, sharp transitions, batch quantity and how the parts arrive at the finishing station. For small or delicate parts, explain whether parts can touch one another and whether a divider or separation step is needed. For long, heavy or irregular parts, include the handling method and the surfaces that need support. These details influence movement, media access, loading, unloading and cleaning.
- Describe the material, envelope, batch pattern and current surface condition of the plastic components, moulded parts and cosmetic surfaces before selecting equipment.
- Mark the edges, holes, threads, recesses, contact faces and cosmetic areas that must be protected during movement.
- Separate the requested result into cleaning, deburring, edge conditioning, smoothing or visual refinement so each stage can be checked.
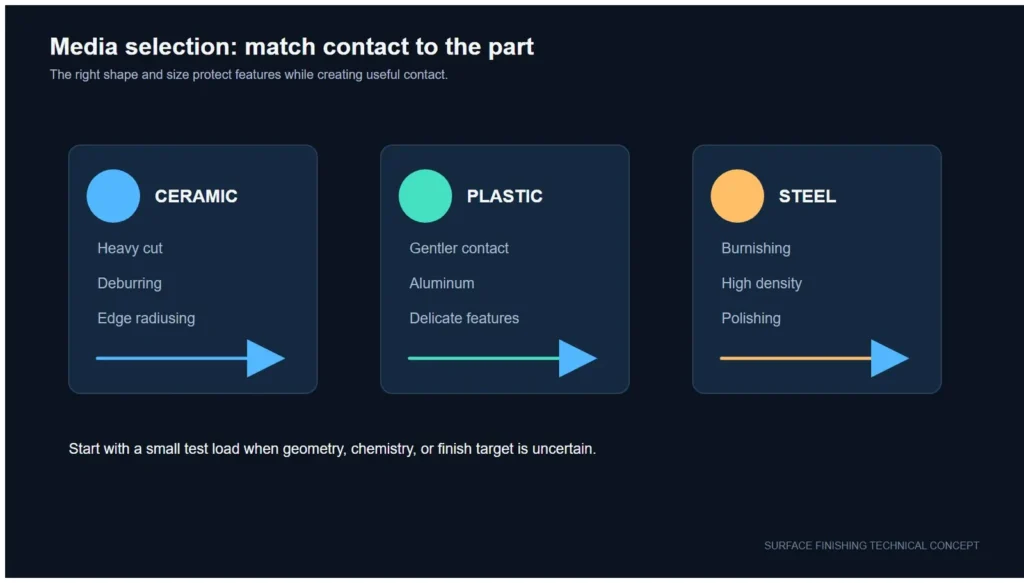
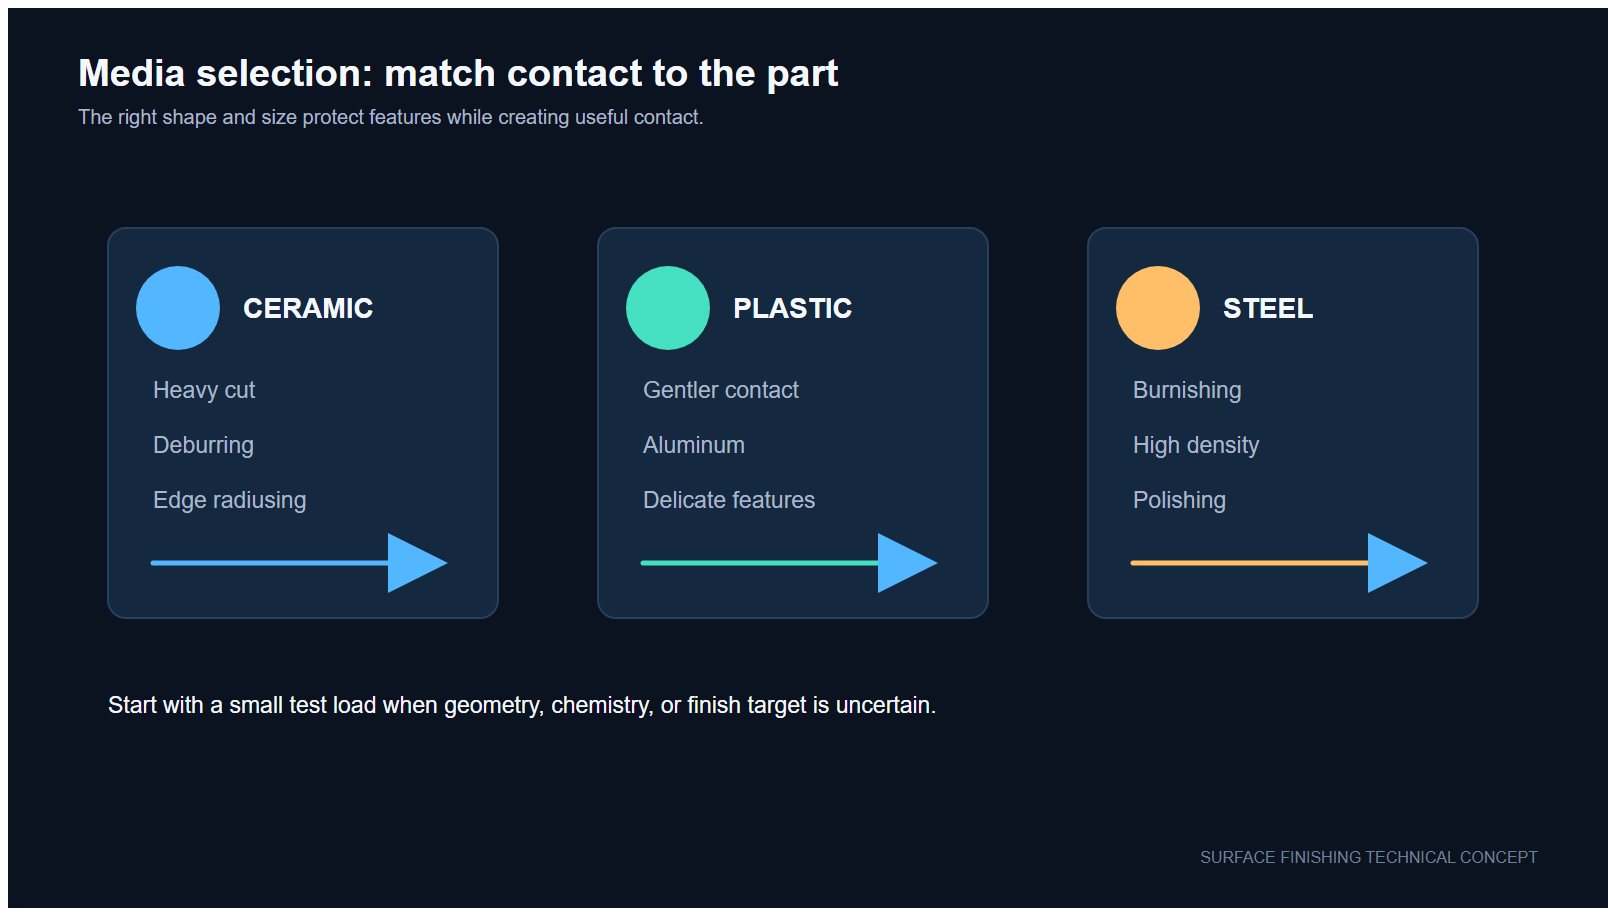
- Compare media shape and size with the smallest feature that must be reached, then plan separation so media does not lodge in the workpiece.
- Keep the loading pattern, process stages and inspection lighting consistent while comparing sample cycles.
- Record what changed at each feature instead of relying on one overall impression of the part.
Build a controlled sample route
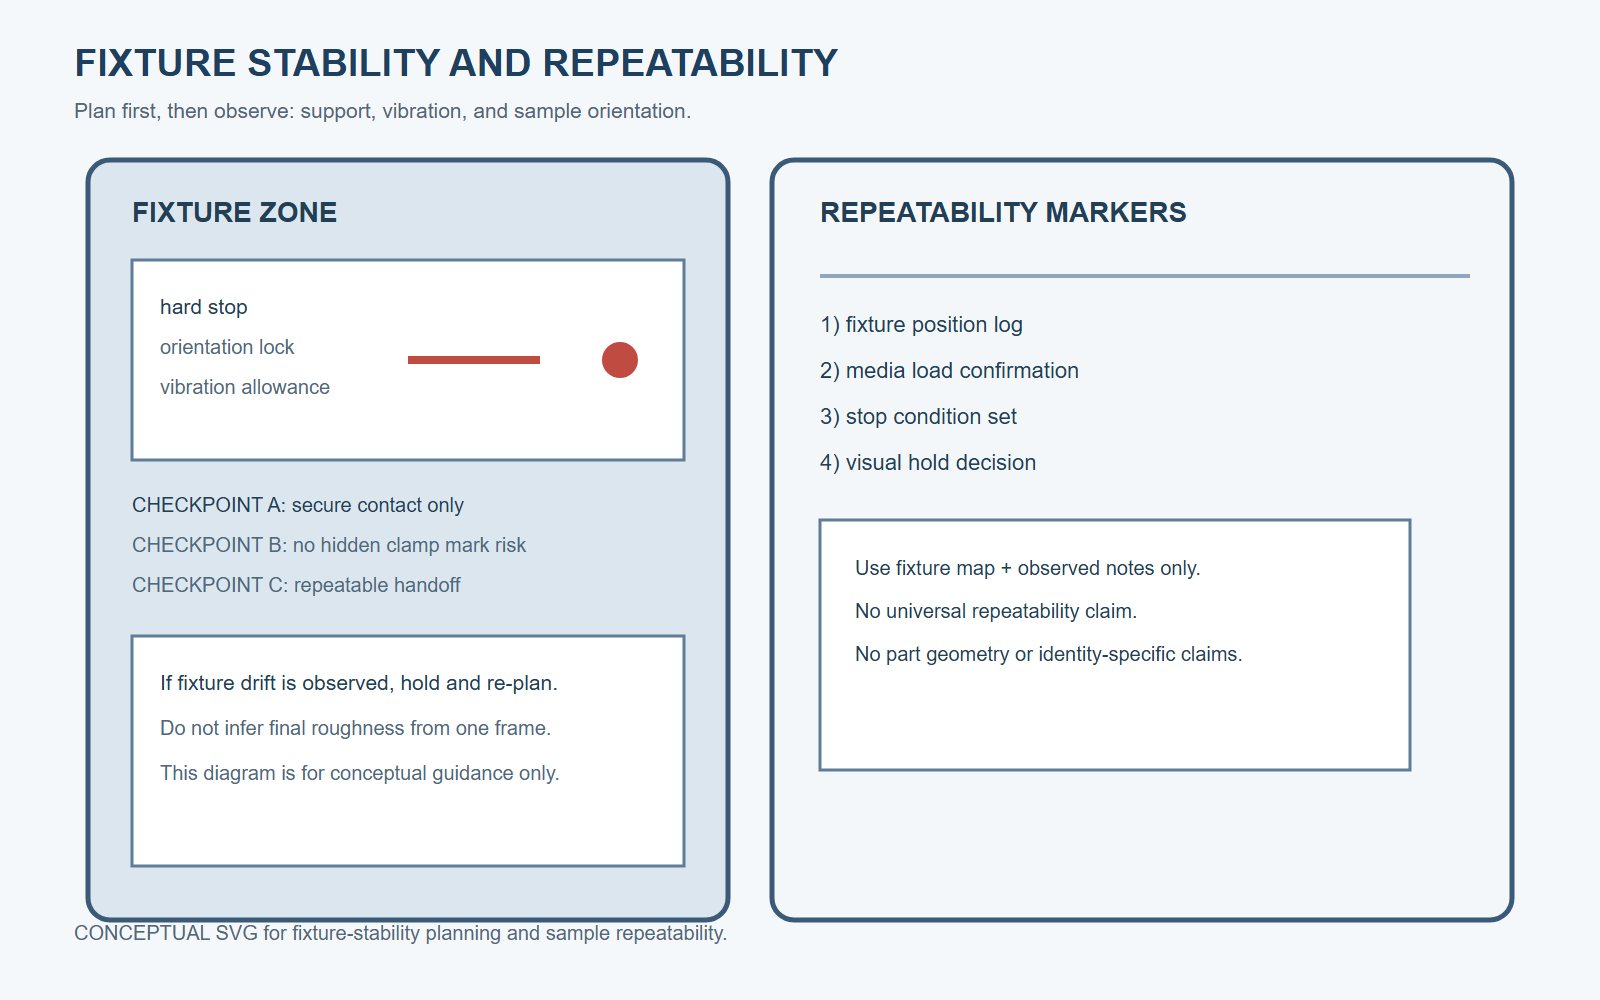
A practical trial changes one important variable at a time. Begin with a representative group of parts and a clearly described media condition. Check whether the selected shape can reach the problem area without lodging, bridging or damaging a protected feature. Review contact between parts, media carry-out, cleaning access and the condition of the working chamber. If the target involves several stages, keep the handoff between stages visible: remove loose residue, inspect, continue with the next stage, then inspect again.
For a machine comparison, record the working arrangement, loading pattern, media family, compound or additive used, cycle duration and any manual handling. The record does not need to be complicated. Its purpose is to show which change affected which feature, so the next trial can be planned with less guesswork.
Inspection points that matter
Use the same viewing angle, lighting and sample orientation for before and after checks. Inspect the smallest holes and slots, edges, corners, contact faces and any area where media could lodge. Look for remaining burrs or residue, unwanted edge change, marks from part-on-part contact and variation between the first and last parts in the batch. If appearance matters, define the acceptable visual range with agreed reference pieces. If fit or function matters, add the relevant dimensional or functional check to the sample record.
Questions to answer before the next trial
- Which feature is hardest to protect?
- Identify it first and use it as the main check for media access, separation and movement.
- Which process stage is actually required?
- Separate cleaning, deburring, smoothing and visual refinement so the route can be reviewed clearly.
- What should be sent for a process review?
- Send representative workpieces or clear photos, material information, dimensions, batch pattern, current condition and the intended inspection result.
Discuss your workpiece
Use the contact form to send the workpiece details and the finishing problem. SurfacePolish can then help compare a practical equipment and media route around the features that matter to your production.
| Plastic condition | Suggested starting point | Reason |
|---|---|---|
| Rigid plastic, light burr | Light plastic or nylon media, short cycle | Keeps the mechanical load low enough not to mark |
| Soft or flexible plastic | Very light media, longer gentle cycle | Soft material deforms rather than cuts |
| Heat-sensitive polymer | Shorter cycle with heat monitored | Friction raises the temperature quickly on plastics |
| Fine moulded detail | Media sized below the smallest feature | Larger media rounds detail before it deburrs |
| Transparent or clear part | Staged grades ending fine | A single stage leaves visible haze |
| Part that must stay matte | Dry media such as walnut shell or corn cob | Avoids moisture and preserves the non-gloss surface |
Directions to test on a representative sample, not validated results for a specific component.
Frequently asked questions
Why use nylon media for plastic parts instead of ceramic?
Nylon media is softer and lighter than ceramic, so it removes material more gently and puts less mechanical load on the part. For plastics, which mark and deform easily, that difference is usually what prevents damage.
What causes parts to come out marked or scuffed?
Marks in a barrel process usually come from part-on-part contact or from media that is too heavy for the material. Lightening the media, reducing the load and letting media separate the parts normally removes the cause.
Can barrel tumbling produce a polished surface on plastic?
Barrel tumbling is better at smoothing and deburring than at producing a high gloss on plastic. Where a bright finish is needed, it is normally reached through a sequence of stages with progressively finer media rather than in one operation.
How long should a plastic part be tumbled?
Cycle time is set by what the part needs, not by a fixed number. It should be established on a sample, confirmed by inspecting the surface and the edges, and then held constant so results stay repeatable.
Do plastic parts need a different compound?
Yes. Compounds are matched to the material, and a compound intended for metal can attack or discolour some plastics. Using a compound suited to the specific polymer is part of getting a clean, uniform result.
Answers are directions to test on a sample part, not validated results for a specific component.
 +86-592-2381506


 IPv6 network supported