Tumbler Pins: What They Reach, What They Cannot, and How to Keep Them Working
Steel media is usually presented as a family of shapes — balls, ovals, diagonals, and pins — and one line is written about each. Pins deserve more than a line, because pins are the one shape whose behaviour is decided by the machine that drives them rather than by the part.
This page covers why pins belong to a magnetic drive and not a vibratory bowl, what happens when a pin lodges, and how a pin charge dies. The wider steel media picture is here: steel media burnishing guide.
A Pin Is Not a Small Ball
When buyers search for tumbler pins or stainless steel pins for tumbler use, they often treat pins as tiny stainless steel shots stretched into a wire shape. On the shop floor, a pin and a ball behave like two completely different tools.
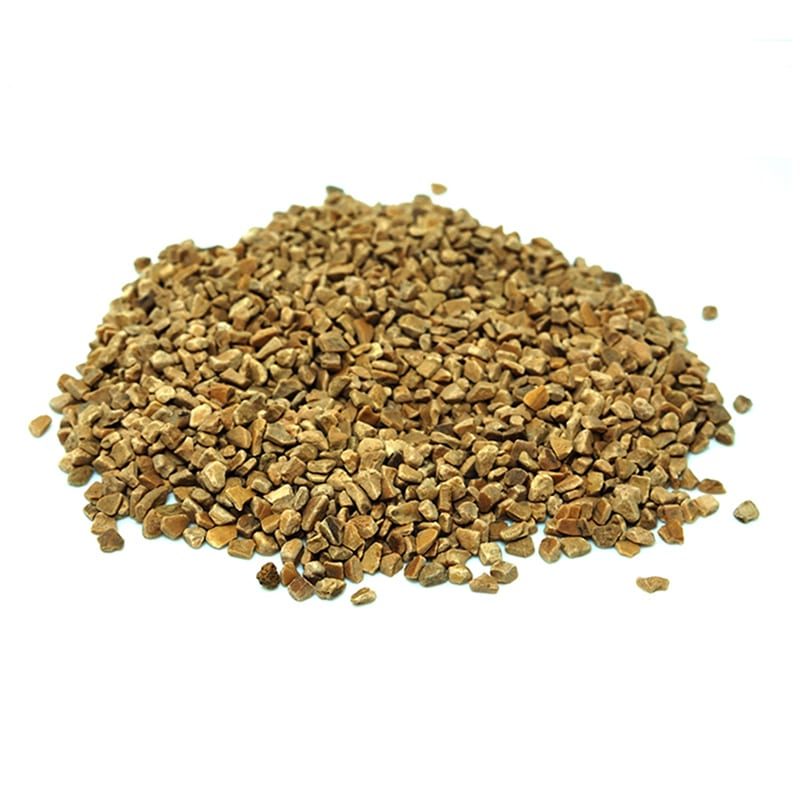
No abrasive grain — it works by compression, not cutting
Unlike ceramic or plastic grinding media, which rely on embedded grit to slice metal away, stainless steel media contains zero abrasive grains. Whether you are burnishing steel, brass, or copper, or burnishing aluminium with a dedicated liquid cushion, metal burnishing works by cold compression rather than cutting.
As hardened pins strike and slide across the part, contact pressure flattens microscopic peaks and knocks off brittle micro-burrs at thread roots. Because burnishing metal moves peaks rather than grinding stock away, it brightens the surface into a reflective luster without changing part dimensions.
Why the shape matters more than the material
You can form a ball and a pin from the exact same stainless wire grade, yet their geometry creates opposite contact physics. A spherical ball makes point contact and rolls across open faces for mirror ball burnishing, but stops at any slot narrower than its diameter.
A pin trades rolling mass for a slender aspect ratio. Its end tip and side wall slip straight inside narrow passages where round steel shot beads bridge across the opening.
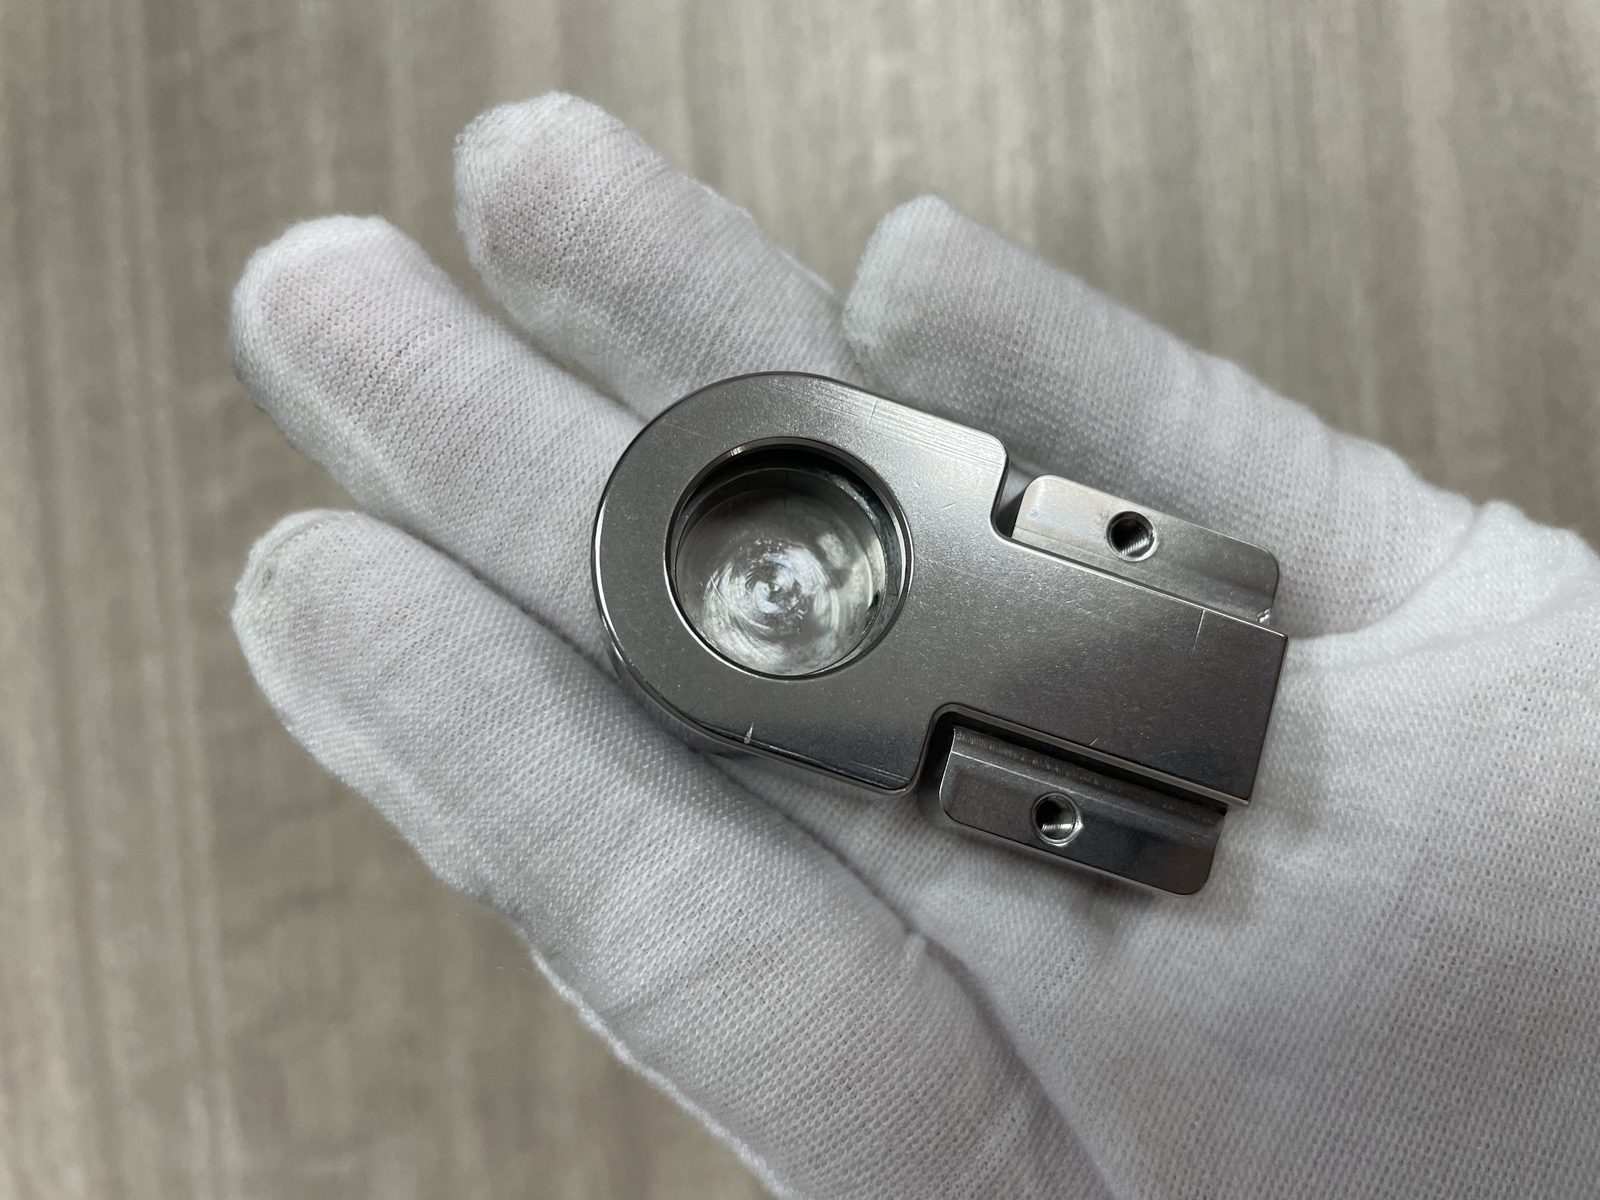
The three jobs a pin does that no other media does
That slender needle geometry lets tumbler pins perform three jobs that ceramic stones, burnishing rocks, and spherical steel shots cannot touch:
- Reaching inside long, narrow channels: Pins slide end-first down internal threads, injector passages, and guide slots to clear feather burrs and brighten inner walls.
- Clearing intersecting cross-holes: Where two drilled holes meet inside a manifold, round balls bridge the junction while slender pins pass straight through.
- Brightening recessed dead corners: On jewelry castings, watch bezels, and dental brackets, pins reach sharp rib roots without rounding off outer detail.
Why Pins Belong to Magnetic Finishing, Not to a Vibratory Bowl
The most expensive mistake buyers make with stainless steel media for tumbler applications is pouring fine magnetic pins into a vibratory bowl or rotary barrel. To see how machine architecture governs small-part deburring, compare our magnetic finishing machine guide and our guide on when loose media cannot reach. For standard stones, see our vibratory tumbler media selection guide.
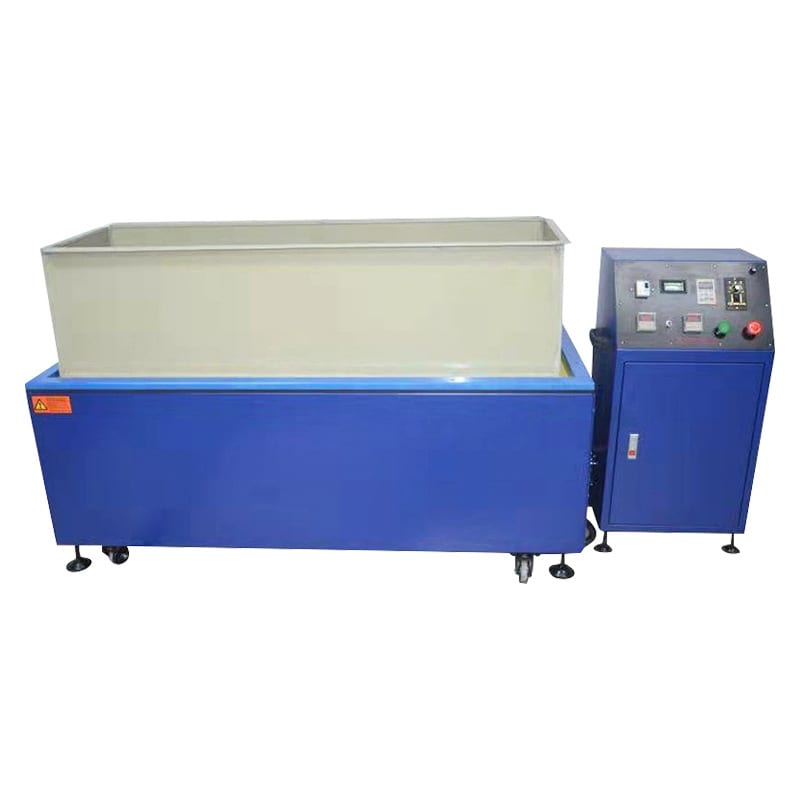
The drive decides the media, not the other way round
Slender stainless steel pins are built specifically for the rotating magnetic field inside magnetic finishing machines. Beneath the non-magnetic work bowl sits a disc packed with alternating permanent magnets spinning at high speed.
That magnetic field grabs the ferromagnetic pins and stands them up on end like a stiff, swirling brush. As the field alternates, upright pin tips whip through recessed holes, slots, and undercuts from every angle. Only a magnetic drive gives a light, slender pin the directional orientation needed to enter a hole.
What happens if you put pins in a vibratory bowl
When an operator pours fine magnetic tumbler pins into a vibratory bowl or rotary stainless steel media tumbler expecting them to enter tiny holes, the physics fail right away.
Without a magnetic field to stand the pins upright, gravity and vibration lay the pins flat against one another. They mat together into parallel bundles at the bottom of the bowl like wet toothpicks and slide past hole openings sideways.
The storage rule almost nobody states
Even worse is what happens to the pins' magnetic state when they sit inside or beside a vibratory machine. Here is a critical rule that almost no supplier states: tumbler pins must never be stored inside a vibratory tumbler bowl or stacked next to vibratory motors.
Vibratory motors and shop magnets expose stationary pins to a constant magnetic field and mechanical shock. Over time, the pins become permanently overmagnetized and clump into stubborn magnetic balls even when the machine is off. Instead of separating and flowing into part holes, overmagnetized pins stick together in clumps and stop working. Always store dry pins in plastic tubs well away from vibratory equipment.
The Lodging Problem — When the Pin Goes In and Will Not Come Out
Because buyers purchase tumbler pins specifically to enter tiny holes and slots, the top operational headache on the shop floor is pin lodging. Lodging happens when a pin slips into a recess during the cycle and wedges fast.
Where pins lodge, and why it is predictable
Pin lodging is never random; it happens whenever a hole's internal geometry lets a pin tilt diagonally and jam both ends against opposite walls. While a straight through-hole lets pins flush cleanly through, any sudden change in diameter or direction traps pins mid-flight.
The features that pins love too much
Watch out for four part features when reviewing drawings for pin finishing:
- Blind holes: A pin enters tip-first, hits the dead end, tilts sideways as other pins press behind it, and locks across the bore.
- Narrow tapered slots: A pin slides into the wide mouth of a slot and wedges tight as the slot narrows.
- Intersecting cross-hole corners: At the internal junction where two bores cross, a pin turns partway and jams between the two walls.
- Coarse internal thread roots: A pin whose length matches the pitch diameter of an internal thread bridges across opposing thread crests.
How to get a lodged pin out without damaging the part
When inspection finds lodged pins inside brass, aluminum, or stainless fittings, never dig them out with hard steel picks that scratch the bore. Use these four shop-floor recovery methods in order:
- Reverse magnetic jogging: Run the parts in water and compound with no extra media so alternating magnetic poles flip the pin out.
- Ultrasonic agitation: Place the part hole-down in an ultrasonic bath to break capillary suction.
- Brass or wood probe: Tap a wedged pin gently with a brass or wood splinter softer than the part.
- Post-cycle magnetic screening: Run unloaded batches over a vibrating magnetic separator screen before drying.
The spec decision that prevents lodging before it happens
Most buyers try to prevent lodging by changing pin diameter. In practice, pin length must be shorter than the blind hole depth — and length matters far more than diameter for preventing lodged pins.
Pin diameter only decides whether the pin enters the hole mouth; pin length decides whether it comes back out. Specify a pin length that is either short enough to turn freely inside the blind cavity without wedging diagonally, or longer than the hole so it never enters.
The Shapes and What Each One Is For
While fine magnetic pins handle micro-recesses, heavy barrel and vibratory burnishing uses four standard geometries across our steel finishing media range. Every certified stainless steel shot manufacturer forms these four shapes to target specific contours.
Straight pins
Straight cylindrical pins — in fine, medium, and coarse wire gauges — provide maximum penetration into narrow slots, small holes, gear roots, and jewelry filigree inside magnetic finishers.
Ball-cones and diagonals
Ball-cones combine a rounded hemisphere belt with a tapered point, while diagonals are cylindrical wires cut at an angle. Both shapes suit heavy vibratory or barrel burnishing on parts with both flat faces and internal corners: the rounded body burnishes flats while the tip reaches fillets.
Balls and dish balls
Spherical stainless steel shot media and flattened dish balls provide pure rolling contact with zero sharp tips to scratch flat faces. Balls are the standard choice for mirror ball burnishing on open stampings, castings, and hardware. Soft-annealed variants — sometimes searched as nu-soft steel shot — serve delicate surfaces where media hardness must stay below the workpiece hardness.
Shot mix — why a mixed charge beats a single shape
On complex castings or ornate hardware, loading a single shape of stainless steel shot for tumbler burnishing often leaves an unpolished ring along internal corners where spheres cannot touch.
The shop solution is running a mixed shot charge — blending spherical balls with ball-cones or pins in one load. Balls roll across broad flats for mirror gloss while cones or pins reach fillets and grooves. A mixed charge covers complex parts better than a single shape, though sorting worn shapes or topping up the ratio takes extra care.
Maintenance — Why Pins Wear Out and What Kills Them
Buyers often assume stainless steel burnishing media lasts forever because it does not erode like ceramic stone. While steel pins do not dissolve in water, a pin charge dies in four specific ways if neglected.
The four ways a pin charge dies
Inspect your working pin charge regularly for these four failure modes:
- Mechanical fatigue and breakage: Slender wires flexing under magnetic impact eventually suffer fatigue and snap into short, sharp stubs. Broken stubs scratch soft parts and wedge deep inside tiny blind holes where full-length pins never lodged.
- Bending: Overloading a chamber with heavy parts bends straight pins into hooks that lose hole reach and tangle around parts.
- Surface loading (fouling): Abraded aluminum oxide, brass smudge, oils, and dried soap build a sticky film over the pins that smears gray residue back onto parts.
- Overmagnetization: Storing pins in a vibratory bowl or near motors magnetizes them permanently so they clump into spiky balls and stop flowing.
Cleaning pins without mixing them into production
When pins leave parts dull or gray, run a dedicated media-cleaning cycle instead of throwing the charge away. Load the dirty pins into the machine alone with no workpieces, add warm water and fresh acidic or alkaline finishing compounds made for burnishing compound maintenance, and run a short cycle.
Running the pins alone in fresh burnishing compound for tumbler cleaning strips away smeared metal and oxidized oil film, flushing dark sludge down the drain and restoring bright steel pins.
The signs that say replace, not clean
Know when to stop cleaning and replace the pin charge:
- Pins still clump into balls after a hot cleaning cycle: The charge is overmagnetized; demagnetize it with an alternating-current coil or replace the charge and fix your storage spot.
- Broken, sharp-ended pin stubs appear in the pan: Screen and discard the charge immediately so fractured stubs do not lodge in customer parts.
- A noticeable share of pins are bent into hooks: Replace the batch, because bent pins jam inside threads and cross-holes on every run.
Choosing the Right Charge for Your Parts
Selecting the right pin or shot charge always starts from the smallest opening on your drawing rather than overall part size.
Start from the smallest feature, not the largest part
Check the narrowest slot width, smallest cross-hole diameter, sharpest internal fillet, and shallowest blind hole depth on your part. Pick a pin gauge and length that either passes cleanly through the smallest opening without wedging, or stays outside while finishing the exterior.
The three-part decision: reach, fill, and separation
Before ordering bulk media, confirm three steps. First, verify that the pin shape reaches your target recess. Second, match total media weight to your machine drive. Third, confirm you have a screen mesh or magnetic separator that separates finished parts from pins cleanly at cycle end.
Use the four-column decision table below to match your part features to the right steel media geometry.
| Workpiece Feature | Media Shape | Why It Works | Shop Caution |
|---|---|---|---|
| Fine threads, narrow slots, and guide channels | Fine straight magnetic pins | Only slender pins can enter and scrub narrow passages | Pin length must be shorter than blind depth |
| Intersecting cross-holes and manifolds | Straight pins or pin-and-ball mix | Pins pass through junctions where spheres bridge | Check internal cross-hole corners for lodging |
| Broad, open flat or curved faces | Spherical balls or dish balls | Rolling contact delivers the brightest mirror luster | Spheres cannot enter narrow grooves |
| Complex castings with flats and fillets | Mixed shot (balls plus cones) | Balls burnish flats while tapered tips reach fillets | Harder to sort and top up mixed shapes |
| Parts with shallow blind holes | Caution with pins; prefer spheres | Blind holes trap pins matching the bore diagonal | Requires dedicated post-cycle separation |
What to send for a real recommendation
Because pin behavior depends on hole depth, alloy hardness, and magnetic field strength, never guess a pin size from a photo. Send your supplier sample parts, a drawing highlighting critical holes, and your target luster so they can test fine versus coarse pins on your geometry.
Cost: What Actually Drives It
When buyers evaluate stainless steel pins and shot media, looking only at the purchase price per kilogram misses the real process economics.
Four cost lines, and the one that dominates
Running a pin or steel shot station involves four ongoing costs:
- Initial media fill: Stainless steel pins and balls cost more upfront than ceramic stone.
- Drag-out and breakage top-ups: Fine pins cling inside wet holes and get carried out during unloading.
- Cleaning maintenance: Compound and machine time spent running empty pin-cleaning cycles.
- Scrap and de-lodging labor: Cost of picking out wedged pins or scrapping damaged parts.
Why the cheap charge costs more
In steel pin finishing, the most expensive cost line is not the price of the pins — it is a lodged pin.
If one poorly sized or broken pin wedges inside a precision valve body or connector and scraps that single part, the loss can exceed the price of the whole bucket of pins. Cheap, poorly cut pins with uneven wire lengths or burred ends guarantee constant lodging and scratching. Spending time upfront to pick the right pin length and uniform wire quality is the cheapest insurance in the shop.
When to replace versus top up
If your pin charge is simply low on volume from normal wet drag-out, topping up with fresh pins of the same gauge works well. However, if the charge contains bent hooks, broken stubs, or overmagnetized clumps, topping up only contaminates the new pins; dump the fatigued charge and start fresh.
At our Xiamen plant, founded in nineteen ninety-two, we build mass finishing equipment and consumables across twenty-one machine platforms and six product lines, backed by twenty-four authorized Chinese IP rights. We supply magnetic finishers, stainless steel pins, balls, ball-cones, and burnishing compounds; for our full scope, see what we build and what we do not. We do not offer contract part-burnishing, standalone pin demagnetizing, plating, anodizing, blasting, or hand tools.
Frequently Asked Questions About Tumbler Pins
What are tumbler pins made of?
Industrial tumbler pins are made from ferromagnetic stainless steel wire chosen for hardness, rust resistance, and magnetic response so rotating magnets can drive them vigorously in water and compound.
Can I use tumbler pins in a vibratory tumbler?
Slender magnetic pins should not be used alone in a standard vibratory tumbler. Without a rotating magnetic field to stand the pins upright, fine pins lie flat at the bottom of a vibratory bowl, mat into bundles, and become overmagnetized by the motor. Heavy vibratory burnishing uses thicker steel ball-cones, diagonals, or balls instead.
How do I get a pin out of a hole?
Never pry a wedged stainless pin out with a hard steel needle that scratches the bore. First try running the part in clean water and compound with reverse magnetic jogging, or submerge the part hole-down in an ultrasonic bath. If mechanical release is needed, tap the pin gently with a soft brass or wood probe, and adjust your pin length before the next batch.
Why do my pins keep sticking together?
When clean tumbler pins stick together in clumps or spiky balls outside the machine, they have become overmagnetized. This happens when pins are stored inside a vibratory tumbler bowl, stacked near an electric motor, or exposed to a constant magnetic field. Store pins in plastic tubs away from machinery, and demagnetize or replace any charge that stays clumped after washing.
How long do tumbler pins last?
There is no fixed hour count because service life depends on wire gauge, workpiece weight and hardness, magnetic field strength, and whether broken pins are screened out. Judge a pin charge by its physical state rather than calendar time: keep running it while pins stay straight, bright, and unmagnetized, and replace it once fatigue breakage or bending appears.
What is the difference between steel shot and pins?
Steel shot refers to rounded shapes like balls, ovals, and ball-cones used in vibratory bowls and barrels to burnish outer faces. Tumbler pins are slender needles driven by a magnetic finisher to reach tiny holes, threads, and slots. Reach out on our contact page to test which pin length or shot shape fits your parts.
 +86-592-2381506


 IPv6 network supported