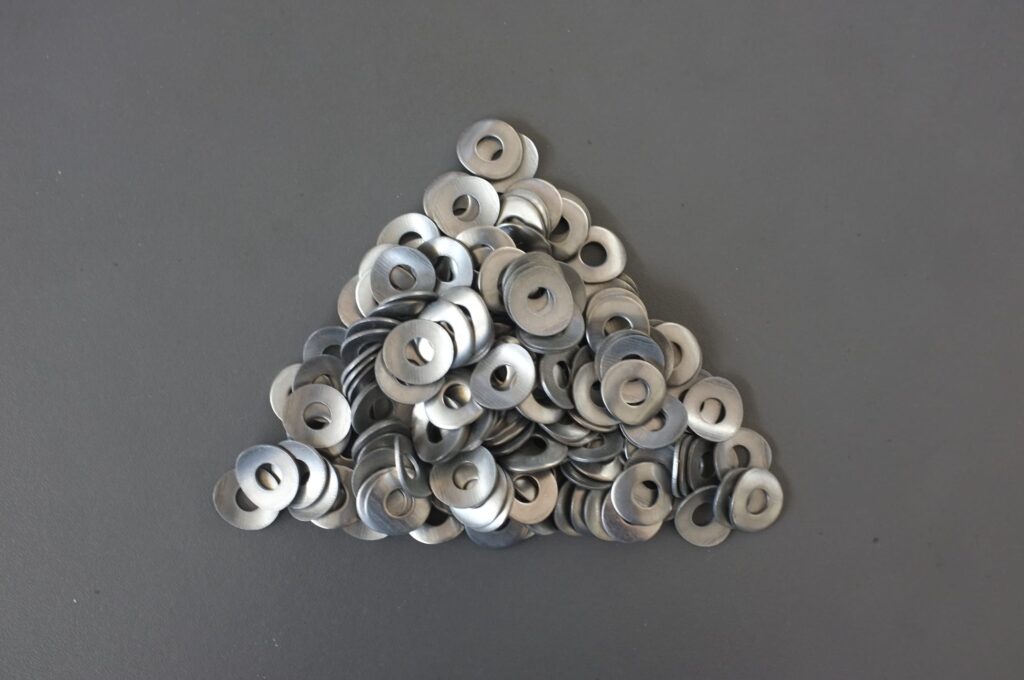
Tumble Finishing: Process Map, Cycle Bands and Where It Stops Working
Tumble finishing is one machine family doing three different jobs: deburring, surface smoothing, and brightening. The machine does not change between them. The media, the compound and above all the time do, and that is why two shops with the same bowl get completely different results on the same part.
This page is a map rather than a definition. It shows which of the three jobs you are actually buying, what each one costs in cycle time, what to check before the charge is loaded, and the part features where the whole approach stops working. Where this page gives a number, treat it as a starting point: a published cycle assumes a material and a removal that may not be yours.
What the shop floor shows when the finishing job was mis-described
Before the machine settings, the question is which job was bought. These four outcomes map almost every mismatch back to one of the three jobs:
| What the customer sees | Which job was actually missing |
|---|---|
| No burr, correct size, still grey and matte | Brightening was never in the process — the deburr stage finished and the route stopped |
| Bright surface, but the tool marks are still visible underneath | Smoothing was skipped; brightness over an unfixed scratch pattern reads as haze |
| Edge radius out of tolerance, everything else acceptable | The cutting stage ran long for a burr that a shorter cycle would have taken |
| First batch good, third batch dull with the same recipe | The charge is spent, or grit carried over from the cutting stage |
None of these is fixed by buying a different machine, and all four are common in quotations written from a cycle time rather than from a process route.
The three jobs inside "tumble finishing", and why mixing them costs money
Most disappointing finishing projects are not a machine problem. They are a mismatch between the job the buyer asked for and the job the quotation described.
| Job | What is being changed | Working cycle band | What it will not do |
|---|---|---|---|
| Deburring | Burr removed, edge broken | 10–20 minutes for a light burr; 20 min–2 h for a general bowl batch | Cannot remove a burr it cannot reach, and cannot leave an edge sharp |
| Smoothing | Scratch pattern refined, surface levelled | Longer than deburring, inside the 15 min–a few hours band | Cannot remove a deep gouge by polishing over it; the gouge has to be cut out first |
| Brightening | Reflectivity raised | 2–8 hours for a high-finish polish | Cannot fix a surface that a previous stage left hazy, and cannot hold an edge radius |
Read the row that matches what your customer will judge. Parts are usually rejected on the third row (brightness) while the process was quoted and sized against the first (deburr), and no amount of extra time in a deburring charge converts one into the other.
What decides the cycle: removal first, finish second
Two variables set the time, and they are not the same job:
- The stock to be removed, in absolute terms. A few hundredths of a millimetre off a small aluminium bracket is a short cycle. A few tenths off a stainless part, taken evenly, is a much longer one.
- The finish required at the end. This is a separate variable: it is set by the last stage's media grade, not by how long the first stage ran.
Confusing the two produces the classic failure: a part that is dimensionally perfect, has no burr, and still looks grey. The charge did the first job and was never asked to do the second.
Where the two pull against each other, decide which one is allowed to move. If the edge radius is fixed by the drawing, the finish has to be reached with a finer grade rather than more time. If the finish is fixed by the customer and the drawing is loose, time is the cheaper lever.
The staging rule, and what a one-stage process really means
A single cycle can be a legitimate production route — for a simple part where one grade does both jobs acceptably. It becomes a mistake when a part with a rough incoming surface, a tight edge tolerance and a bright finish requirement is quoted as one cycle.
The workable sequence is usually three stages: cut, refine, brighten, with the charge cleaned between them. The failure that gets misdiagnosed most often happens at the handoff: coarse grit from the cutting stage is carried into the polishing stage, the part comes out with a grey haze, and the compound gets the blame. It is a cleaning and media-change problem, not a chemistry problem.
If you are running a wet process, the liquid side is a process variable rather than a utility: the compound carries heat and swarf away and affects whether the surface is cut, burnished or polished. Change one variable at a time, and record what changed — a second trial is only useful if you know which variable moved.
What to check before the charge is loaded
Eight items, all read off the drawing and the incoming parts:
- Smallest feature. Media must not exceed about one third of the smallest hole, slot or thread pitch. This single rule decides more trials than any other.
- The heaviest burr, not the average one. Size the cycle for the worst part in the batch, because the batch is judged by its worst part.
- Which surfaces must not change. Cosmetic faces, sealing faces, thread flanks, bearing bores, cutting edges. Media does not know which face matters.
- Edge radius tolerance. If the drawing gives one, it belongs in the trial acceptance criteria before the trial, not in the post-mortem after.
- Incoming surface condition, per batch. Cast, welded, stamped and machined parts enter with different surfaces, and a process tuned on machined stock may be wrong for cast.
- Material and its condition. Soft alloys smear; work-hardening alloys need a short, controlled cut; hardened steel cuts slower and wears the charge faster.
- Part-to-media volume. Keep parts at roughly a third of the bowl. A packed bowl cannot shear the charge, so the parts shield each other and the cycle runs longer for less work.
- Downstream process. Plating, anodising, passivation, assembly, inspection. Two batches that must plate to the same appearance have to be finished to a consistent base, not to "as bright as possible".
Wet or dry: a consequence, not a preference
Wet finishing is the normal answer for steel and for anything that will be plated or passivated; it uses a compound in solution that carries heat and swarf away and leaves a brighter surface. It adds a drying step and a water change on a schedule, and both are part of the cost.
Dry finishing suits aluminium and brass, where a wet process can leave a film or a stain, and it suits workshops where a wet process is not permitted. It is slower, it produces dust, and it needs extraction.
The choice follows from the material and the finish, not from what is already on the floor. A workshop that runs everything wet because the machine is wet will eventually hand a dull, spotted aluminium part to a customer.
Tumble polishing is one of the three jobs — not the whole process
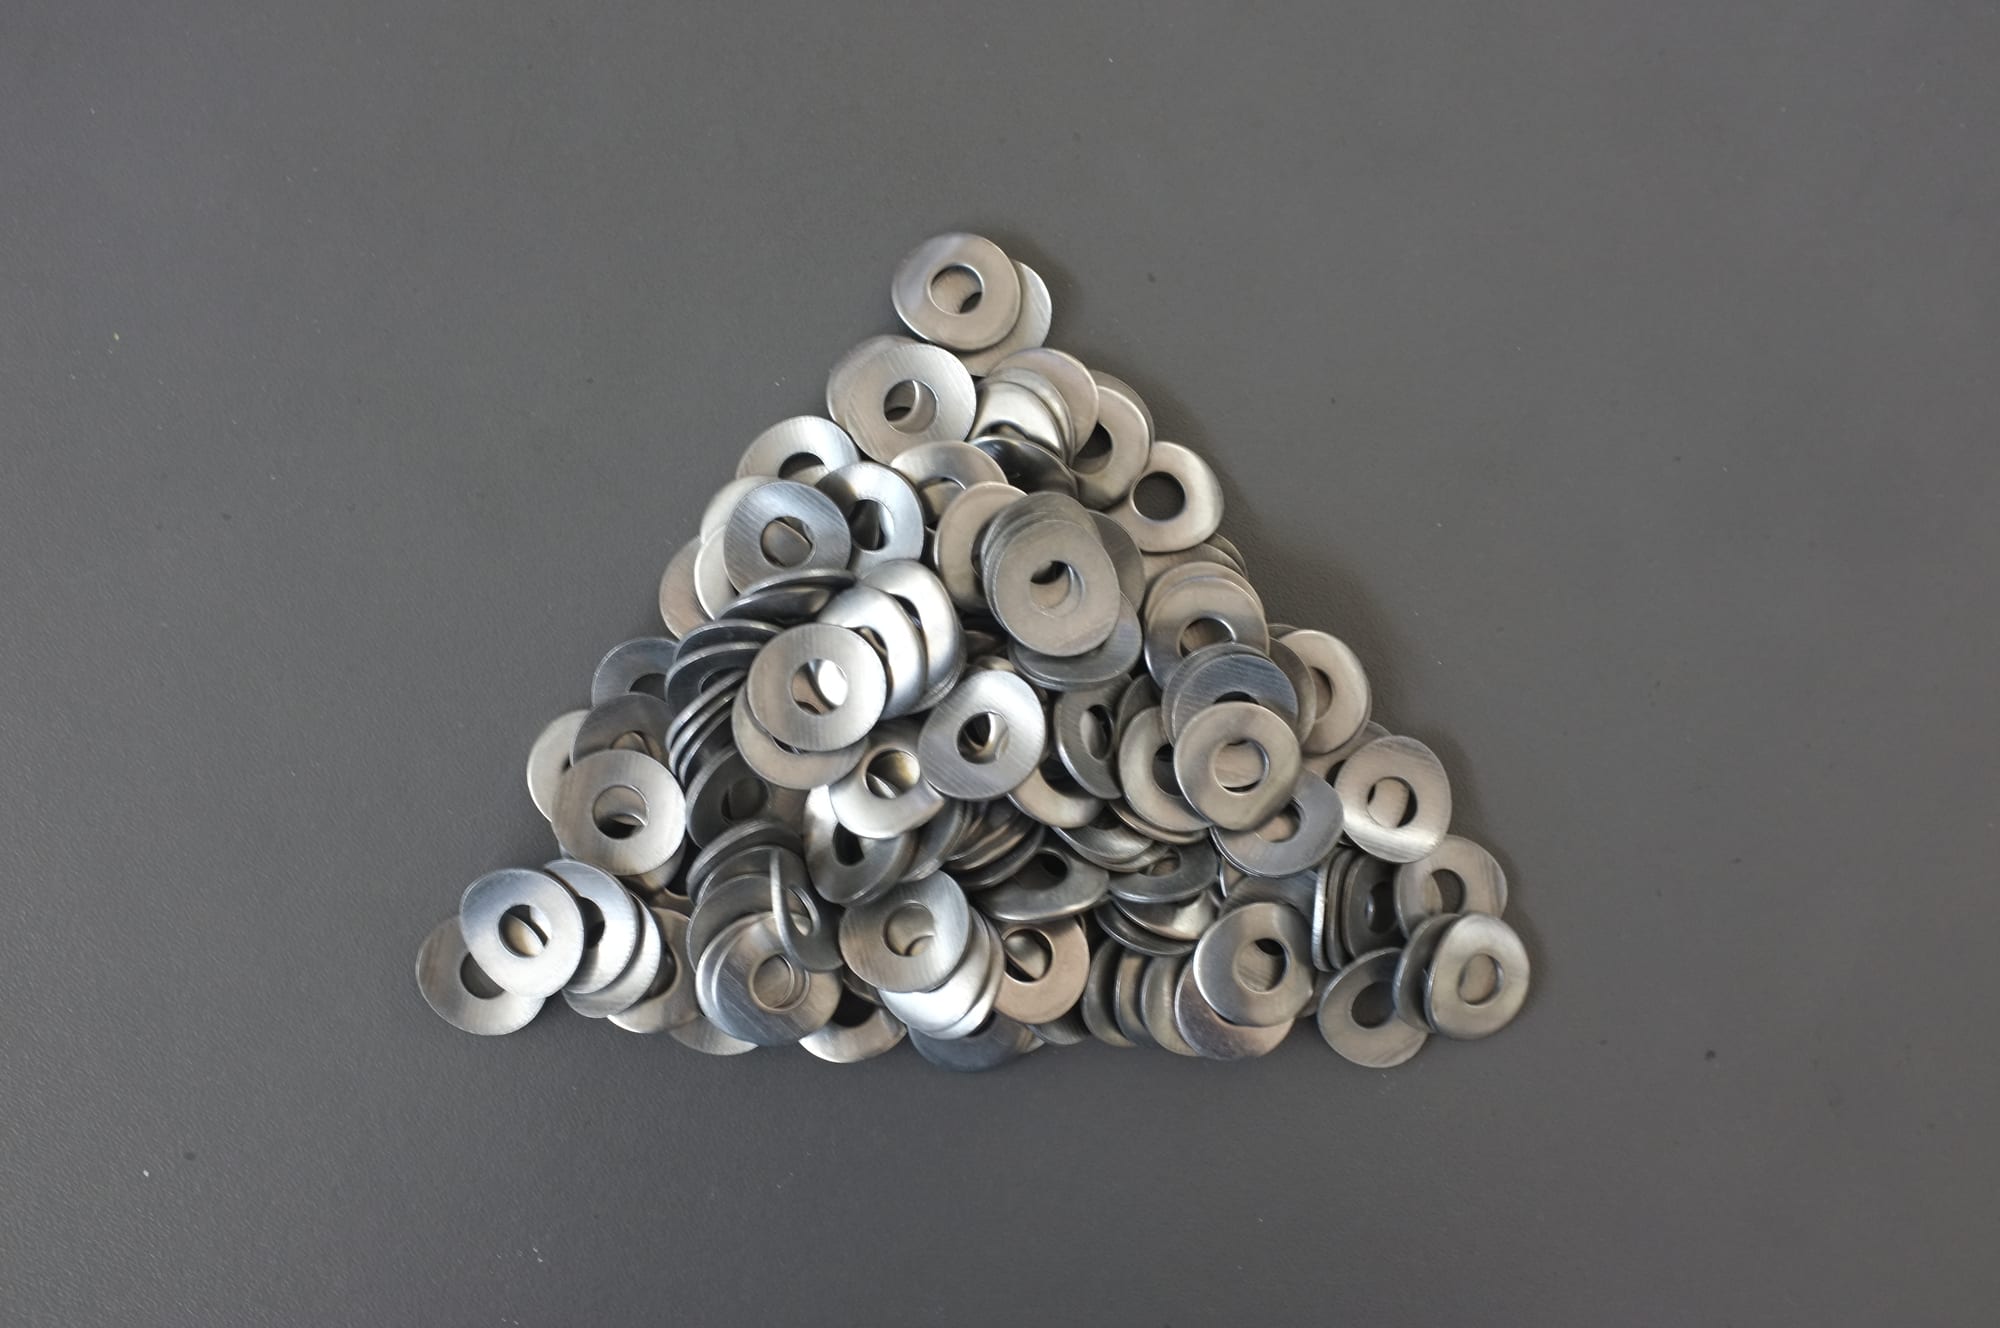
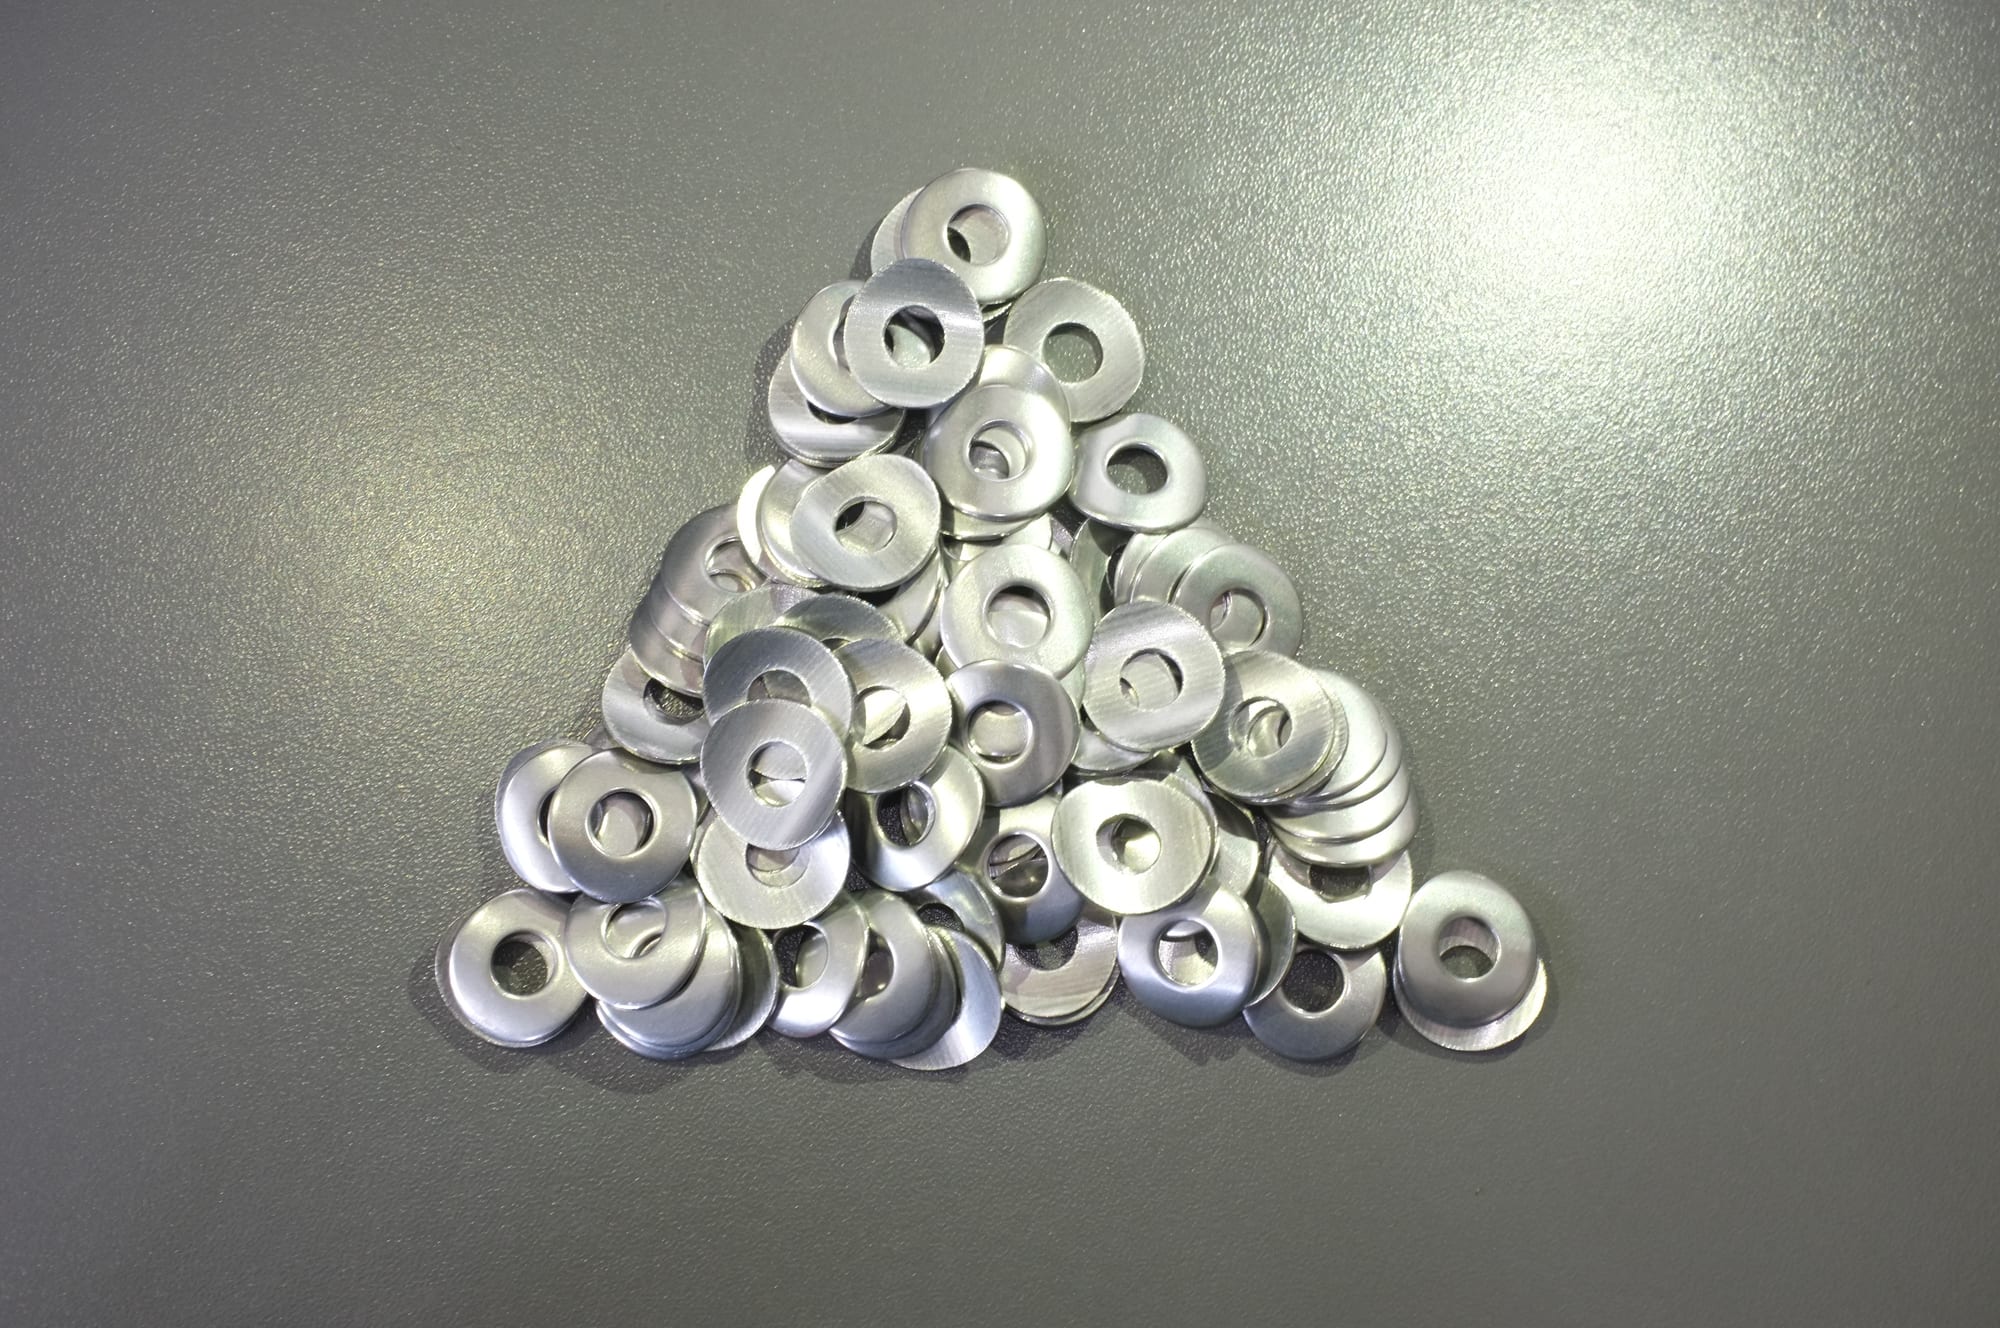
"Tumble finishing" covers three different jobs run on the same machine, and tumble polishing is the third of them. The distinction matters because a buyer who searches for tumble polishing and gets sold a deburring cycle will be disappointed, and the disappointment will be blamed on the machine.
| Job | What changes on the part | Grade range | Cycle band |
|---|---|---|---|
| Deburring | The burr is cut off; every edge the charge reaches is also broken | VR / R / N | 10–20 minutes for a light burr |
| Surface smoothing | The cutting pattern from the previous stage is refined away | N / NF (wet) or M / MF (dry) | Tens of minutes to a couple of hours |
| Tumble polishing | The surface is brightened; the part goes from uniformly matte to reflective | F / FF, or a steel-media burnishing stage | 2–8 hours |
Three things follow from that table.
Polishing cannot start before the earlier jobs are done. A brightening stage run on a part that still carries a coarse cutting pattern produces a bright surface with the pattern still visible under it — and the usual response, running longer, deepens the pattern rather than removing it. The order is fixed: cut, refine, brighten.
Polishing is the stage where the charge has to be clean. Coarse grit left in the machine from the deburring stage is the single most common cause of the grey haze that gets blamed on the compound. A charge change and a rinse between stages is not fussiness; it is the difference between a bright part and a bright-but-hazy one.
The time is not transferable. A deburring cycle of 15 minutes and a polishing cycle of 4 hours are two different processes on the same machine, and a quotation that gives one figure for "tumble polishing" without saying which of the three jobs it covers is a quotation that will be renegotiated after the first batch.
What to ask when a supplier quotes "tumble polishing": which of the three jobs is being priced, what grade the charge uses, and whether the quote assumes the part arrives already cut or needs the cutting stage as well.
Where tumble finishing stops working
This is the part of the map that saves the most money, because every item here has been bought and regretted somewhere:
- Walls below roughly 0.5 mm. The risk is distortion, not the cut — the process bends the part before it polishes it. Reducing the cycle is not the fix; the energy has to come down or the machine family has to change.
- Fine threads under a pitch tolerance. Media locks into a fine thread. Small smooth media or masking reduces it; a thread formed after finishing eliminates it.
- Blind holes and deep pockets. Media goes in and does not come out, and compound residue follows it. The separation and wash-out step has to be designed into the route before the charge is ordered, not added after the first blocked batch.
- An edge that must stay sharp. Blades, cutting tools, scraper lips. A tumble cycle breaks every edge it reaches.
- Soft plastics and acetate. Acetate is a thermoplastic: a wet process holds the frame in a warm bath and the distortion is permanent. Most frame work is done dry for exactly this reason, with a short cycle and a light compound.
- Titanium and other work-hardening alloys. The charge has to be dedicated and kept clean, because contamination carried in from another job shows as scratches, and the cycle has to be short and controlled.
- A feature a loose media cannot enter. Burrs inside cross-holes, at thread roots, in narrow slots. A flexible needle mass reaches those; a loose charge does not. That is a process-selection decision, not a longer cycle.
- A part that will be plated for appearance. Polishing changes the base colour slightly. If two batches must plate to the same appearance, the finishing step has to be held to a consistent base.
What to settle before you approve the quotation
- Ask for a trial on your worst-case part, not the average. That is the only route that finds a media-trapping feature before production does. Our standard practice: you send representative parts including the worst case, the material, and the finish you need plus the finish you will accept, and you get the parts back with the cycle time and media consumption measured.
- Fix the acceptance criterion in writing first. Burr height, edge radius, roughness, protected faces. An unstated criterion is a trial that proves nothing.
- Ask which machine family and why. A barrel rotates the whole charge together and suits simple shapes; a vibratory bowl drives media past the part in a flow and reaches features better; a tub suits long or heavy work. The choice should follow the part geometry, not the catalogue page.
- Ask for the consumable rate per batch. Media life runs from about 20 to 200 operating hours, and the replacement signals are reliable: the finish stops improving, parts show a matte grey haze, and the same result needs about 20% longer. Ask for consumption in kilograms per 100 hours.
- Confirm the timing and what ships with the machine. A standard machine ships in 25 to 35 days from the deposit; a built-to-order configuration takes 45 to 60 days; media and compounds shipped together add about a week. Minimum order is one machine, and standard packing includes the spare parts kit, a media and compound starter set, the tools and the manuals. Every machine is run with a media charge before it ships.
If you are still choosing between machine families, start with vibratory finishing machines, rotary barrel tumbling machines and tub vibrators. The media side is covered by ceramic media and the consumables range; on the cycle variables themselves, see frequency, amplitude and cycle time in vibratory finishing and wet tumbling vs dry tumbling compared.
FAQ
What is the difference between tumble finishing and vibratory finishing? Tumble finishing rotates the whole charge in a barrel; vibratory finishing drives the media past the part in a flow inside a bowl or tub. The barrel is the volume answer for simple shapes, the vibratory machine the general-purpose answer that reaches features better and changes over faster. Both are tumble finishing in the broad sense used on this page.
How long does a tumble finishing cycle take? From 10 to 20 minutes for a light deburr, 20 minutes to 2 hours for a typical small-part bowl batch, and 2 to 8 hours for a high-finish polish. Anything far outside those bands is usually a stage mismatch rather than a machine problem.
Can one cycle deburr and brighten? On a part with a light burr and a modest finish requirement, sometimes. On a part with visible tool marks and a bright target, no: the cutting grade leaves its own matte pattern and the brightening grade is too slow to remove a burr. Three stages cost less than one long compromise.
Why do my parts come out grey after the polishing stage? Almost always because the coarse grit from the cutting stage carried over. Clean the parts and the charge between stages before changing the compound, and check the water if the process is wet. A grey haze that appears late in a cycle is a spent charge signal as well.
Do I need a different machine for large or long parts? Often yes — a tub machine handles work that a barrel would damage or fail to move properly. Whether it is needed is decided by the part envelope and the batch, which is what a trial settles.
Can you supply media and compound to our own specification? Yes, and it is normal where a part has a controlled material or an audit has fixed the consumable. The specification has to be given as a grade, a size range, a shape and a cut-or-burnish behaviour rather than as a finished appearance — "make it look like this sample" cannot be ordered or inspected.
 +86-592-2381506


 IPv6 network supported