Grinding and Sanding Marks: Why Polishing Does Not Remove Them, It Replaces Them
Every finishing problem starts upstream. The marks a part arrives with — parallel lines from a grinding wheel, arcs from a sanding belt, or the scallop left by a milling cutter — decide what the finishing step must do. No finishing step can do more than those incoming marks allow.
The single most useful rule on the shop floor is that polishing does not remove those marks. It replaces them with smaller, shallower, more uniform ones. Once that principle is clear, most of the frustration around why stubborn grinding marks or grinder marks refuse to disappear resolves itself.
How this guide fits with our other resources: Upstream tool selection is covered in deburring equipment forms and the tool boundary. Once incoming marks are leveled, you can specify final sheen using brushed vs satin vs mirror finish. For mirror work, see how to achieve mirror finish on stainless steel with mechanical polishing.
Separate three distinct problems first: bowl-induced marks (vibratory finishing troubleshooting for scratches, dents, and uneven results), shipping or field gouges (surface repair), and uniform upstream tool tracks across a batch (this guide).
Three Marks, Three Signatures
Operators often lump every visible line under machined surface roughness. In practice, grinding wheels, sanding belts, and cutting tools leave three distinct geometric signatures.
Grinding marks — parallel, evenly spaced, directional
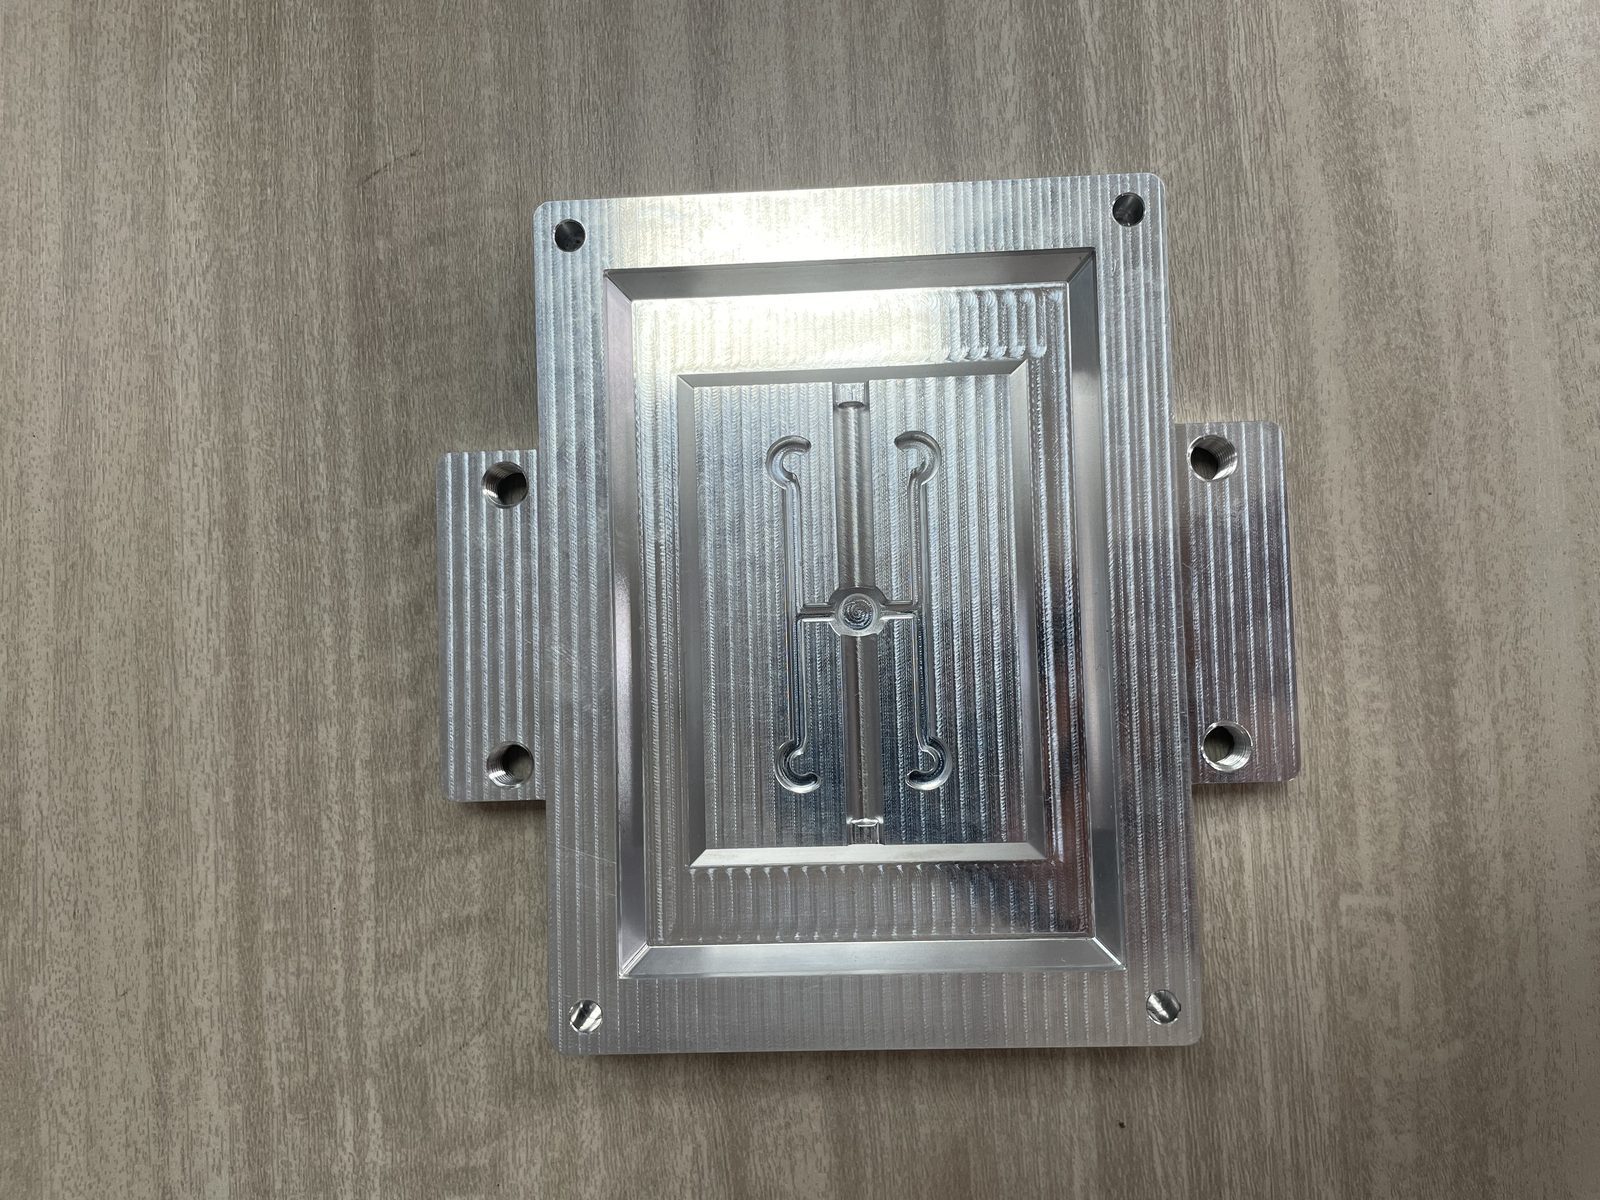
True grinding marks come from a rigid bonded wheel passing linearly across a part, carving parallel, tightly spaced straight lines in one direction. When surface grinding brass, carbon steel, or tool steel, those wheel trenches are narrow at the top but steep and deep at the root.
Sanding marks — arcs, random direction, and why
Sanding belts, flap discs, and orbital pads use flexible backings. Even automated lines for sanding stainless leave lines with slight weave, while sanding stainless steel by hand creates sweeping arcs, swirls, and fish-hook reversal marks where edge pressure gouges deeper than flats.
Machining marks — the scallop that follows the tool path
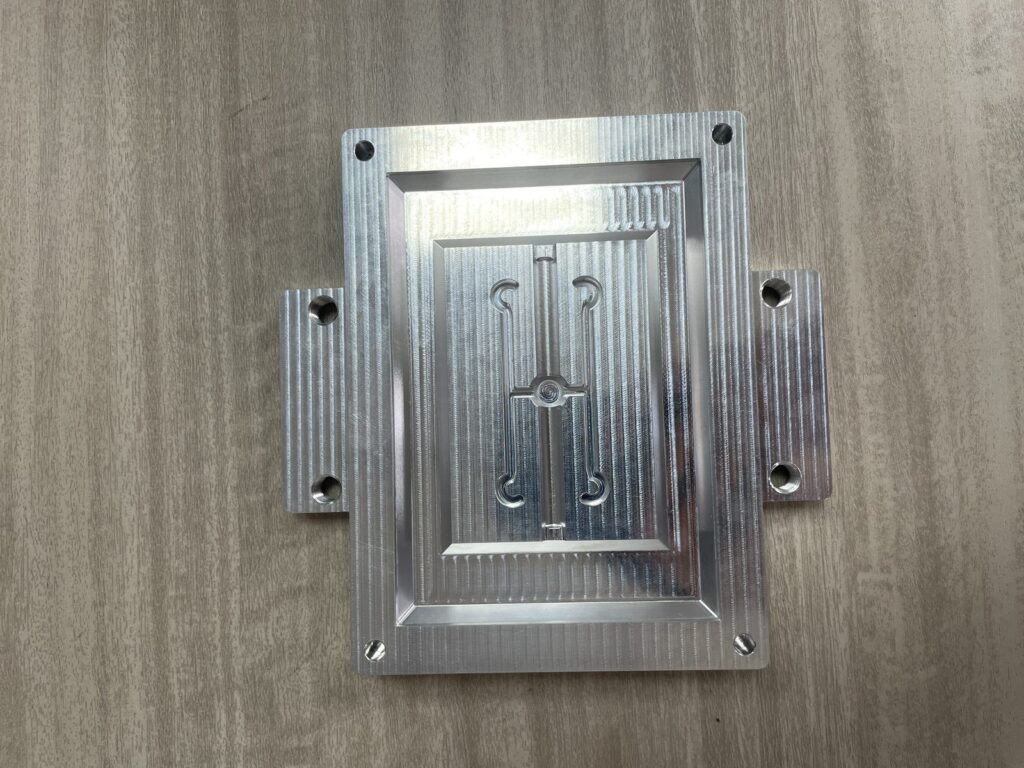
Machining marks are geometric ridges left by a cutter nose advancing by a fixed step-over. Turned shafts carry a continuous spiral groove, while milled plates show parallel lanes bordered by periodic scallop ridges and occasional corner chatter.
Why the signature decides the route
The difference between these three incoming marks is not just how rough they feel. Their cross-sectional geometry dictates how finishing media interacts with the surface.
| Mark Type | Geometric Signature | Typical Source | Directionality | Can Mass Finishing Replace It? |
|---|---|---|---|---|
| Grinding Marks (Wheel) | Parallel, steep V-shaped straight trenches | Surface grinder or hard wheel | Extremely strong, linear | Shape yes, depth often no — deep trenches need belt pre-cut |
| Machine Sanding Marks | Parallel lines with varying depth | Wide-belt sander or linisher | Strong along belt path | Yes, if shallow — fine belt grain blends cleanly |
| Hand Sanding Marks | Sweeping arcs, swirls, and reversal hooks | Portable belt, flap disc, or pad | Random, multi-directional | Yes, with caution — tumbling exposes deep hooks first |
| Turning Marks (Lathe) | Continuous helical groove with uniform crest | Lathe turning insert feed | Helical around diameter | Yes — media shears crisp helical crests well |
| Milling Marks (Scallop) | Periodic parallel cusps and step-over ridges | Face mill, end mill, or ball-nose | Strong along cutter path | Yes — ceramic or plastic media knocks down scallops |
| Grinding Burn / Tint | Straw, brown, or blue tint with zero groove | Excessive dry grinding friction heat | None (thermal zone) | No — heat tint is an oxide layer, not a groove |
Notice the final row: straw or blue grinding burn is a thermal oxide layer, not a groove. Media levels physical peaks, whereas heat tint requires acid pickling or better upstream coolant.
The Line You Have to Get Right: Depth
When parts reach the finishing bay, the first question is how deep the incoming marks sit below the surface.
The three checks, in the order you should use them
You do not need a lab instrument for a practical surface roughness check at the bench. Experienced technicians run three zero-number checks in sequence:
- Low-angle grazing light check: Skim a flashlight nearly parallel to the surface, then shine it straight down; marks visible only at a low angle are shallow, while marks visible overhead are deep.
- Cross-grain fingernail check: Scrape your fingernail across the grain; if it catches, the groove has structural depth that tumbling cannot cut economically, whereas a smooth glide means shallow texture.
- Wet-cloth wipe check: Wipe a wet cloth across the part and look while wet; water hides shallow haze, so any line visible through water is deep.
Note: This diagram is explained in the text and table above rather than shown as a separate figure.
What each check tells you that the others do not
Each check covers a blind spot of the others. Grazing light scans fast but exaggerates micro-texture; the fingernail check tests physical wall steepness but cannot reach inside small bores; the wet wipe works inside recesses but changes as soon as it dries.
Where the checks disagree, and what that means
The best diagnostic insight comes when the three checks disagree:
- Grazing light looks bad, nail glides smoothly, and wet wipe hides it: Shallow visual texture; standard wet or dry mass finishing will replace it cleanly.
- Grazing light looks moderate, nail catches, and wet wipe still shows it: Narrow, steep trench; tumbling will only round the top shoulders and leave a shadow line.
- Overhead light shows a streak, nail feels flat, and wetting changes nothing: Zero groove depth; you have grinding burn, a material seam, or smudged compound.
What Polishing Actually Does
Once you read incoming depth, we can address the biggest misconception on the shop floor.
Replacement, not removal
Polishing does not remove marks; it replaces them with smaller, shallower, more uniform marks. Every belt, stone, or wheel carves microscopic grooves, overwriting old valleys with a tighter scratch pattern. Thus, the first question is never which machine to buy, but whether your chosen media leaves a smaller mark than the incoming one.
Why a coarser step makes the part look worse, not better
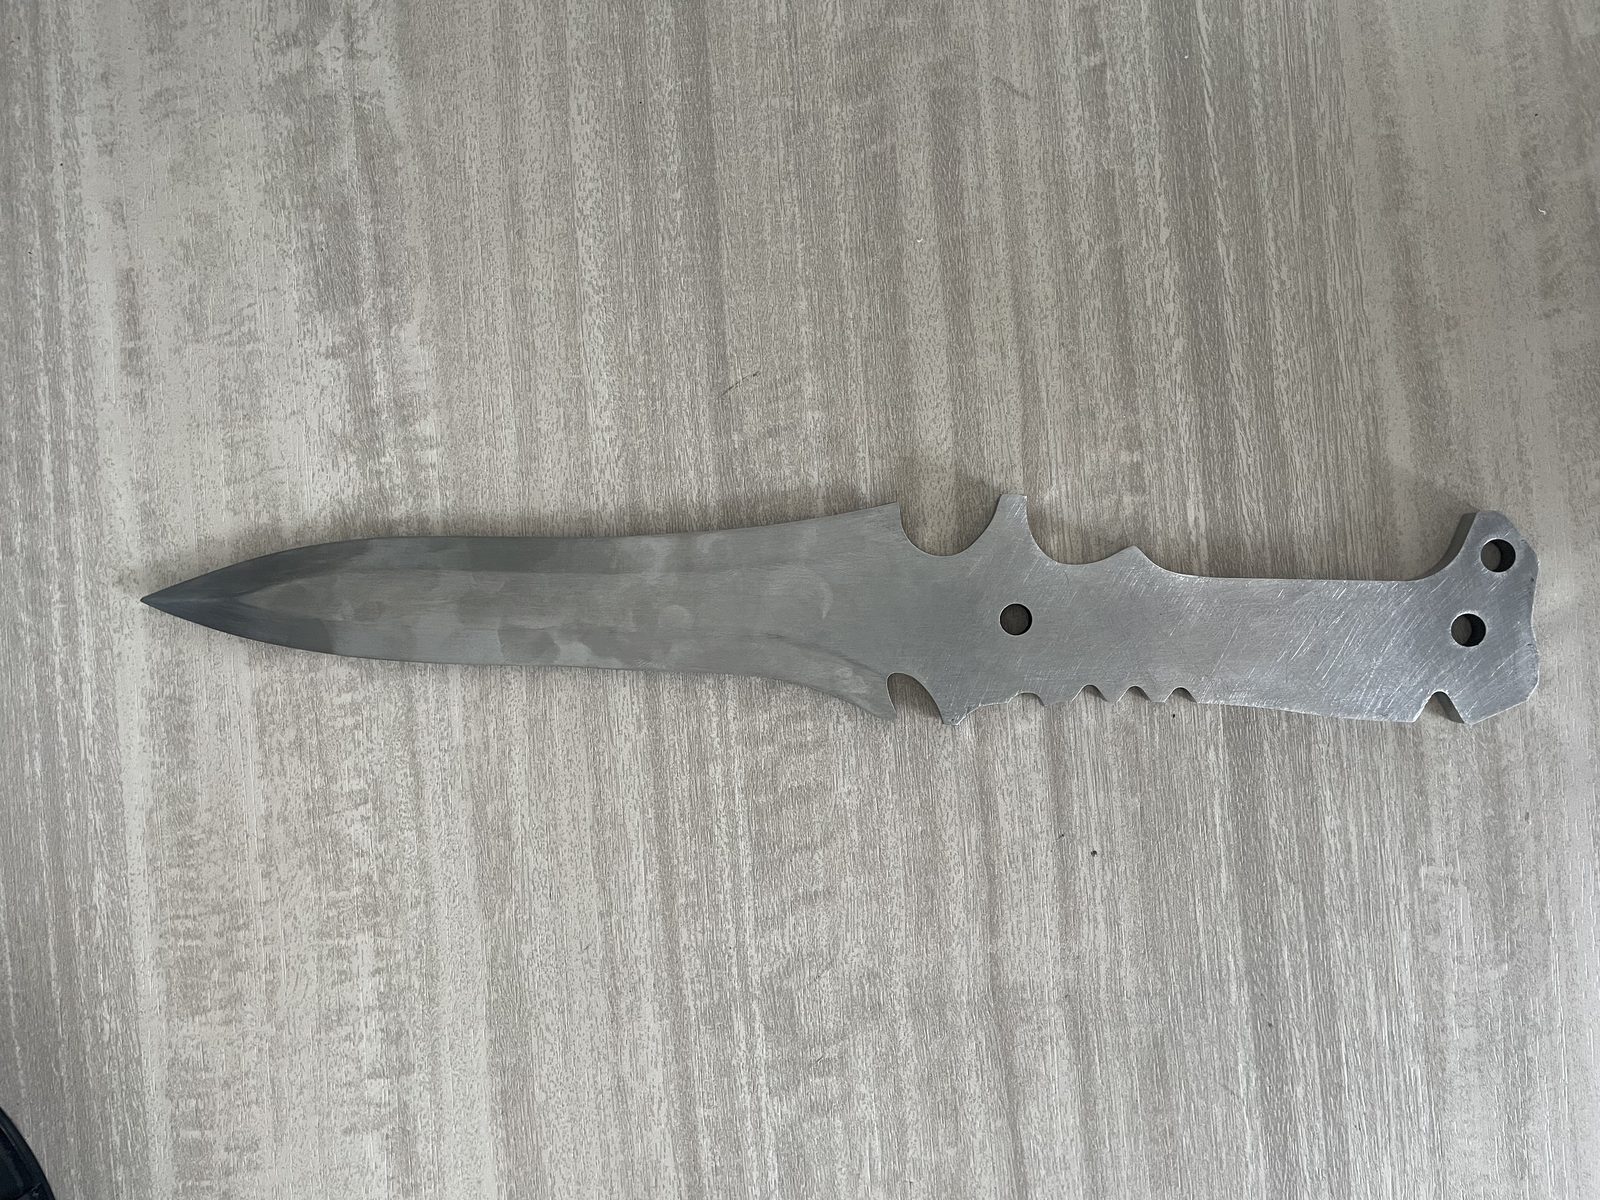
If the media or belt you choose cuts a deeper track than the incoming machined surface roughness, you are substituting a coarser texture. This explains two common shop complaints:
- Why tumbling for hours does nothing: Ultra-fine media only polishes the top plateaus above deep grinding trenches, increasing contrast so the dark lines look even worse.
- Why parts come out blotchy: Coarse media carves deeper random gouges than the incoming tool path, creating a rough orange-peel surface.
Why over-polishing happens, and what it costs
Replacing a deep mark requires cutting surrounding metal down to the valley floor. Forcing a tumbler to erase deep grinder marks via long cycles rounds over exposed corners, bosses, and threads long before the flat-face trench disappears.
The Three Routes, and Which One You Are On
Every shop method for handling upstream tool marks falls into one of three mechanical routes (plus chemical treatments).
Mechanical removal — the only route for depth
Deep weld gouges or snagging tracks require contact grinding or belt sanding to shear down high ridges quickly. We do not build belt sanders or grinders, yet the rule is absolute: if a trench catches your fingernail hard, knock it down with a belt before tumbling.
Mass finishing — replacement across a whole lot
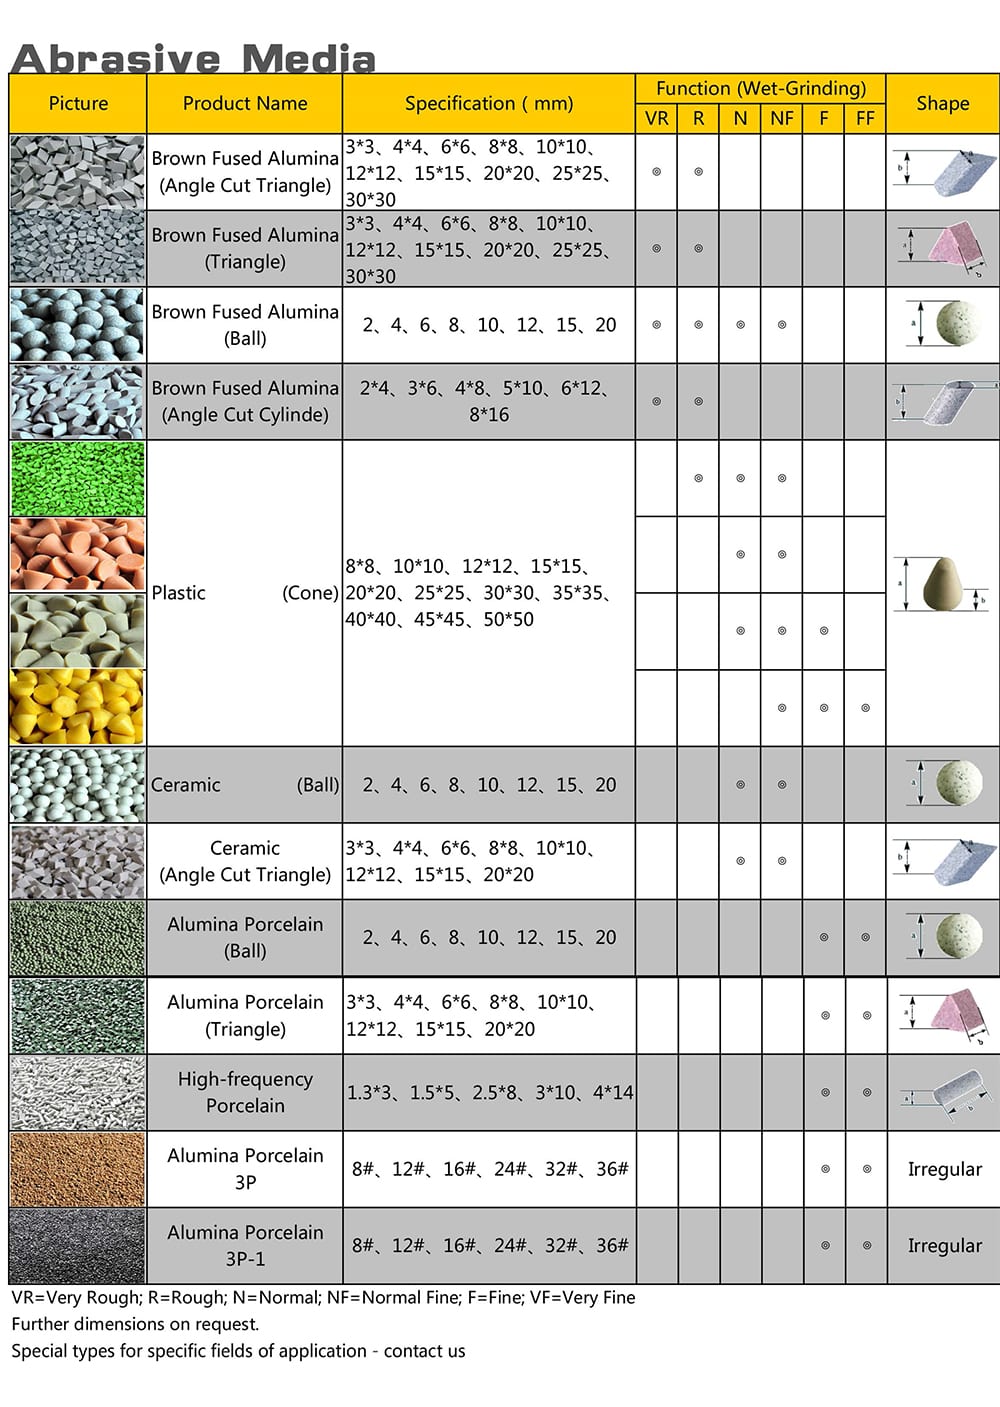
Once deep gouges are pre-leveled, mass finishing in a vibratory finishing machine, tub vibrators, or rotary barrel tumbling machines takes over. Buyers searching for a sanding tumbler or tumbler sander use these flowing media beds to replace milling scallops, turning threads, and light belt lines with a uniform matte, satin, or bright finish across whole lots.
Hand blending — rebuilding texture in one spot
The third route is manual blending with handheld non-woven pads or conditioning belts. An operator feathers a small repair zone and strokes a matching grain over the spot. It suits large welded frames or installed panels, but it is too slow for batch parts.
The route table
| Process Route | What It Physically Does | Mark Depth It Handles | Best Suited For | Covered by Our Equipment? |
|---|---|---|---|---|
| Mechanical Belt / Wheel | Shears deep ridges under high local pressure | Deep wheel gouges, weld crowns | Flat sheets, weldments, spot leveling | No — we do not build belt sanders or grinders |
| Wet Mass Finishing | Replaces directional marks with uniform texture | Shallow-to-medium scallops, light belt marks | Machined brackets, valves, gears, stampings | Yes — vibratory bowls, tubs, barrels, centrifugal units |
| Dry Mass Tumbling | Wipes micro-haze for warm satin or bright luster | Ultra-shallow pre-leveled satin only | Final brightening of brass, steel, hardware | Yes — dry barrels, bowls, and organic media |
| Manual Hand Blending | Feathers local spots and rebuilds linear grain | Isolated scratches or weld tie-ins | Installed panels, large tanks, field repairs | No — manual pad and portable tool workflow |
| Electropolishing | Dissolves microscopic peaks electrochemically | Micro-roughness and dullness only | Medical tubing, internal manifolds, racks | No — chemical bath and rectifier line |
| Pickling & Passivation | Strips thermal oxide scale and heat tint chemically | Zero groove depth (removes colour) | Grinding burn tint, weld scale, passivation | No — chemical acid immersion line |
When the Marks Cannot Come Out
Every shop meets drawings where removing incoming marks completely is physically impossible or costly. Spotting these four cases early prevents batch scrap.
The depth you cannot reach
Mass finishing distributes low pressure across thousands of stones, preserving part geometry while capping cutting depth. When heavy grinding marks sit too deep, extra tumbling only polishes the trench walls while wearing down the part.
The edge you cannot keep
Erasing a deep mark and preserving sharp edges or tight tolerances are mutually exclusive. Cutting down to a groove floor wears away corners even faster, so the real question is how much edge radius your part can afford.
When "good enough" is the engineering answer
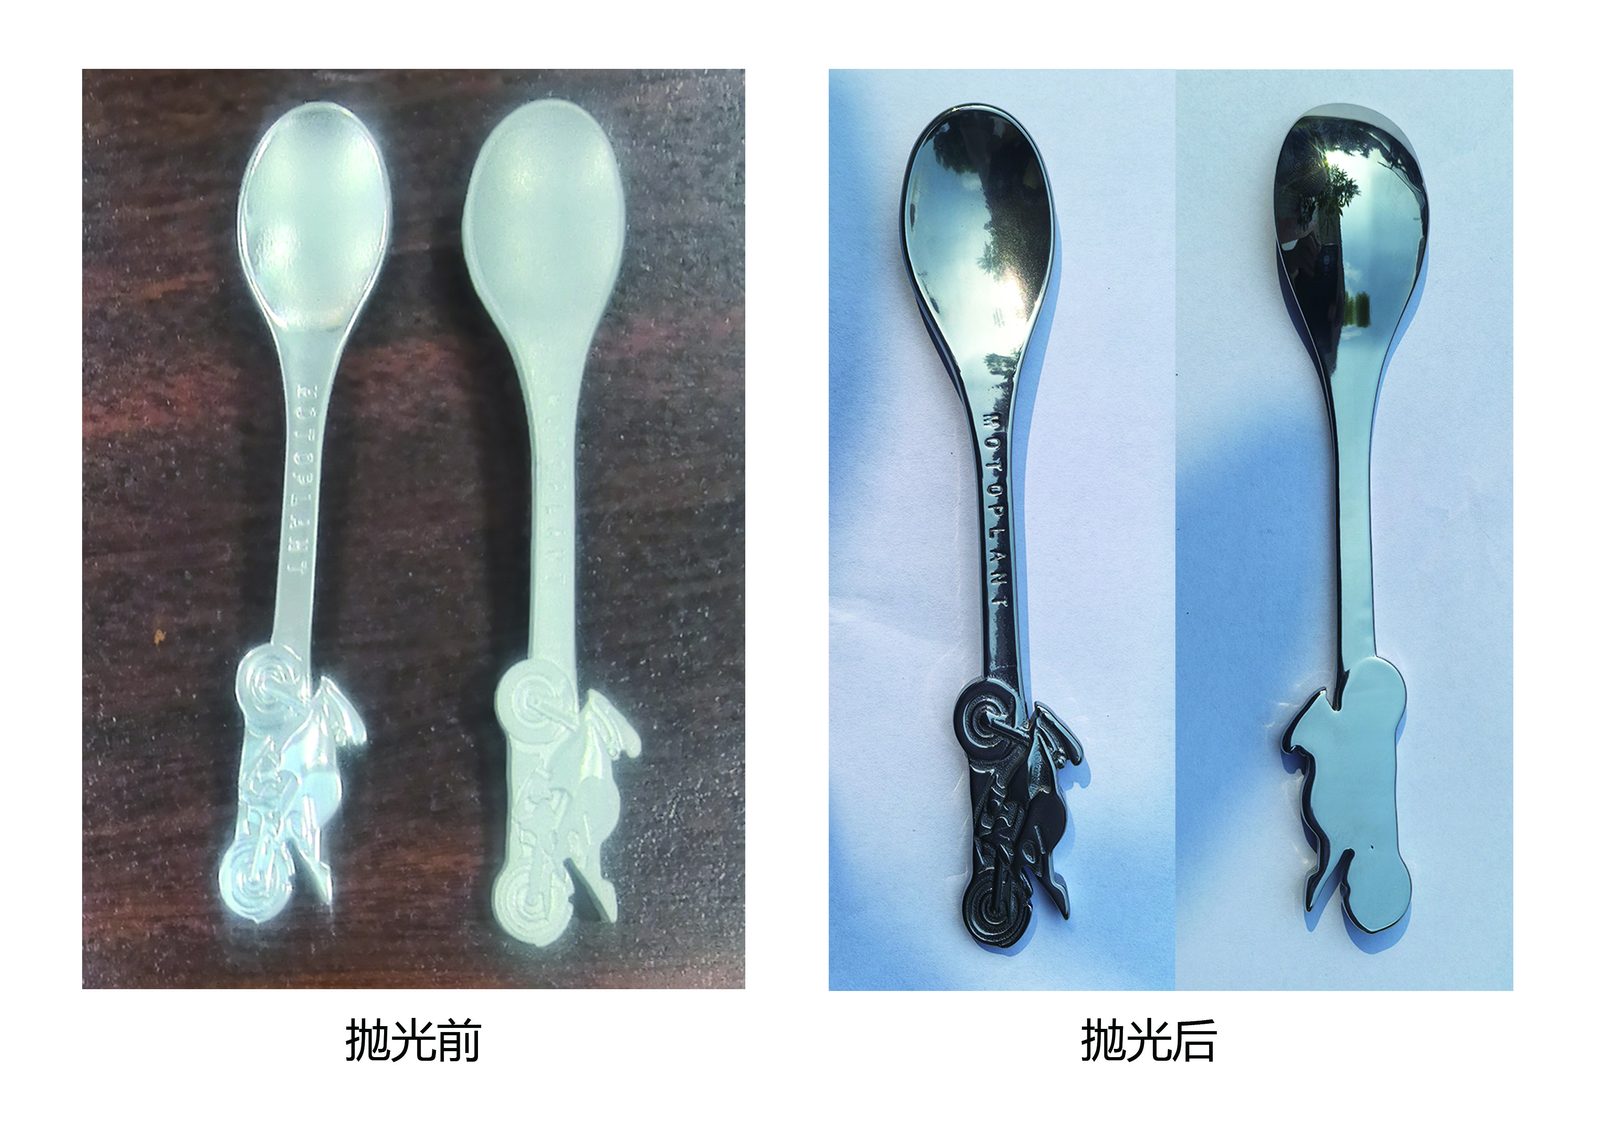
"Removing every visible mark" is not an engineering target — reaching the functional grade on the drawing is. Mixing up those goals causes over-processing. When a print specifies a target on a machined surface finish scale, a faint, rounded milling shadow that seals and coats properly is a good part; grinding it thinner wastes money and ruins tolerances.
When the honest answer is a different process
In three situations, mass finishing is simply the wrong process:
- Deep bores and blind pockets: Media cannot circulate with cutting force inside narrow holes; use honing or magnetic pin polishing instead.
- Precision datums: Mask sharp mounting pads during tumbling, or tumble castings before final CNC datum milling.
- Grinding burn tint: Blue or straw heat tint is an oxide layer; use pickling and fix upstream coolant rather than over-tumbling.
The Process Sequence, and Where It Goes Wrong
Moving a part cleanly from raw machining or grinding to a smooth satin or bright finish — especially in sanding and polishing stainless steel or brass hardware — requires an unbroken step-down sequence.
What a real sequence looks like
Every sound industrial sequence follows five stages where each step leaves a strictly smaller, shallower signature than the step before it:
- Stage One (Upstream Profiling): Machining, grinding, or coarse belt work sets geometry and leaves the deepest directional marks.
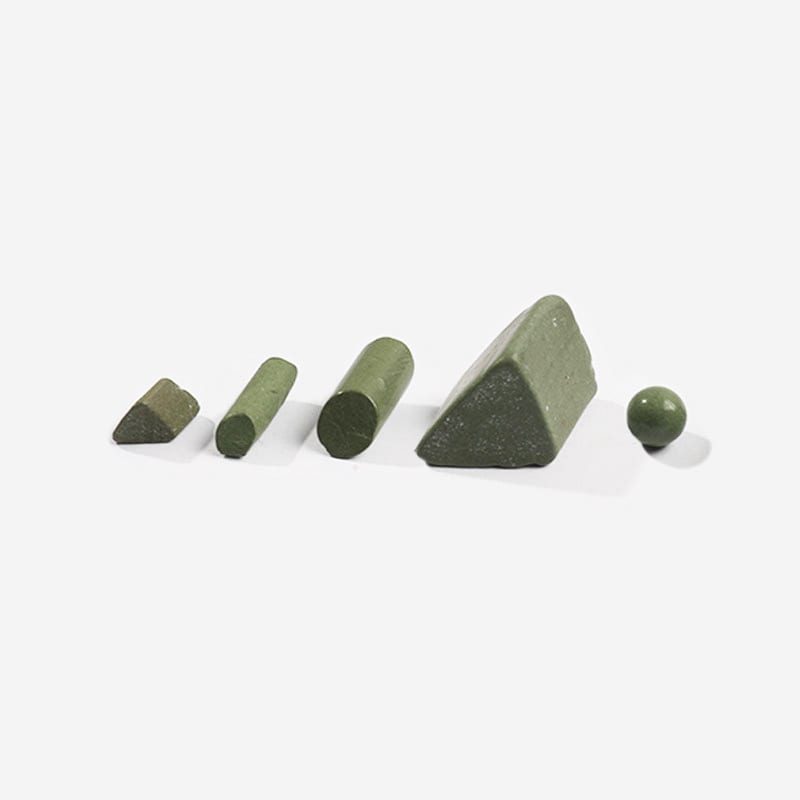
- Stage Two (Scale Reduction): A finer belt pass or medium ceramic grinding media wet cycle shears off sharp crests into a shallower matte texture.
- Stage Three (Satin Blending): Low-density plastic media overwrites ceramic dimples into a smooth satin skin (see how to choose ceramic vs plastic media for aluminum, brass, and steel parts).
- Stage Four (Final Brightening): Treated walnut shell or corn cob dry finishing media with metal polishing compound brings out bright luster.
- Stage Five (Wash & Passivation): Clean and dry parts; passivate stainless steel afterwards because abrasion strips its natural corrosion-resistant film.
The two transitions that fail most
Most finishing failures happen at two handoffs:
- Coarse belt sanding straight to soft plastic media: When sanding stainless with a coarse belt, soft plastic cones cannot reach the deep belt valleys, leaving rounded corners and visible lines. Add a fine belt pass or ceramic cut-down stage.
- Cutting stage straight to final brightening ("Bright but Wavy"): Jumping from coarse cutting into dry polishing increases reflectivity without leveling valleys, leaving parts "bright but wavy" or "shiny with ghost marks" under angled light.
Why skipping a step costs more than doing it twice
Skipping a step in a step-down sequence almost always costs more than running the extra stage. Coarse scratches hide inside a matte surface and only show up after final brightening, forcing you to strip and re-run the entire lot.
| Sequence Stage | Incoming Surface State | What This Stage Accomplishes | Consequence of Skipping It |
|---|---|---|---|
| Pre-Grind / Belt Leveling | Deep wheel gouges, weld crowns | Levels deep trenches to match flats | Tumbling rounds edges without erasing gouges |
| Ceramic Cut-Down Tumbling | Milling scallops, turning threads | Shears crests into uniform matte dimples | Linear tool paths survive into final polish |
| Plastic Satin Refinement | Matte ceramic dimples | Shallows dimples into a tight satin skin | Final brightening looks pebbled or orange-peel |
| Dry Polish / Compound Buff | Smooth, ultra-shallow satin | Raises reflectivity without cutting geometry | Parts remain matte-grey and lack luster |
| Wash, Dry & Passivation | Bright metal with soap or active skin | Clears residue and restores corrosion resistance | Compound bleeds out; stainless tea-stains |
What We Do, and What We Do Not
At Xiamen Jin Tai Jin Grinding Technology Co.,Ltd., certified under ISO 00726Q01571R001 and CE standards, we build mass finishing systems backed by 21 machine platforms and 24 IP rights across six product lines. Because tool-mark refinement spans several trades, we draw a clear boundary around our capabilities in what we build and what we do not.
The routes our equipment covers
We manufacture the batch mass-finishing equipment and consumables that replace upstream machining and sanding marks:
- Equipment & Consumables: We build bowl and tub vibrators, rotary barrels, centrifugal disc and barrel units, magnetic polishers, dryers, ceramic and plastic wet media, organic dry media, and compounds.
- Our real value position: Mass finishing cannot hog out deep grinding wheel trenches. Its true value is taking directional, uneven machining scallops or light sanding lines and replacing them with a uniform, non-directional matte, satin, or bright finish across every part in the batch.
What we do not do — plainly
To keep your process planning clear, here is what we do not supply:
- No stock-removal grinders or belt sanders: We do not build surface grinders, belt sanders, angle grinders, or CNC machines.
- No chemical, plating, or passivation lines: We do not supply electropolishing baths, acid pickling or passivation tanks, electroplating lines, anodizing systems, or powder-coating booths.
- No manual blending tools or contract job-shop services: We do not sell handheld sanding pads, and we do not operate a contract job shop for piece-rate part refinishing.
When this is a batch problem, not a repair problem
A scratch on one part is a handling mistake; identical marks on every part in a basket are a missing step in your process routing. When every milled bracket, brass fitting, or stamping arrives with identical scallops or belt tracks, a vibratory replacement step turns slow hand blending into a repeatable batch process.
Frequently Asked Questions
Can tumbling remove grinding marks?
Yes, up to a moderate depth limit — and strictly speaking, tumbling replaces grinding marks with a finer, uniform texture rather than erasing metal without trace. Shallow wheel or belt lines blend out cleanly in ceramic media, while deep grinding gouges that catch a fingernail require a finer belt step before tumbling.
Will sanding marks come out with polishing?
Only if the polishing step cuts deep enough to reach the sanding valley floors, or if you step down through finer intermediate media first. Jumping straight from coarse sanding stainless steel to a buffing wheel or dry tumbler simply shines the ridges while leaving sanding arcs visible underneath.
How deep a mark can mass finishing take out?
Run the three zero-number shop checks before loading the machine. Marks visible under grazing light that glide smoothly under a fingernail and vanish when wiped with water sit inside mass finishing's sweet spot; trenches that catch a fingernail and show through water are too deep.
Why do my parts look bright but still show marks?
Final brightening increased surface reflectivity without first leveling the groove topography — a defect called "bright but wavy" or "shiny with ghost marks". Dry tumbling or buffing only shines the existing contour; you need an intermediate ceramic or plastic smoothing stage to replace the coarse marks first.
What is the difference between grinding marks and machining marks?
Grinding marks are narrow, steep-walled straight trenches carved by abrasive grains on a rigid wheel, whereas machining marks are periodic geometric scallops left by the step-over path of a lathe insert or milling cutter. Tumbling media shears off raised machining scallops much faster than it can excavate deep grinding trenches.
Do I need sanding before tumbling?
That depends on incoming mark depth. Standard CNC milling scallops, turning threads, or light machine-belt lines can go straight into a vibratory tumbler, whereas deep weld-grinding gouges, heavy disc tracks, or coarse parting lines require belt sanding first.
 +86-592-2381506


 IPv6 network supported