Metal Finishes: The Complete Type Guide and How to Choose One
The phrase "metal finish" covers at least five different families of process, and the list most articles give you flattens them into a menu without saying how they relate. This guide separates them by what they do to the metal — remove material, add material, or change its surface chemistry — and then works through the order in which they are actually used.
If what you need is a single finish route built on our equipment, the equipment-level view is here: metal finishing. This page is the map; that one is the territory.
What "Metal Finish" Actually Covers
Engineers, buyers, and plating shops use the term metal finishes for different stages of production. A machinist uses a surface finish callout for the texture left by a cutting tool. A designer uses the same phrase on a print for a black anodized shell or powder coat. Without sequence notes, parts return with peeling paint or tool marks under bright chrome.
Three different jobs the word "finish" does
Every process in the catalog of finishes for metal performs one of three physical jobs on the part.
- Subtractive mechanical processes remove material: Grinding, sanding, blasting, and mass finishing shave away burrs, sharp corners, scale, and machining peaks to reshape bare metal.
- Additive coating processes build a new layer: Electroplating, electroless plating, powder coating, wet paint, and thin-film deposition lay a foreign material over the base metal.
- Conversion and thermal processes alter the surface itself: Anodizing, passivation, hot blackening, and case hardening react with the outer metal skin to form a protective oxide or harder crystal structure.
Treating these three groups as interchangeable options causes most finishing failures on the shop floor.
Why the list is longer than most guides admit
Introductory articles usually list a few familiar processes and stop there. In production, a metal surface passes through several stages before assembly, spanning stock removal, edge breaking, refinement, cleaning, conversion, and coating.
Standard surface finish charts and a typical surface finish conversion chart only track roughness grades from cutting or abrasive tools. They do not explain how a tumbled aluminum bracket behaves inside an anodizing tank. A practical guide must cover all thirteen major process types while showing how each step prepares the next.
The one distinction that changes every decision: pretreatment vs final finish
The key boundary in metal finishing separates surface preparation from the final protective or decorative layer. Mechanical mass finishing is primarily a pretreatment step, though it often serves as the final finish on bare stainless steel, brass, or aluminum. Electroplating, anodizing, and powder coating are always final finishes.
When a buyer treats vibratory tumbling and electroplating as competing options, the part is headed for trouble. A thin coating cannot hide a rough substrate. Mechanical finishing prepares the metal topography so the chemical bath or spray booth bonds properly. The shop sequence runs from mechanical refinement to cleaning, then conversion, and finally the topcoat.
Note: The shop sequence from subtractive preparation through cleaning, conversion and additive finishing is set out in the table above rather than shown as a separate diagram.
The Mechanical Finishes (What We Build)
Mechanical surface finishes reshape the outer skin of a metal part through abrasion or plastic deformation. At our Xiamen factory, founded in nineteen ninety-two, we build mass finishing equipment across twenty-one machine platforms and six product lines, backed by twenty-four authorized Chinese IP rights. We manufacture the machines, media, and compounds for this stage, which starts the shop routing.
Vibratory finishing — bowl and tub
A vibratory finishing machine loads parts into a spring-mounted chamber filled with preformed media, water, and compound. An eccentric motor drives the chamber in three-dimensional vibration, scrubbing parts to remove burrs, round corners, and blend milling lines.
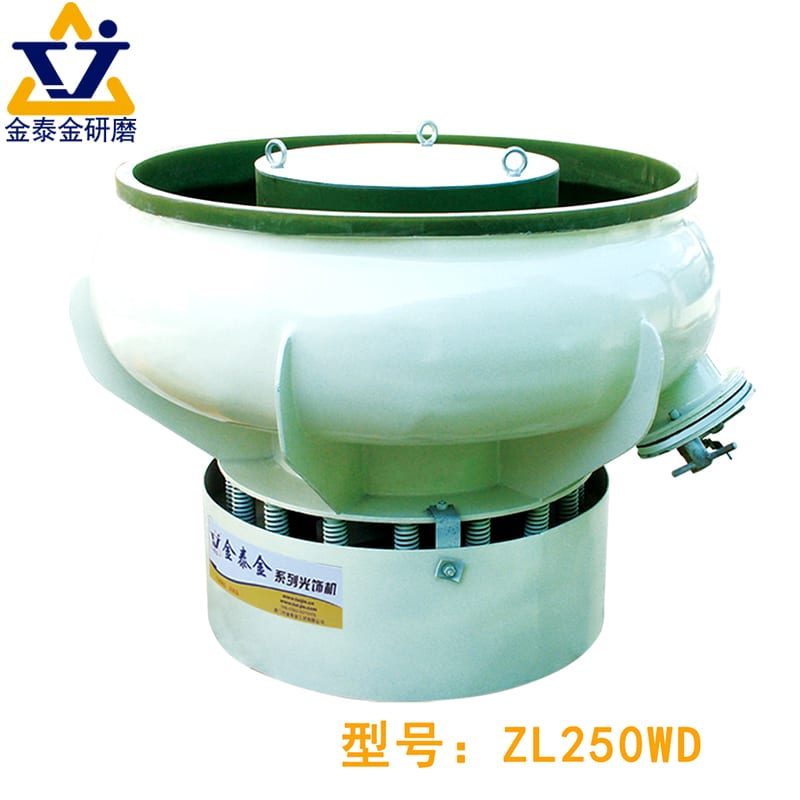
Round bowls move parts in a spiral path around a center post, suiting small to medium stampings, castings, and machined fittings. Most bowls include an internal separation deck that screens parts from media at cycle end.
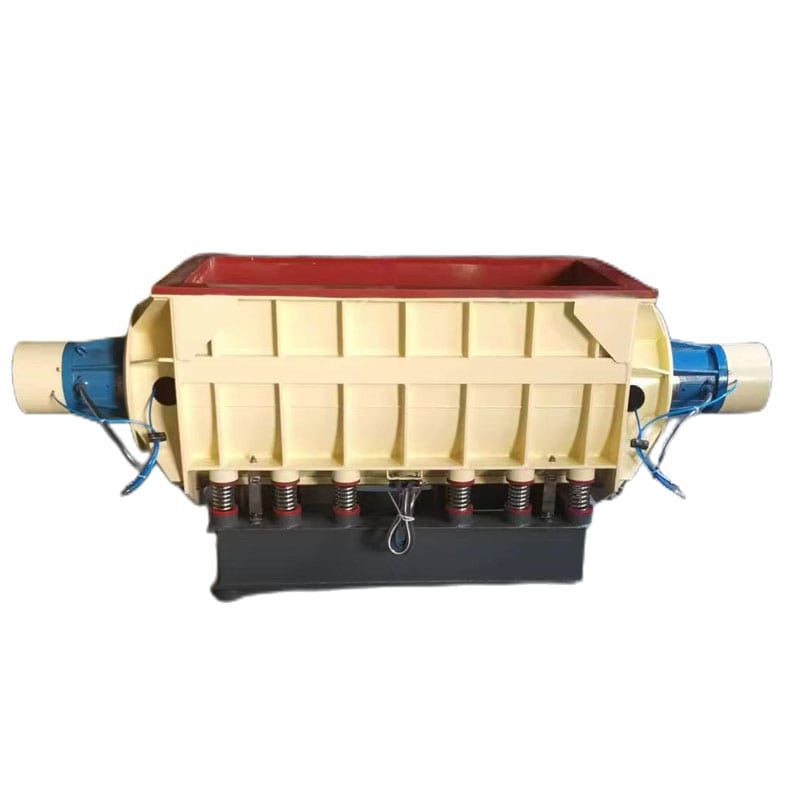
For long shafts, brackets, or extrusions that cannot turn inside a round bowl, tub vibrators provide a straight rectangular trough. Rectangular tubs also accept removable dividers to isolate delicate aerospace or medical parts into separate compartments so they never collide.
Centrifugal finishing — disc and barrel
When vibratory action is too slow to strip tough burrs or reach a bright luster, centrifugal systems multiply contact pressure between media and parts.
Disc finishing machines spin a high-speed disc at the bottom of a stationary polyurethane ring bowl. Centrifugal force pushes parts and media outward against the wall, which folds the mass back toward the center to strip burrs and round edges rapidly.
For higher pressure without impingement marks, centrifugal barrel finishing machines mount closed drums around a main turret wheel. As the turret spins one way, the drums counter-rotate the opposite way, pressing media tightly against workpieces to produce a smooth skin on implants, blades, and watch cases.
Rotary barrel tumbling
Rotary barrel tumbling machines are the classic form of mass finishing. A multi-sided drum rotates slowly on a horizontal shaft while loaded with parts, media, water, and compound. As the barrel turns, the load climbs the wall until gravity pulls the top layer down in a controlled slide zone.
Because the motion relies on gentle sliding rather than vibration, rotary barrels suit fragile stampings, thin tubes, and high-carbon steel parts needing gradual edge rounding. It runs slower than vibratory systems and unloads in batches, yet low consumable wear keeps operating cost low.
Magnetic and drag finishing
Ceramic or plastic stones cannot enter tiny cross-holes, narrow slots, or deep internal threads. Magnetic finishing machines solve this by driving fine stainless steel pins with a rotating magnetic field beneath the chamber. The pins swirl through recessed passages, deburring thread roots, injector bodies, and fittings without altering outer dimensions.
Drag finishing takes the opposite approach for heavy or high-value parts like orthopedic implants, cutting tools, and gears. Each workpiece clamps onto a rotating spindle that pulls it through a dense bed of fine media, preventing collision and directing pressure onto leading edges.
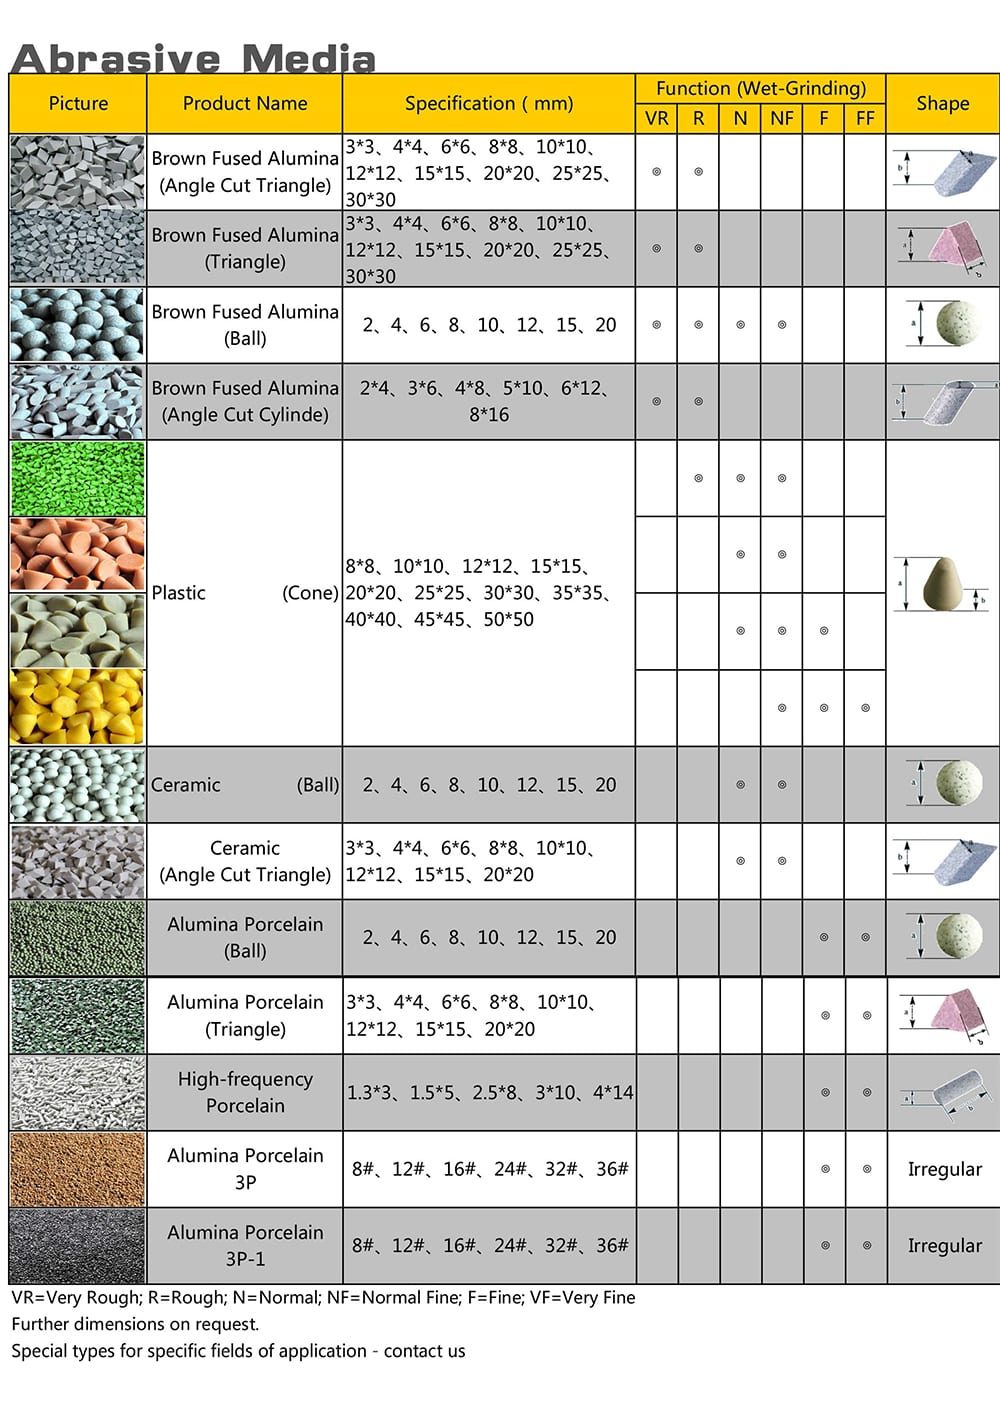
What each one does to the surface, in one line
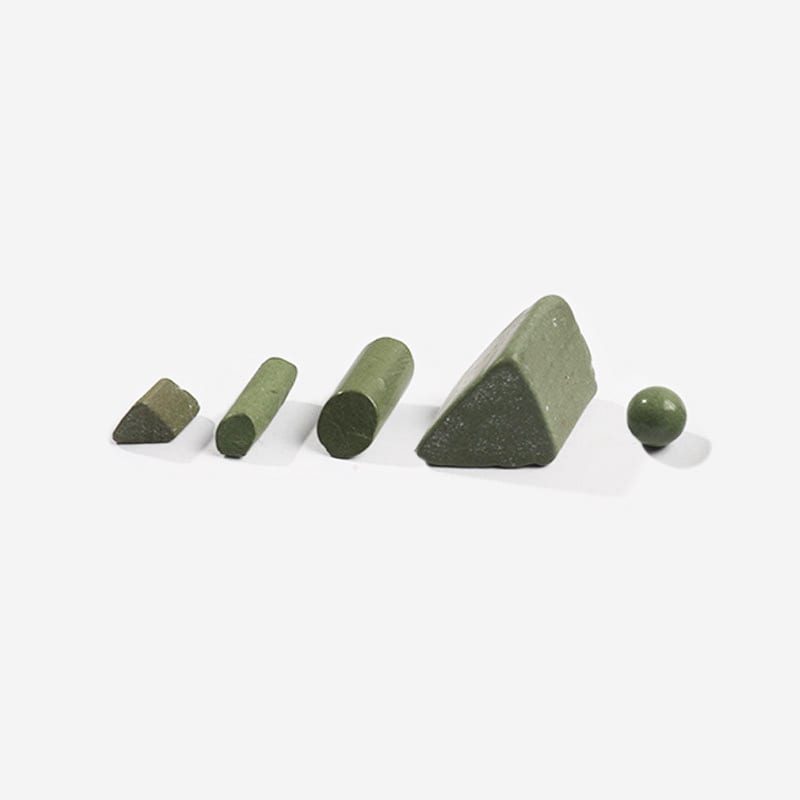
Beyond mass finishing, the table below summarizes every common mechanical process used in shops today. Pairing the machine with the right grinding media controls how aggressively each system cuts or burnishes.
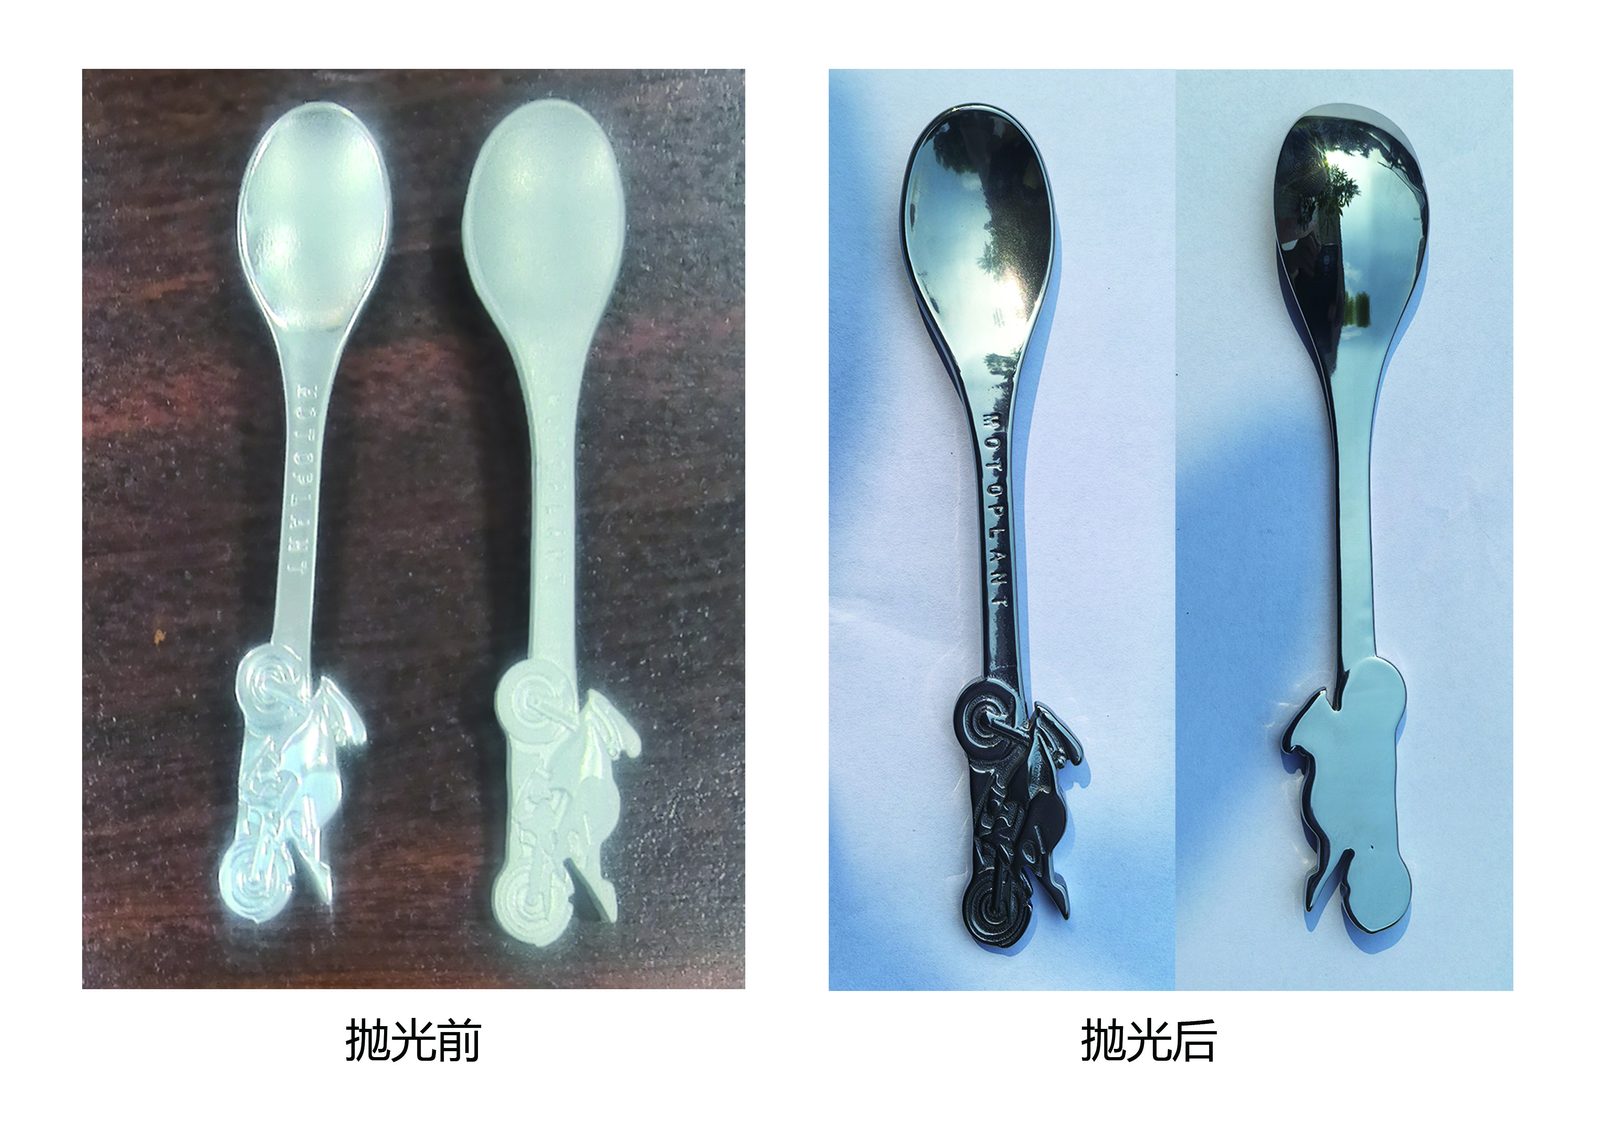
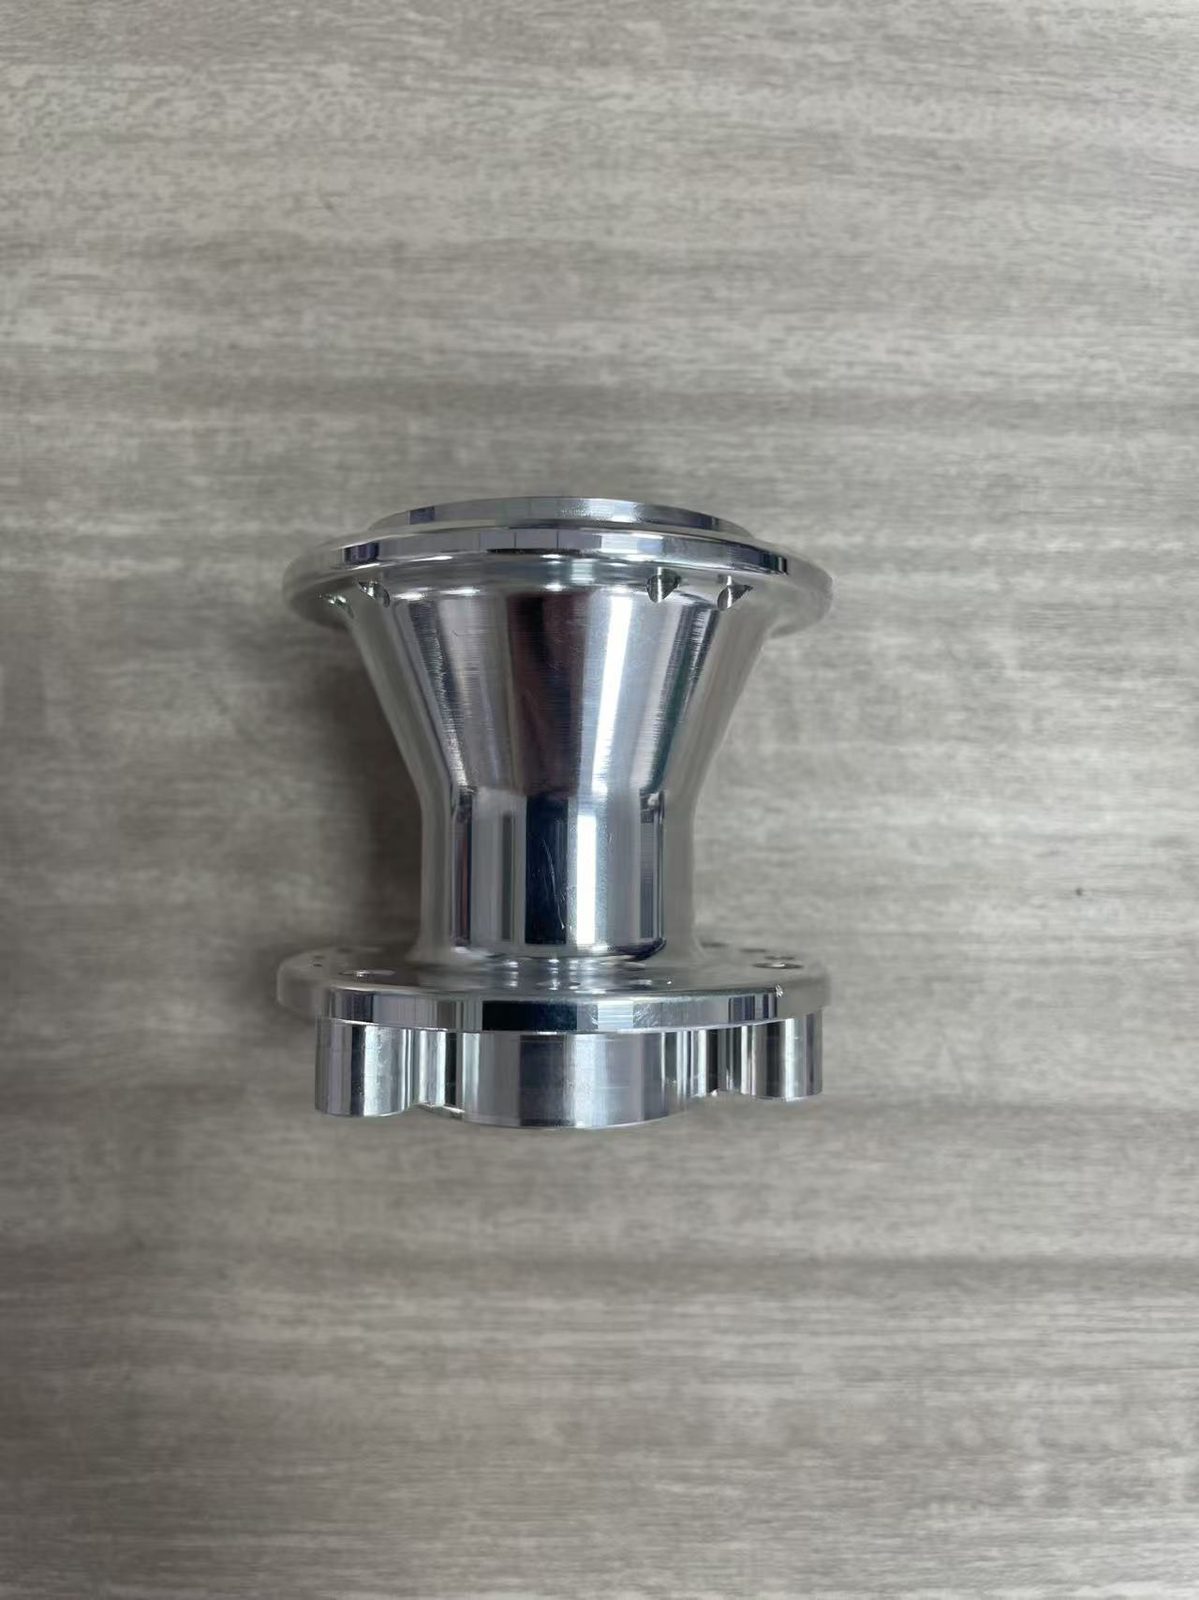
| Mechanical Process | How It Works | Typical Part Geometry | Resulting Surface Texture |
|---|---|---|---|
| Vibratory Bowl / Tub | Three-dimensional scrubbing in loose media | Castings, stampings, and machined blocks | Clean edges with matte or satin texture |
| Centrifugal Disc | Rotating floor creates a fast rolling ring | Small to medium rigid parts with burrs | Smooth edges and pre-plate satin finish |
| Centrifugal Barrel | Counter-rotating drums build high pressure | Medical, aerospace, and jewelry parts | Fine pre-polish or bright burnished skin |
| Rotary Barrel Tumbling | Slow drum rotation creates a sliding zone | Stampings, hardware, and thin flat parts | Radiused corners with smooth matte skin |
| Magnetic Pin Finishing | Magnets drive stainless pins into recesses | Small turned parts with internal holes | Deburred channels and bright skin |
| Drag Finishing | Spindles pull fixtured parts through media | Gears, implants, and contoured parts | Uniform high luster with zero nicking |
| Surface Grinding | Rigid abrasive wheel removes stock on a bed | Flat plates, journals, and tool steel | Flat, accurate surface with grit lines |
| Brushing | Rotating wire or nylon belts stroke one way | Sheet metal panels and appliance doors | Parallel grain lines hiding scratches |
| Abrasive Blasting | Air or wheel throws beads or grit at parts | Weldments, castings, and enclosures | Non-directional matte anchor profile |
| Buffing and Lapping | Cloth wheels or iron plates refine peaks | Decorative trim, valve seats, and gauges | Specular mirror or flat sealing faces |
To compare visual grades before choosing equipment, read our breakdown on brushed vs satin vs mirror finish.
We also state clearly what mechanical equipment cannot do. Mass finishing machines cannot produce an optical-grade flat mirror on large flat plates; that requires flat lapping or wheel buffing. Mechanical tumbling also cannot change metal color or build a chemical barrier against salt corrosion.
The Additive Finishes (What Happens After Us)
Once a metal part leaves the mechanical finishing area with clean edges and an even texture, it often travels to a plating tank, anodizing line, or spray booth. These additive and conversion processes build a protective barrier, improve conductivity, or add color.
These are not processes we build. We do not manufacture electroplating lines, anodizing tanks, powder spray booths, vacuum chambers, or sandblasting cabinets, and we do not run a job shop. However, because our machines prepare workpieces for these lines every day, we know what each downstream process demands from the bare metal underneath.
Electroplating — what it adds and what it needs underneath
Electroplating uses an electric current in an electrolyte bath to deposit a thin layer of metal ions onto a conductive part. Common deposits include zinc for steel fasteners, nickel for wear resistance, decorative or hard chrome, and copper, silver, or gold for contacts. Electroless nickel deposits a uniform layer through a chemical reaction without electricity, coating internal bores evenly.
Every electroplated layer is thin and follows the exact contour of the base metal. It does not fill scratches, pits, or cutter lines; bright nickel and chrome actually magnify surface flaws. If the base metal carries residual oil, scale, or embedded iron from a worn tool, the plating cannot bond cleanly and soon lifts into blisters.
Anodizing — aluminium only, and why the prep matters
Anodizing is an electrolytic passivation process used almost exclusively on aluminum alloys, though specialized lines also treat titanium and magnesium. The acid bath and electric current convert the outer aluminum skin into a porous oxide layer that grows into and out of the metal. Decorative anodizing accepts dyes before sealing, while hardcoat builds a dense wear layer.
Because the oxide grows directly from the aluminum alloy, visual quality depends on raw surface uniformity. Uneven tool paths, chatter marks, or filing scratches cause blotchy streaks and glaring lines unless mechanical finishing blends the part beforehand.
Powder coating and wet paint
For a thick barrier against weather, salt, or chemicals, shops use organic coatings. Powder coating sprays dry resin onto a grounded part and bakes it into a plastic skin, while wet paint serves heat-sensitive or oversized assemblies.
Thick paint bridges minor tool marks, but sharp corners and scale ruin adhesion. Melted powder pulls away from razor-sharp edges, leaving corners thin and rust-prone, while laser oxide causes flaking unless mechanical tumbling rounds edges and strips scale first.
PVD and other thin-film processes
Physical Vapor Deposition, or PVD, runs inside a high-vacuum chamber. Solid metal or ceramic targets like titanium nitride are vaporized by an electric arc or sputtering source and deposited atom by atom. PVD creates a hard, ultra-thin film on cutting tools, molds, watch cases, and hardware.
Other conversion methods add zero buildup: acid passivation strips free iron from stainless steel, hot blackening turns steel black without changing dimensions, and heat treating hardens the metal. Ultra-thin PVD films require mechanical mirror polishing beforehand for a mirror finish.
How to Choose: The Decision Sequence
When buyers compare finishes for metal using a generic list, every process looks viable on paper. On the shop floor, four practical questions eliminate most wrong choices right away and prevent tolerance or adhesion failures.
First question: is the finish functional or cosmetic?
First ask what the surface must survive in service. A functional finish solves internal engineering problems where nobody sees the part, such as removing hydraulic valve burrs, reducing gear friction, stopping thread galling, or preventing rust.
A cosmetic finish controls light reflection and hand feel on visible parts like brushed panels or satin camera bodies. Many components need both, combining a tumbled satin texture with protective anodizing.
Second: does it add material, remove material, or change none?
Next inspect your drawing tolerances. Mechanical mass finishing removes only microscopic peaks and burrs, leaving wall thicknesses and bore diameters intact. Conversion treatments like passivation or black oxide also add virtually zero buildup on threads.
Additive finishes always build thickness. Powder coat or heavy plating enlarges outside diameters, shrinks holes, and crowds sharp corners while starving blind bores. Tight press fits or fine threads require undersize machining or manual masking.
Third: what is your part geometry and batch size?
Process physics must fit part geometry. Large ceramic stones bridge over small internal cross-holes, so tiny recessed fittings need magnetic pins or fine centrifugal media. Conversely, large flat enclosures belong under a wide-belt sander or blast nozzle.
Batch size is equally decisive. Hand buffing on a cloth wheel needs almost no setup for a single prototype, but creates wild variation and high labor bills on large runs. Mass finishing equipment takes initial setup to dial in the media ratio and compound flow, then processes full batches together with repeatable results.
Fourth: what does the downstream process require?
Always check what happens next in production. Never pay for paint, plating, or wax before welding; the torch burns coatings off and contaminates the weld. If plating or PVD follows, match the upstream surface profile to the bath.
A coarse abrasive blast creates a strong anchor for thick epoxy paint, yet that same rough profile ruins decorative chrome or thin PVD. Conversely, a surface burnished with steel media and heavy soap must be thoroughly degreased and acid-activated before plating, or residual film will cause peeling.
The decision table
Use the four-column decision table below to match your part condition to the right shop route and avoid common production traps.
| Your Situation | Which Route to Take | Why | Common Mistake |
|---|---|---|---|
| Deburr and blend tool marks without changing dimensions | Vibratory, centrifugal, or magnetic finishing | Removes only peaks and burrs while preserving geometry | Trying to hide deep tool marks under electroplating |
| Add custom color or outdoor corrosion protection | Plating, anodizing, or powder coat after prep | Adds a barrier layer or converts the outer metal skin | Sending raw parts with burrs or scale straight to coaters |
| Reach high-gloss luster on very small rigid parts | Centrifugal barrel or steel ball burnishing | High contact pressure smooths peaks into a bright skin | Running tiny parts in a large vibratory tub with low energy |
| Finish large flat sheet panels that cannot tumble | Wide-belt sanding, brushing, or hand finishing | Keeps flat panels supported on a bed instead of tumbling | Forcing thin panels into a trough vibrator where they warp |
| Finish a single prototype or one-off custom part | Manual deburring, hand sanding, and buffing | Avoids machine setup and media recipe work for one piece | Developing a mass finishing recipe for a single prototype |
| Clear burrs inside narrow internal cross-holes | Magnetic pin or high-energy drag finishing | Fine steel pins reach inside passages where stones bridge | Using ceramic media that lodges inside small holes |
Pretreatment and Final Finish: The Order That Decides Success
Walk into any quality quarantine cage at a contract manufacturer, and you will see bins of rejected parts with blistering chrome, flaking powder coat, or streaky anodizing. Buyers usually blame the plating shop or paint vendor first. In practice, almost all final coating failures start in the pretreatment stage before the part ever touches a chemical bath.
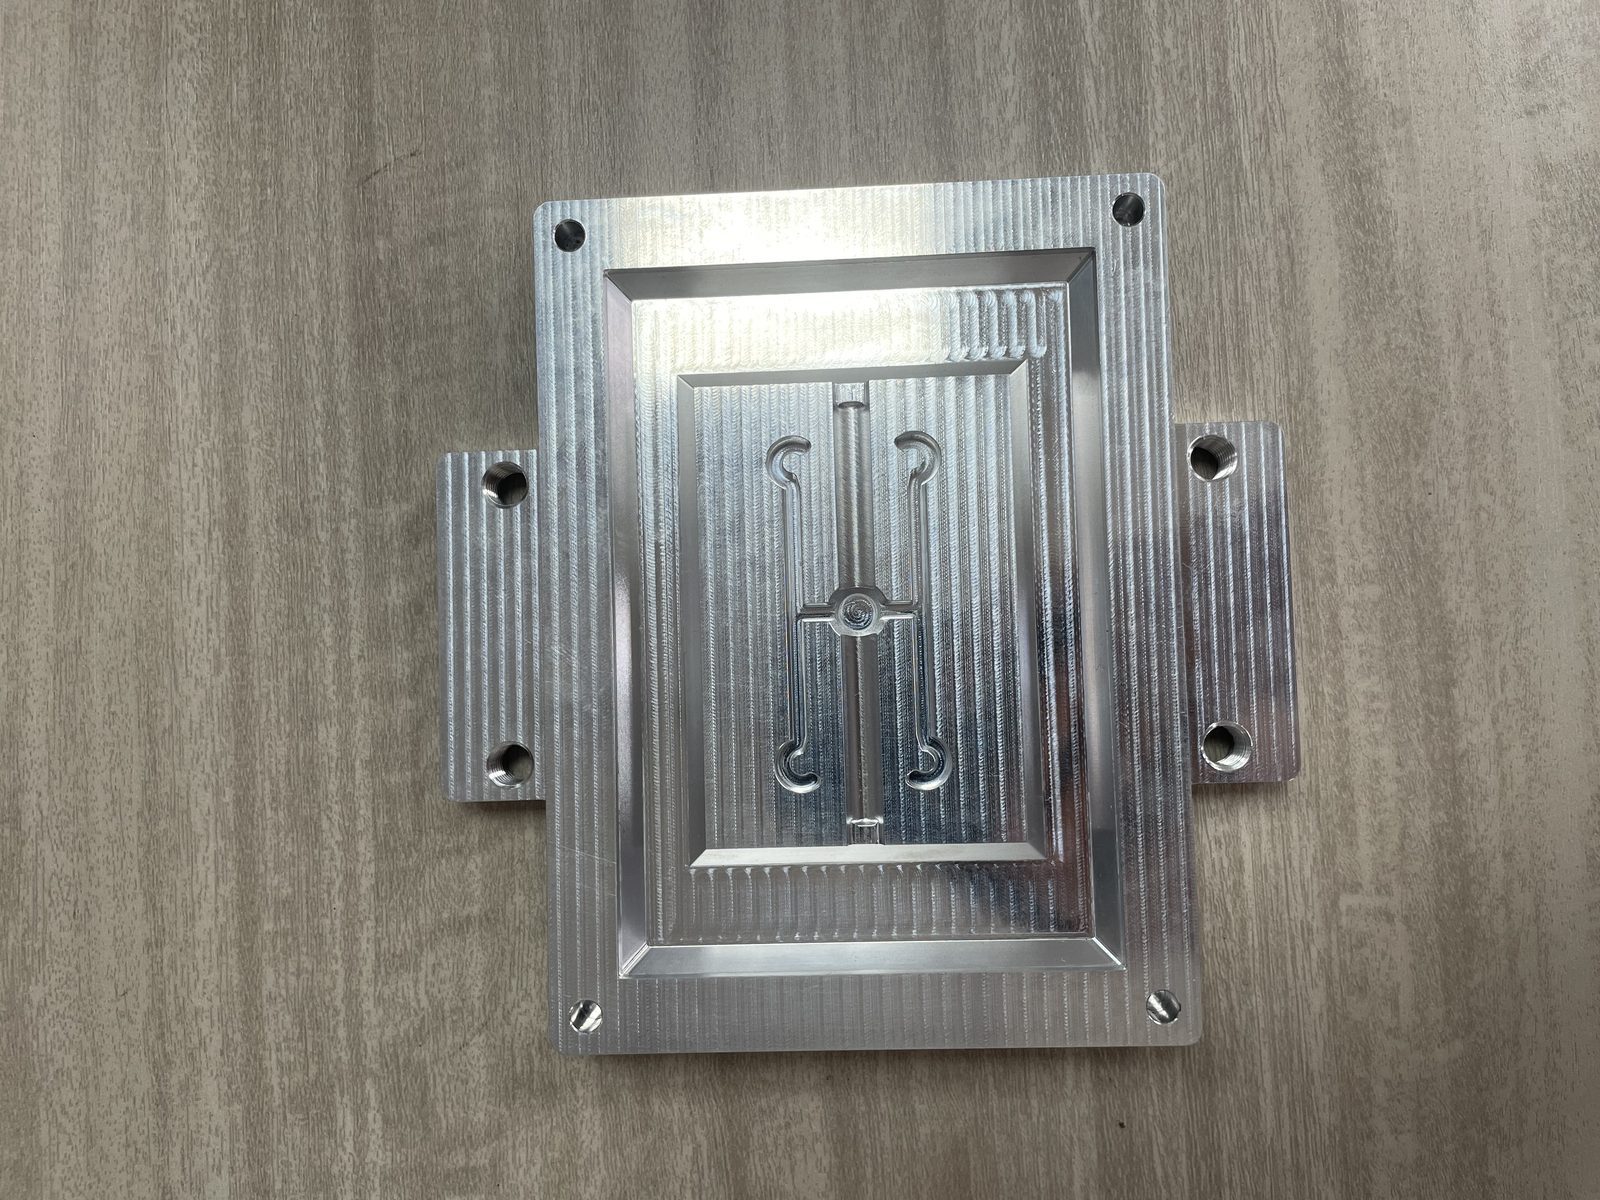
Why a coating fails when the surface under it is wrong
A final finish is only as stable as the metal skin it grips. After milling, stamping, casting, or laser cutting, a raw metal surface carries smeared metal fragments, oxide scale, sharp burrs, and baked-in cutting fluids.
Consider three everyday shop failures and their real root causes:
- Blotchy anodized aluminum: Uneven CNC step-over lines or hand-ground patches etch at different rates in the anodizing tank, leaving permanent cloudy streaks under the dye.
- Blistering electroplate: Embedded iron particles from worn dies or heavy oils trapped in surface pores outgas beneath the plated layer and raise blisters.
- Flaking powder coat on laser-cut edges: Oxygen laser cutting leaves brittle black oxide scale and sharp burrs; paint bonds to the brittle scale and flakes off on impact.
What the finish step must deliver to the next step
To prevent these defects, mechanical pretreatment must hand the coating line a clean, uniform foundation. Running parts through a vibratory or centrifugal machine with matched media and finishing compounds achieves four essential goals at once:
- Uniform surface profile: Tumbling erases directional cutter marks and replaces them with an even, non-directional texture across every face for consistent reflection and adhesion.
- Controlled edge radius: Breaking razor-sharp corners into a smooth radius eliminates current crowding during plating and lets paint or melted powder wrap cleanly around edges.
- Scale and contaminant removal: Gentle abrasive cutting scrubs away heat scale, laser oxide, casting skin, and smeared slivers that chemical degreasers cannot dissolve alone.
- Clean, unsealed pores: Formulated liquid compounds suspend oils and abraded fines in the rinse water so they flush away instead of getting pounded back into the part.
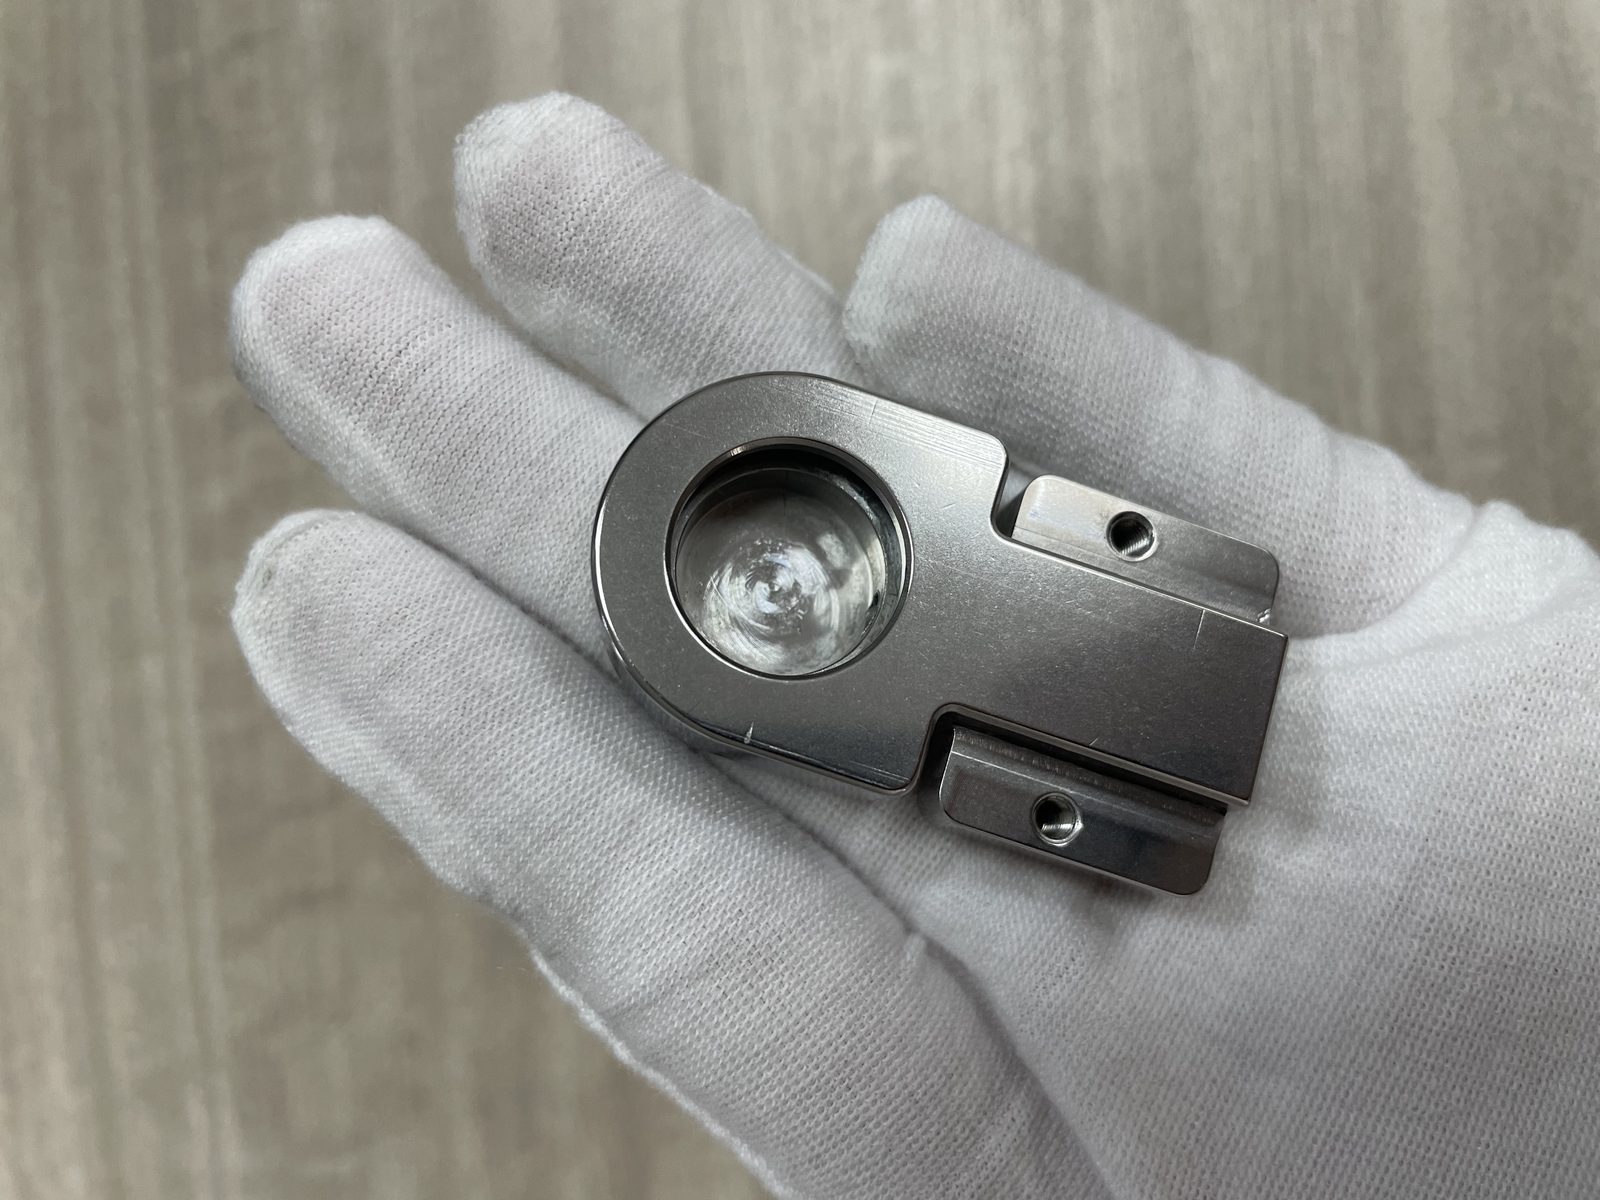
The sequence, written out
When writing a routing sheet for a coated or plated metal component, the shop sequence must follow a strict physical order. Skipping or reversing a step guarantees rework.
- Stage One — Primary machining and welding: Complete all cutting, tapping, stamping, and welding first so no later operation breaks the finished skin.
- Stage Two — Mechanical deburring and cutting: Tumble raw parts with ceramic or plastic media to strip burrs, remove scale, and establish a uniform surface profile.
- Stage Three — Mechanical pre-polish: For bright plating or mirror PVD, step down to fine media or steel ball burnishing to flatten micro-peaks.
- Stage Four — Aqueous cleaning: Wash away coolants, tumbling residues, and oils with alkaline compounds until rinse water sheets evenly.
- Stage Five — Chemical activation: Dip clean parts into acid activation, phosphate, or passivation baths to strip molecular oxides.
- Stage Six — Final finish: Apply plating, anodizing, powder coat, or PVD immediately before the activated metal re-oxidizes.
Cost: What Actually Drives It
When engineering teams ask how much different metal finishes cost, they usually want a simple ranking from cheapest to most expensive. On the shop floor, ranking processes by a flat piece price is misleading because total cost comes from five distinct cost lines that shift with batch volume.
Five cost lines that appear in a finish quote
Whether you install finishing machines in-house or send parts to an outside vendor, every job pays for the same five cost components:
- Equipment and line amortization: Every machine — from a basic rotary barrel to an automated plating line or PVD chamber — carries a fixed capital cost spread across production volume.
- Consumables: Every cycle consumes physical materials, including ceramic or plastic media, liquid compounds, abrasive belts, plating anodes, bath chemicals, or powder resin.
- Direct labor: Operators load parts, rack or mask pieces for plating or painting, monitor bath chemistry, unload finished lots, and inspect surfaces before packing.
- Pretreatment and cleaning: Before any topcoat goes on, someone pays for mechanical deburring, edge rounding, alkaline washing, acid pickling, and wastewater treatment.
- Scrap and rework rate: When a finish blisters or locks up a thread, stripping the coating, re-tumbling the base metal, and re-running the batch comes straight out of project margin.
Why the cheapest quote often costs more
When you send drawings for an anodized or plated bracket to several vendors, one quote often comes back much lower than the rest. Before awarding the order to the lowest bidder, examine the fourth cost line: pretreatment.
Because power and raw coating materials cost the same across any region, a rock-bottom bidder almost always cuts corners on mechanical pretreatment and cleaning. They rack raw parts straight from the shipping box without tumbling away cutter marks or burrs. When incoming inspection rejects the streaky, burr-ridden lot, stripping and re-running the batch makes the cheapest quote the costliest mistake.
Where volume changes the economics
Batch volume flips the balance between fixed setup and direct labor. For a single prototype, hand sanding and wheel buffing avoid machine setup costs. Once production scales into recurring batches, manual finishing becomes slow and inconsistent. Mass finishing tumbles full batches together without individual racking, shrinking per-piece labor and spreading equipment cost across volume. Always evaluate unit economics by batch size and verify through sample trials.
When You Should Not Apply a Finish at All
Most guides published by equipment builders or coating shops imply that every metal part needs a surface treatment. In sound engineering practice, the smartest callout on certain drawings is to leave the surface as machined or mask that zone completely. Applying a finish in the wrong place creates assembly headaches, ruins precision fits, and complicates field repairs.
Where a finish hurts instead of helping
Not every surface benefits from abrasion or a chemical skin. Adding a cosmetic brushed grain or decorative electroplate to a raw aluminum bracket hidden inside a sealed electronics box wastes budget without extending service life.
More importantly, certain functional surfaces rely on their raw machined or ground texture to work properly. A lapped sealing face on a hydraulic manifold or a honed cylinder bore already has the exact geometry required to hold a gasket seal or retain oil. Tossing that manifold into an aggressive vibratory tub without masking the sealing face rounds off the sealing land and scratches the lapped surface, causing fluid leaks during testing.
When the finish becomes the tolerance problem
Avoid unmasked additive coatings on precision mating features like bearing press fits, dowel holes, and close-tolerance threads. Because coatings build thickness on every face — and double that buildup on thread pitch diameters — parts that passed lathe inspection will bind during assembly. Forcing bolts or re-reaming bores destroys the new coating. Instead, mask tight features, use zero-buildup passivation, or stick to gentle mechanical deburring.
Where the finish fails and the 5-year repair matters
Finally, consider what happens when the part is welded, assembled, or repaired in the field years after leaving your factory. Two common traps cause severe downstream trouble when a finish is applied too early:
- Weld zones: Never plate, anodize, paint, or blacken parts before welding. Coatings burn into toxic fumes, contaminate the weld pool, and crack the joint. Weld first, then mechanically clean and finish.
- Blind channels and field-repaired wear parts: Plating and spray guns cannot reach deep inside blind holes, and trapped acid rinse water weeps out later to corrode lap joints. On heavy wear plates that need field re-welding years later, stubborn coatings only force mechanics to grind toxic residue off before repair.
Frequently Asked Questions About Metal Finishes
How many types of metal finishes are there?
Engineers group finishes for metal into thirteen primary processes across three families. Subtractive mechanical processes cover grinding, brushing, blasting, buffing and lapping, vibratory finishing, centrifugal finishing, rotary tumbling, and magnetic or drag finishing. Additive coatings cover electroplating, powder coating, wet paint, and PVD, while conversion and thermal processes include anodizing, passivation, hot blackening, and heat treating.
What is the difference between a mechanical and a chemical finish?
A mechanical finish uses physical abrasion or contact pressure to remove burrs, smooth cutter marks, and reshape the bare metal surface. Common mechanical tools include ceramic media in a vibratory bowl, sanding belts, and blast streams. A chemical or electrolytic finish uses acid baths, alkaline salts, or electric current to clean the metal, grow a protective oxide layer, or deposit a new metallic coating. In most production lines, the mechanical finish runs first as a pretreatment so the chemical finish bonds evenly.
Can I apply a coating directly over a machined surface?
Rarely with good results. Raw machined or stamped parts carry edge burrs, cutter marks, and embedded oils or scale. Thin layers like plating, PVD, and anodizing magnify cutter marks, while thick powder coat pulls away from sharp burrs and flakes off. Mechanical deburring before coating prevents both failures.
Which finish is best for stainless steel?
Unlike carbon steel, stainless steel contains chromium that forms a natural rust-resistant oxide film, so it rarely needs electroplating or paint just to prevent rust. Buyers new to stainless steel often specify plating when the part actually needs mechanical deburring, surface smoothing, and chemical passivation to remove free iron left by cutting tools. Depending on the application, stainless steel is finished to a matte tumbled texture, a brushed grain, or a bright burnished luster. For a full walkthrough of how we process it, see our guide on polishing stainless steel.
Does surface finishing change part dimensions?
It depends on whether the process adds material or refines the existing surface. Additive finishes such as powder coating, wet paint, heavy electroplating, and hardcoat anodizing add measurable layer thickness that shrinks holes and tightens screw threads unless masked or machined undersize. Mechanical mass finishing processes, when paired with the right media and cycle control, remove only microscopic peaks and edge burrs while leaving nominal dimensions and tolerances intact.
What finish should I specify for a part that will be welded later?
Do not specify plating, anodizing, paint, powder coat, or oil finishes before welding. Coatings burn under the arc, release hazardous fumes, and cause weld porosity. Before welding, limit prep to mechanical deburring and alkaline washing so edges stay bare, then apply the final finish after welding. To test mechanical deburring or pre-plate prep on your parts, reach out on our contact page for a sample trial.
 +86-592-2381506


 IPv6 network supported